Initialize Production
In step five of the WooCommerce Quick Start guide, learn how to initialize your production environment.
Now that our Dev site is configured and backed up, let's initialize our production environments ( Test and Live) so we can launch our store.
-
In your site settings in Pantheon go to the Test tab and click Initialize Test Environment:

It should only take a minute or two. And you'll know you're done when you see a message in the deploy log:

Now we can move the test site to live mode.
-
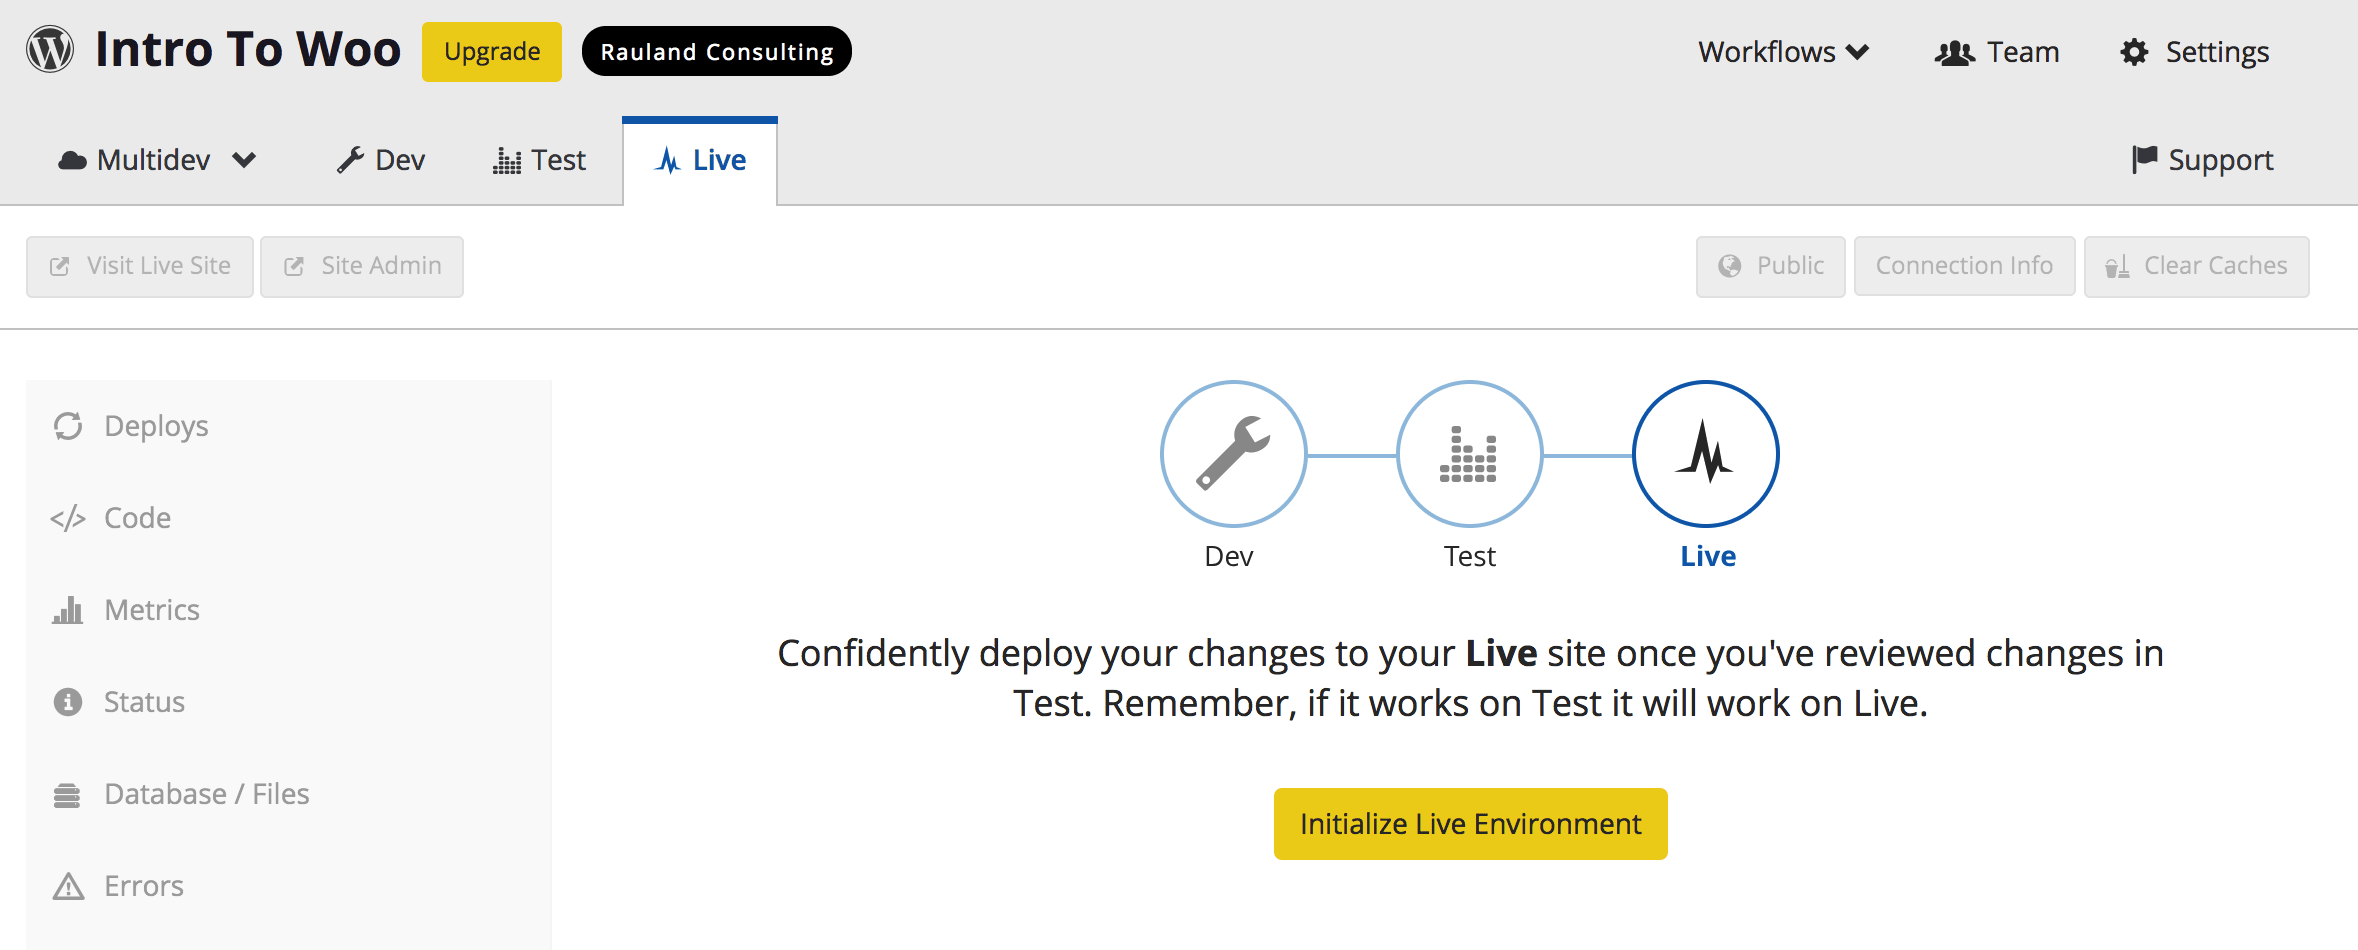
We can repeat the process for Live by clicking on the Live tab, then Initialize Live Environment:
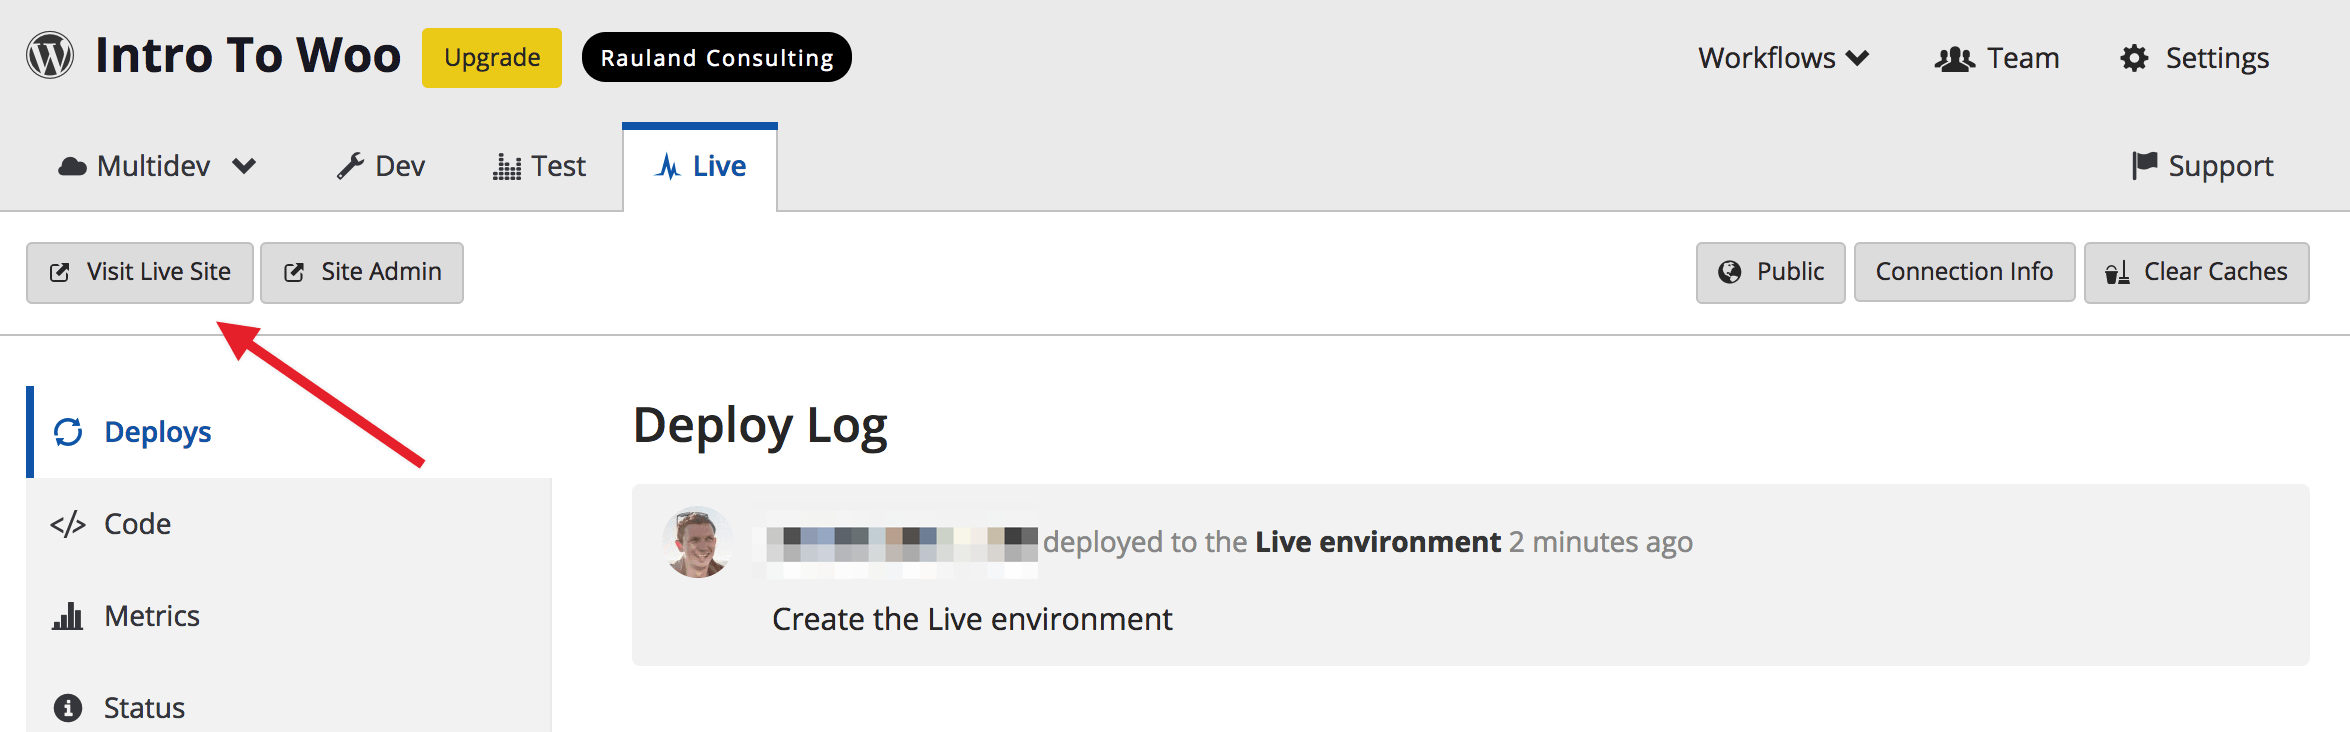
As soon as it's done you'll see a message in the deploy log.
-
Now is a great time to view the live site and make sure everything is up your standards.

Create a Test Order
Our site is looking good and loading really fast! Now to show you the power of multiple environments with version control, we're going to make an order on our Live environment and pull that information back down into our Test environment.
-
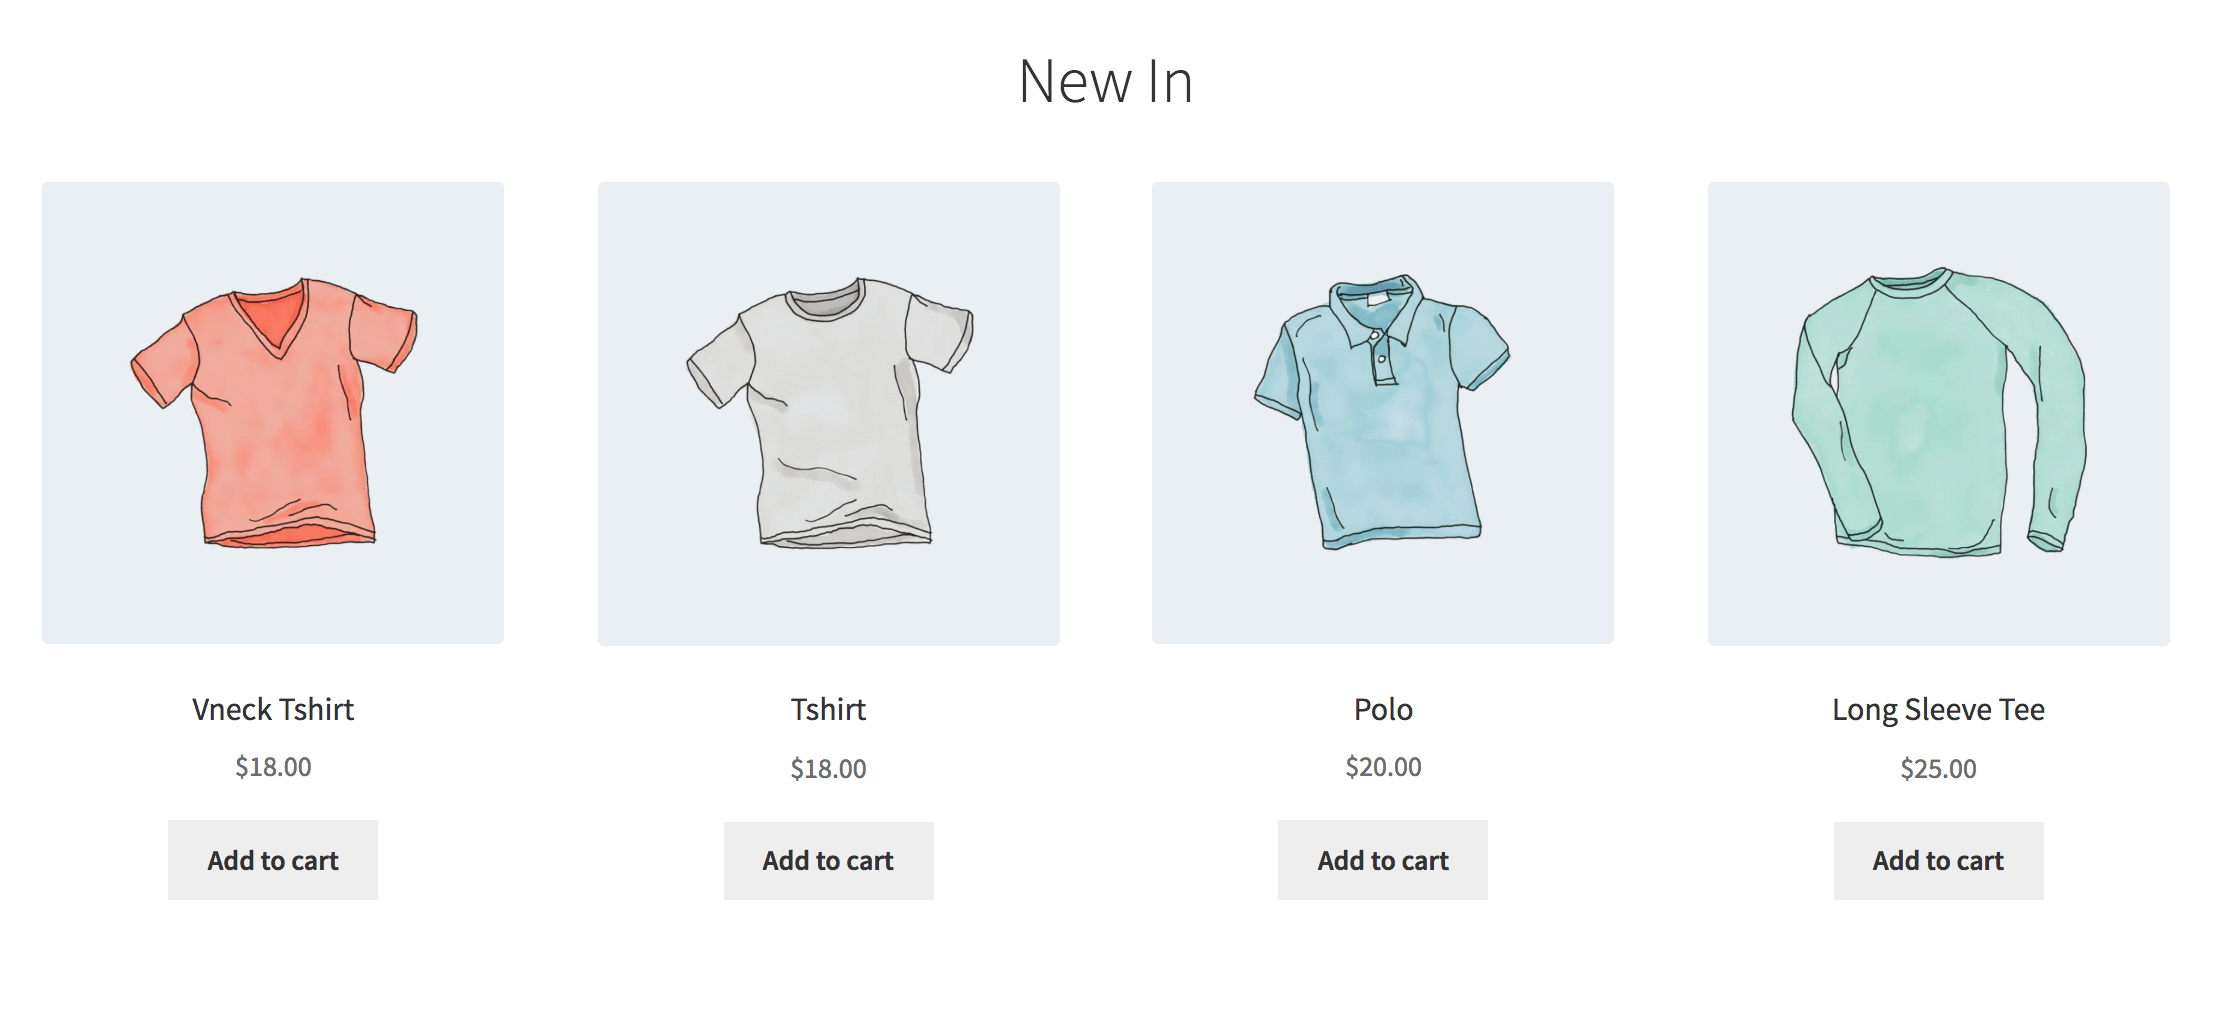
When you install Storefront it prompts you to add demo products. If you don't have any demo products you can manually create products:
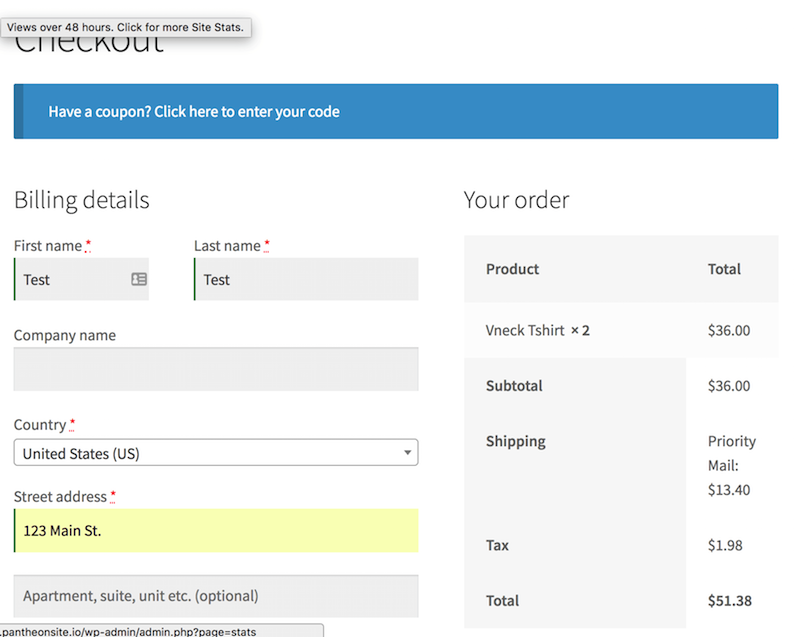
Add a product to the cart and proceed to checkout.
Information:NoteIf you didn't configure shipping or payment earlier you'll have to do so now. For easy testing I recommend enabling Free Shipping & Cash On Delivery, which requires the least setup. Also, if you enabled Jetpack earlier it will be in safe mode. -
Continue through the checkout process:
-
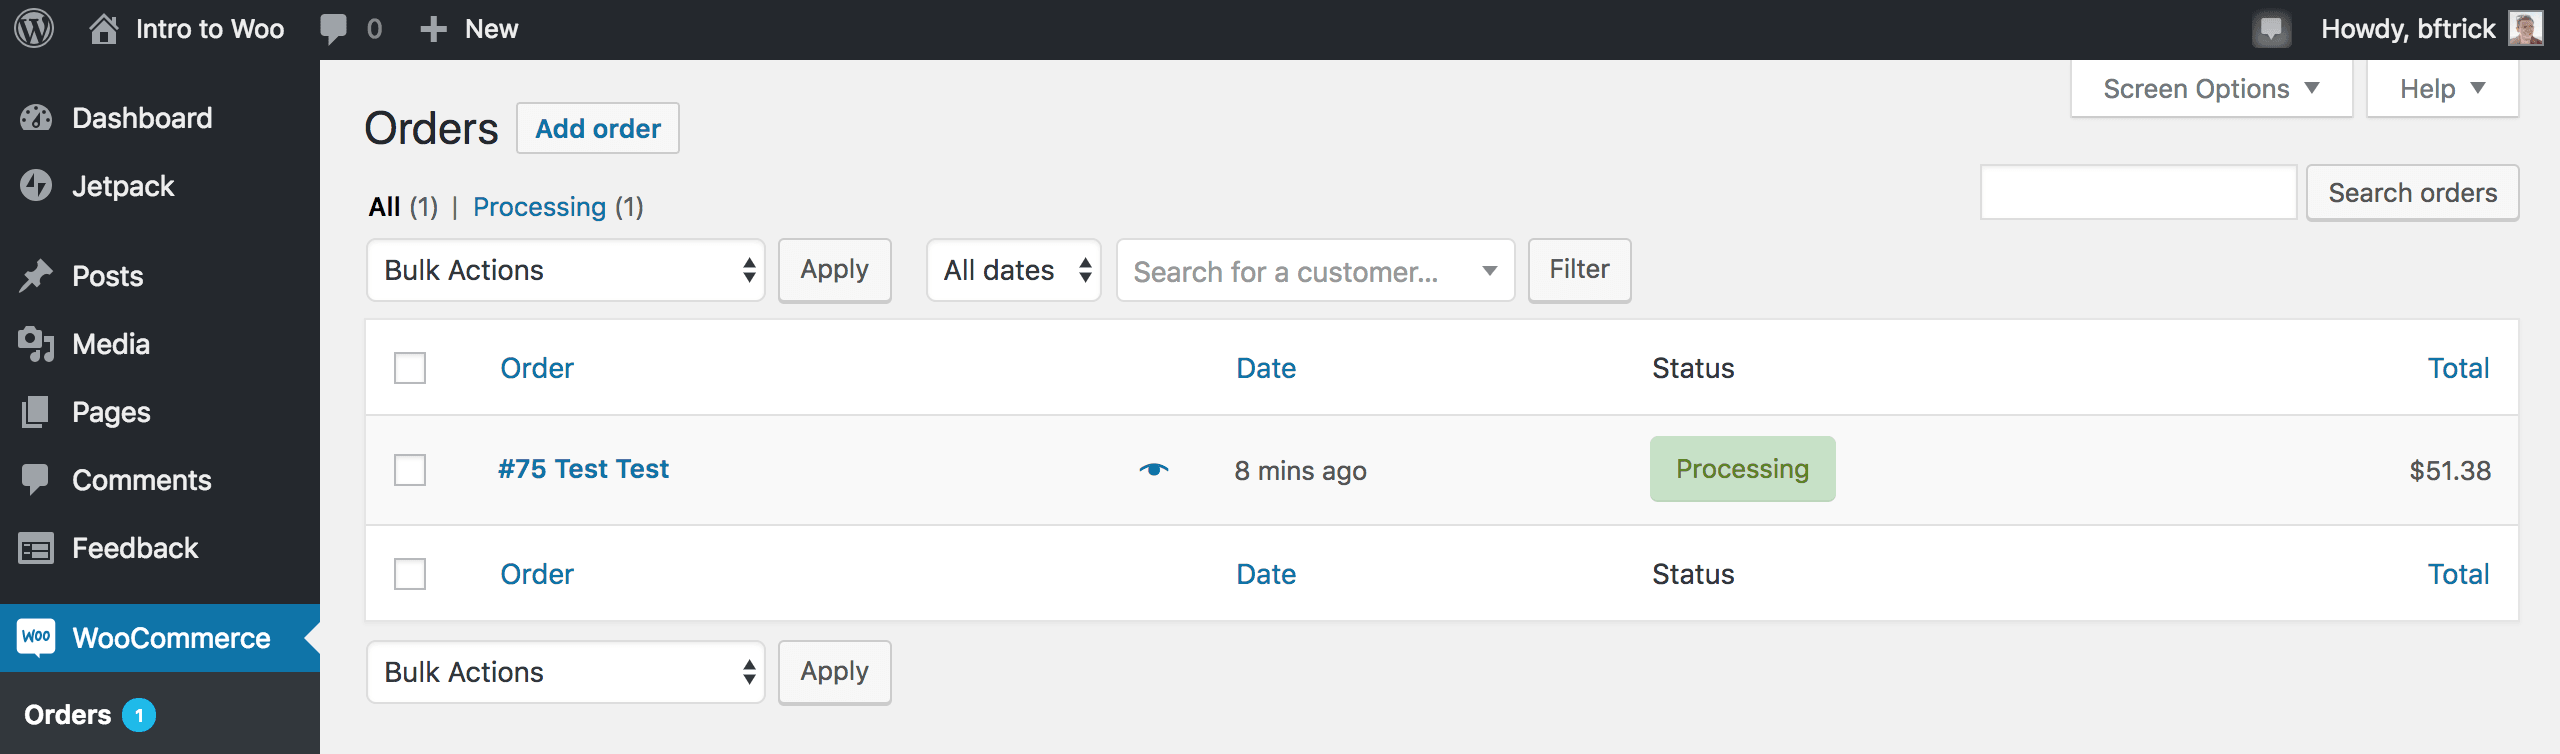
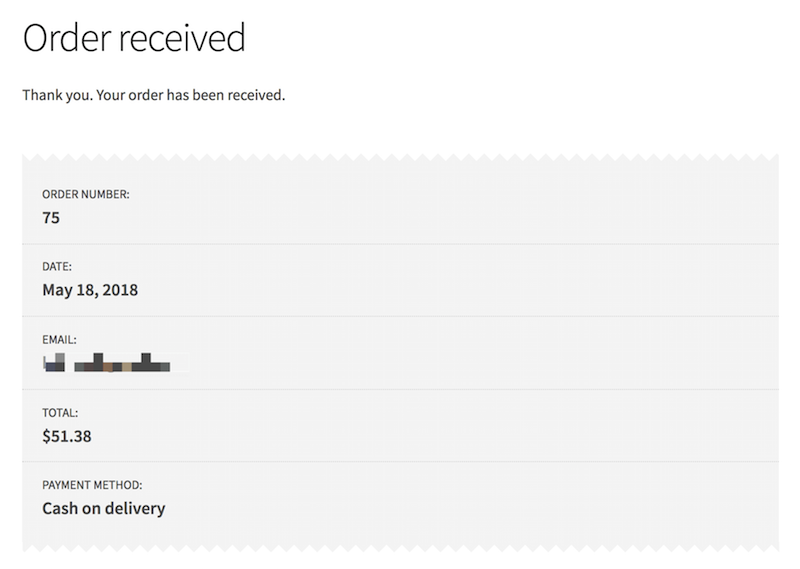
We've placed our order. If you want you can login to your admin screen and see all of the details:
Clone Content Down
Now let's bring these changes back to our test site:
-
In our site settings in Pantheon go to either your Test or Dev environment. Then click the Database / Files tab.
-
Select Live in the dropdown for From this environment.
-
Only select Clone Database, do not clone files.
-
Finally click Clone the Database from Live into the Test Environment:

If you login to WordPress you'll see the order in the Test environment: