Setting and Clearing Custom Cache Tags in Drupal (v8.8+)
Drupal (v8.8+) Learn how to use Views Cache Tags module along with custom code to control Pantheon Advanced Page Cache.
Pantheon Advanced Page Cache module is a bridge between Drupal cache metadata and the Pantheon Global CDN.
When you turn on this module your Drupal site will start emitting the HTTP headers necessary to make the Pantheon Global CDN aware of data underlying the response. Then, when the underlying data changes (nodes and taxonomy terms are updated, user permissions changed), this module will clear only the relevant pages from the edge cache.
This module has no configuration settings of its own, just enable it and it will pass along information already present in Drupal to the Global CDN.
To take finer grain control of how Drupal handles its cache data on both the Global CDN and internal Drupal caches, you can set and clear your own custom tags. This guide will show you how to do this using a mix of custom code and Views Custom Cache Tags.
Before You Begin
Before starting this guide, you should:
-
Install and authenticate Terminus
-
Have an open sandbox slot on your Pantheon account. To follow along with this guide it is best to use the Dev environment of a newly created Drupal site. You could use a pre-existing Drupal site, but some of the details would change.
-
So that you can easily copy and paste the example commands in this guide, define your site name with a local environment variable. Replace
cache-tags-demowith a unique site name:
Set up a new Drupal site
First, set up a new Drupal site and add the Pantheon Advanced Page Cache module.
- Create a new Drupal site from your local command line environment using Terminus:
You can replace the second instance of $TERMINUS_SITE with a site label.
- Install Drupal:
The command above modifies the settings.php file on the Dev environment.
- Commit this change in the Pantheon Dashboard or through the command line:
- Add and enable the Pantheon Advanced Page Cache module, which is responsible for sending cache metadata to the Pantheon Global CDN:
- Commit the new code:
- Log in to your newly created site. This command will give you a one-time log-in link for the admin user:
- Turn on full page caching by setting the Page cache maximum age field to "10 min", then clear caches. We can do this from our Drupal site at
/admin/config/development/performance.
You can also make those same changes using Drush via Terminus:
View HTTP Headers
You can now look at HTTP Headers with the steps above completed.
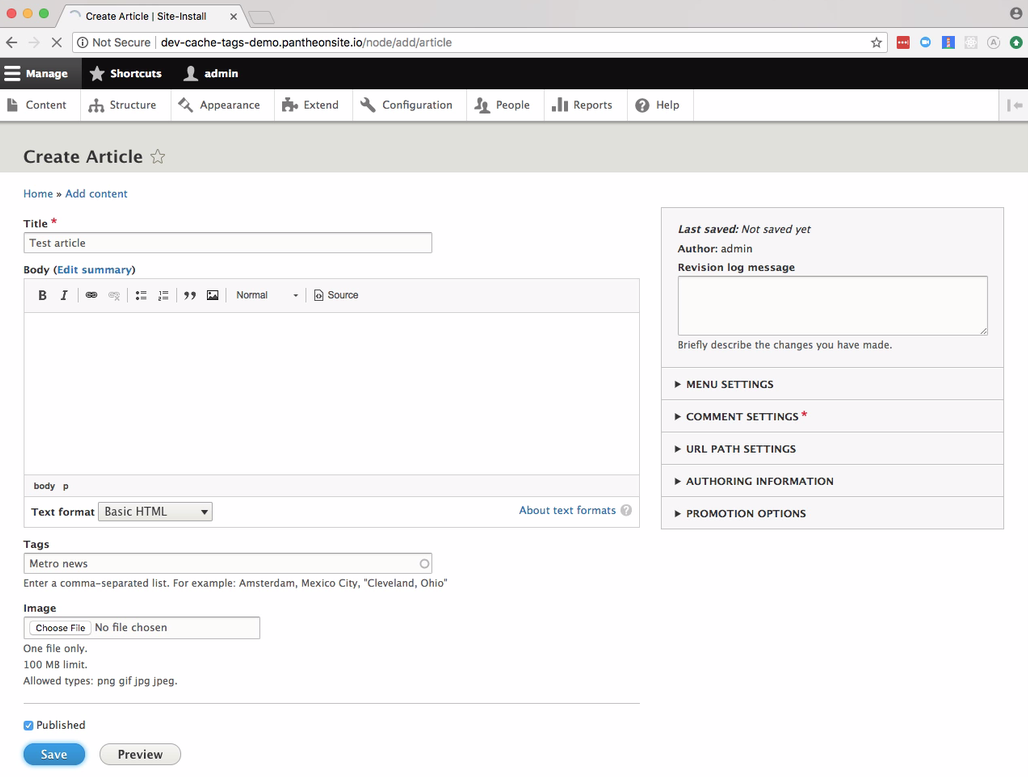
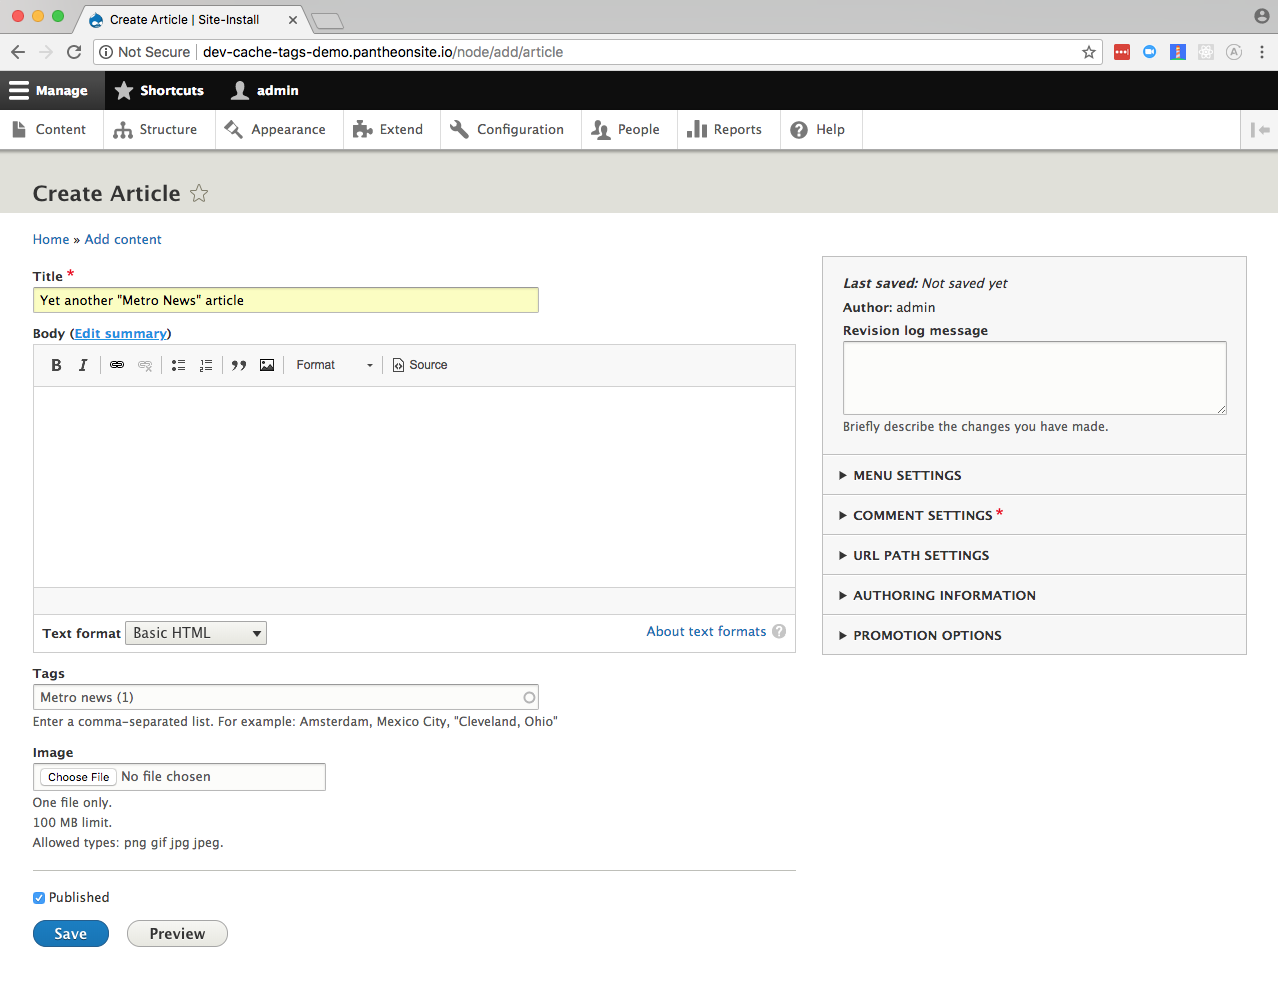
- Make a new article node complete with at least one taxonomy term in the tags field:
-
Use
curl -IHto view the headers returned from that page:The first request you will see in the list is the initial HTML response. All of the subsequent requests for assets like CSS and images happen after this first HTML response kicks things off:
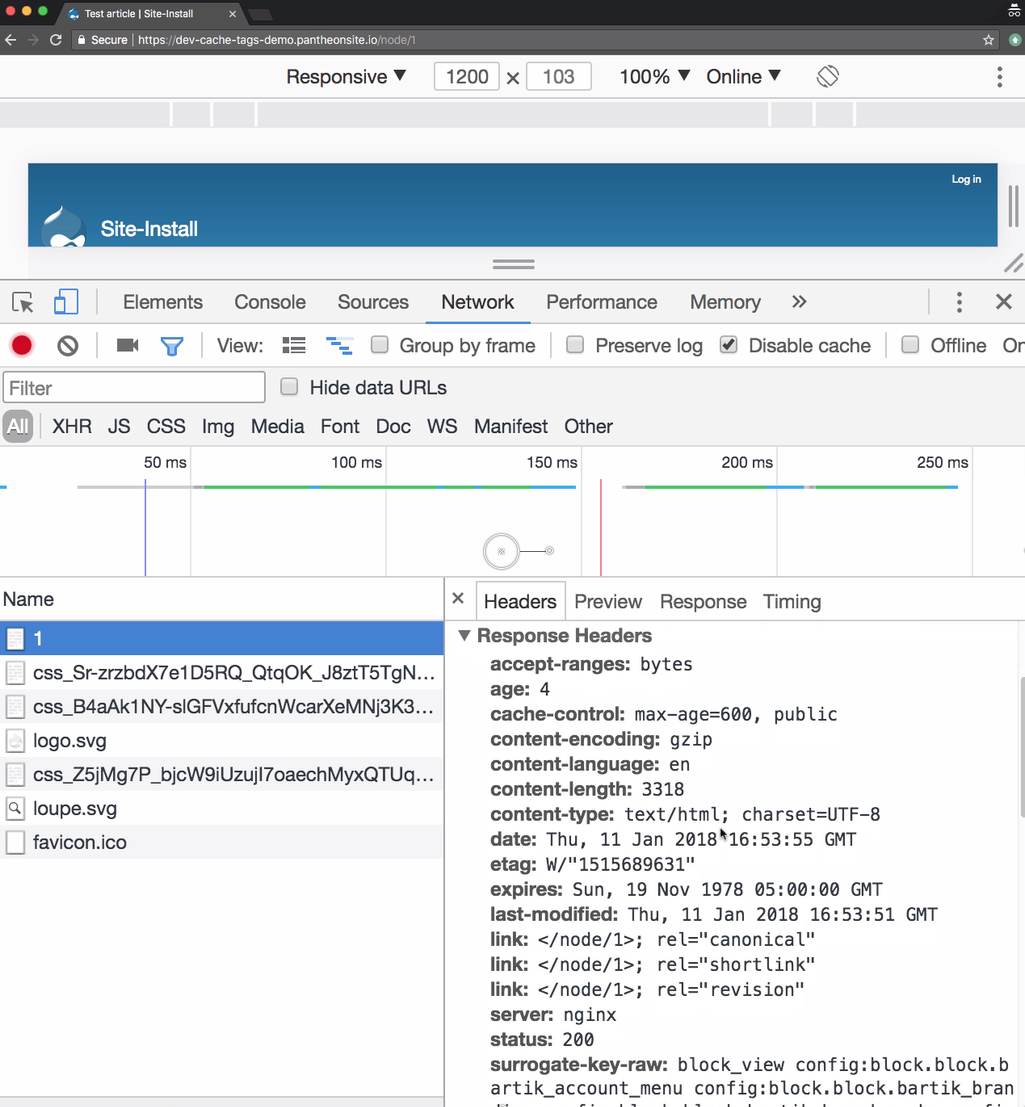
You can also view headers in a web browser, if you have a browser extension to add the HTTP debugging request header,
Pantheon-Debug, with a value of1(here are some extensions for Chrome and Firefox). In an another browser (or a Chrome incognito window or Firefox Private Window), open the article you just created. In your browser's page inspector, you can view the HTTP requests made by the page. You may need to refresh the page to see all the network requests.By clicking on the first request you can see more detailed information like the HTTP headers.
The rest of this guide will show you how to make content changes and inspect the changing HTTP headers, referencing curl -I output because browser inspector tools have a lot of additional information that would distract from this demonstration. But if you are more comfortable in the browser, you can continue using that incognito window.
For a walk through of how some of these different headers change caching behavior, see our Frontend Performance Guide. For this guide, we're going to focus on Surrogate-Key-Raw and Age.
Review HTTP Headers
The Surrogate-Key-Raw header tell us all of the Drupal elements that comprise the page. Most critically, we see node:1 and taxonomy_term:1. This tells us that this page contained renderings of those two entities.
The Age header tells us the number of seconds that the page has been cached. If you curl again you should see the age number go up.
The remaining steps in this guide trim the output of the curl commands to only show the relevant data.
-
View some of the headers on the listing page for the taxonomy term (
/taxonomy/term/1):
You will see node:1 and taxonomy_term:1 again because this is the first time we have requested the listing page from curl. The age is 0 because the response wasn't cached.
- Curl again to make the age will go up:
-
Make a page node (
/node/add/page). -
View the headers:
-
Run curl again and the age will increase.
-
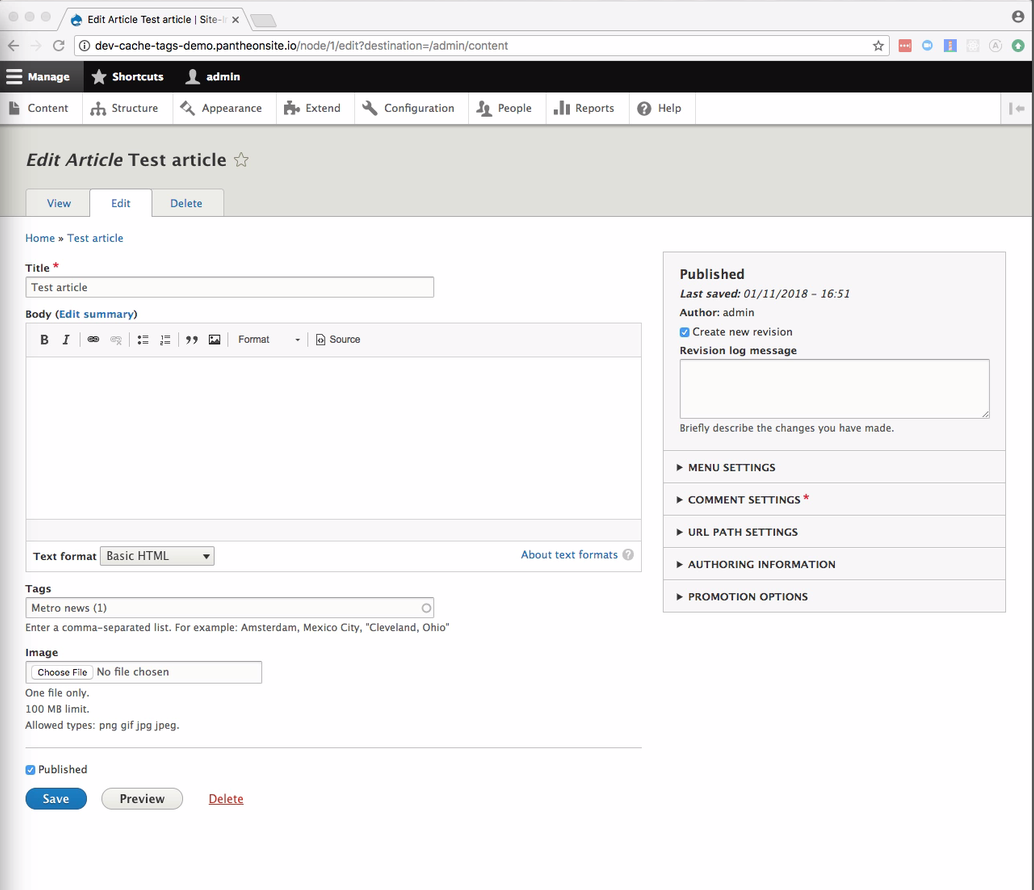
Open the edit screen and decide what caching behavior you want for
/node/1,/node/2, and/taxonomy/term/1. (node/1/edit):
- Check the age on the three pages:
- Click the button to save node 1 in your browser and then curl the three pages again:
The pages that contained a rendering of Node 1 were cleared. Node 2's page was not.
Considerations
If you add a new node that used taxonomy term 1, you would want the listing page for term 1 to be cleared.
- Add a new article and use the same taxonomy term:

- Run curl on the taxonomy listing page.
The taxonomy listing was not cleared. In order to clear the taxonomy term when a new node is added that uses that term, you need to write custom code.
Clear An Existing Cache Tag
Follow the steps below to add a custom module that uses a hook to clear the cache tag for all taxonomy terms.
-
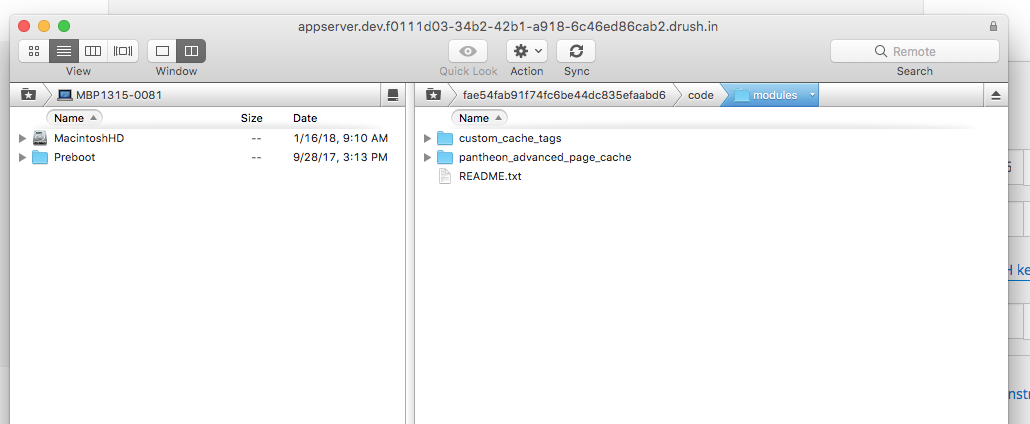
Connect to your Dev environment via SFTP.
-
Open
code/modules> create a new directory calledcustom_cache_tags.> ope your newly created folder:
- Create a new file named
custom_cache_tags.info.ymland add the following:
-
Create a new file named
custom_cache_tags.moduleand add the following:
This code clears all references to every taxonomy term referenced by a new published node.
-
Enable the new custom module and commit your code:
-
Clear all caches so that the new hook is detected by Drupal:
-
Check the age of the taxonomy listing again by curling a few times to test your code.
Now whenever you add content, the referenced taxonomy term pages are automatically cleared. When you add another article that references term 1, that age should reset to zero.
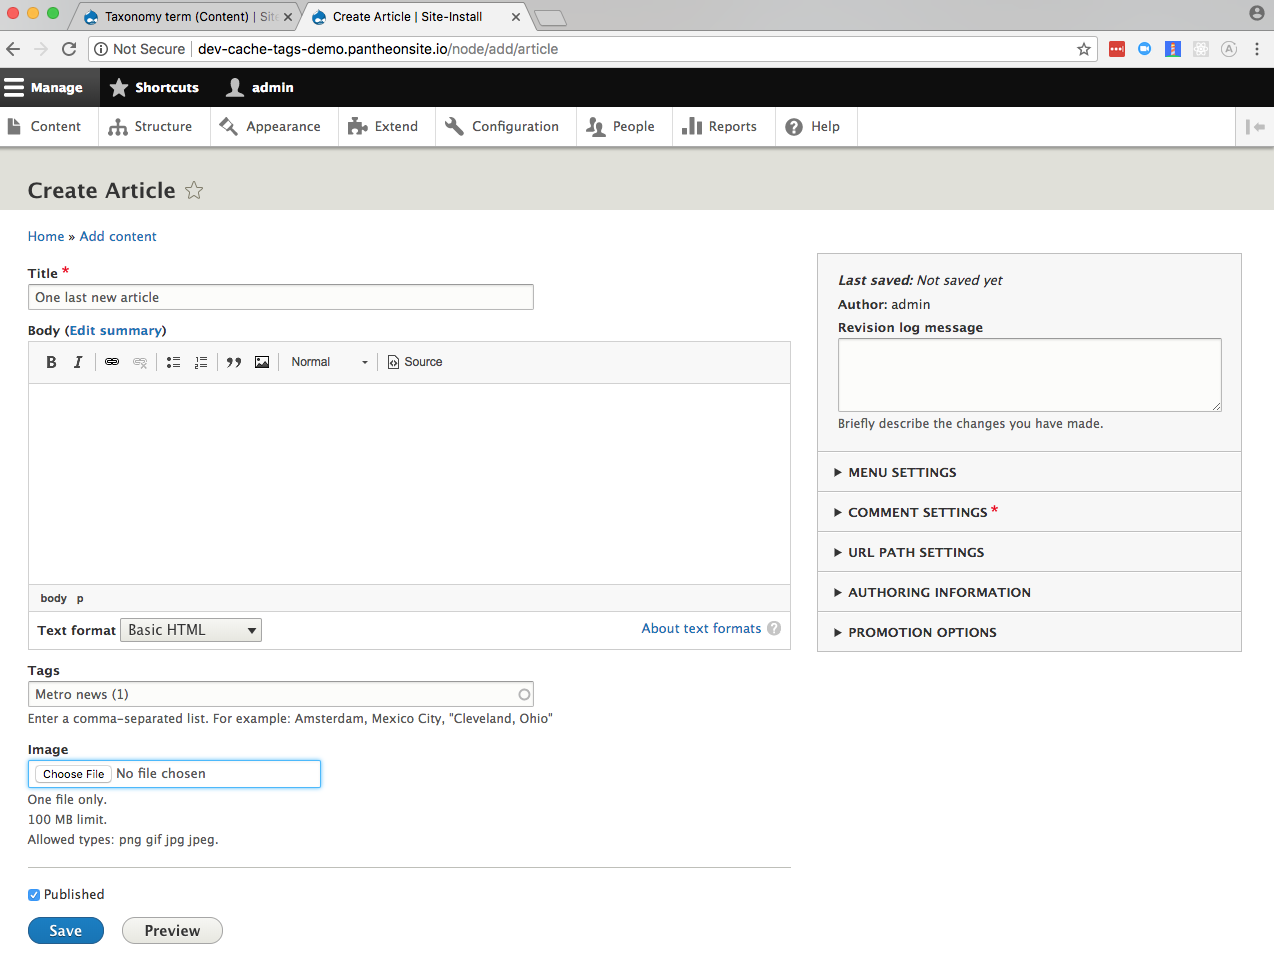
- Make the new article node and use the same taxonomy term:
- Run curl again:
The age of 0 tells us that adding the new node cleared the cache.
Set a Custom Cache Tag
The code we added clears all references to each taxonomy term every time a node is added that references the term. Clearing caches that broadly might be too aggressive if we are just concerned about listings of our taxonomy term. We can be more targeted in our clearing by adding a module that will set a more specific tag.
-
Download and enable the Views Custom Cache Tags module:
-
Commit your code changes:
-
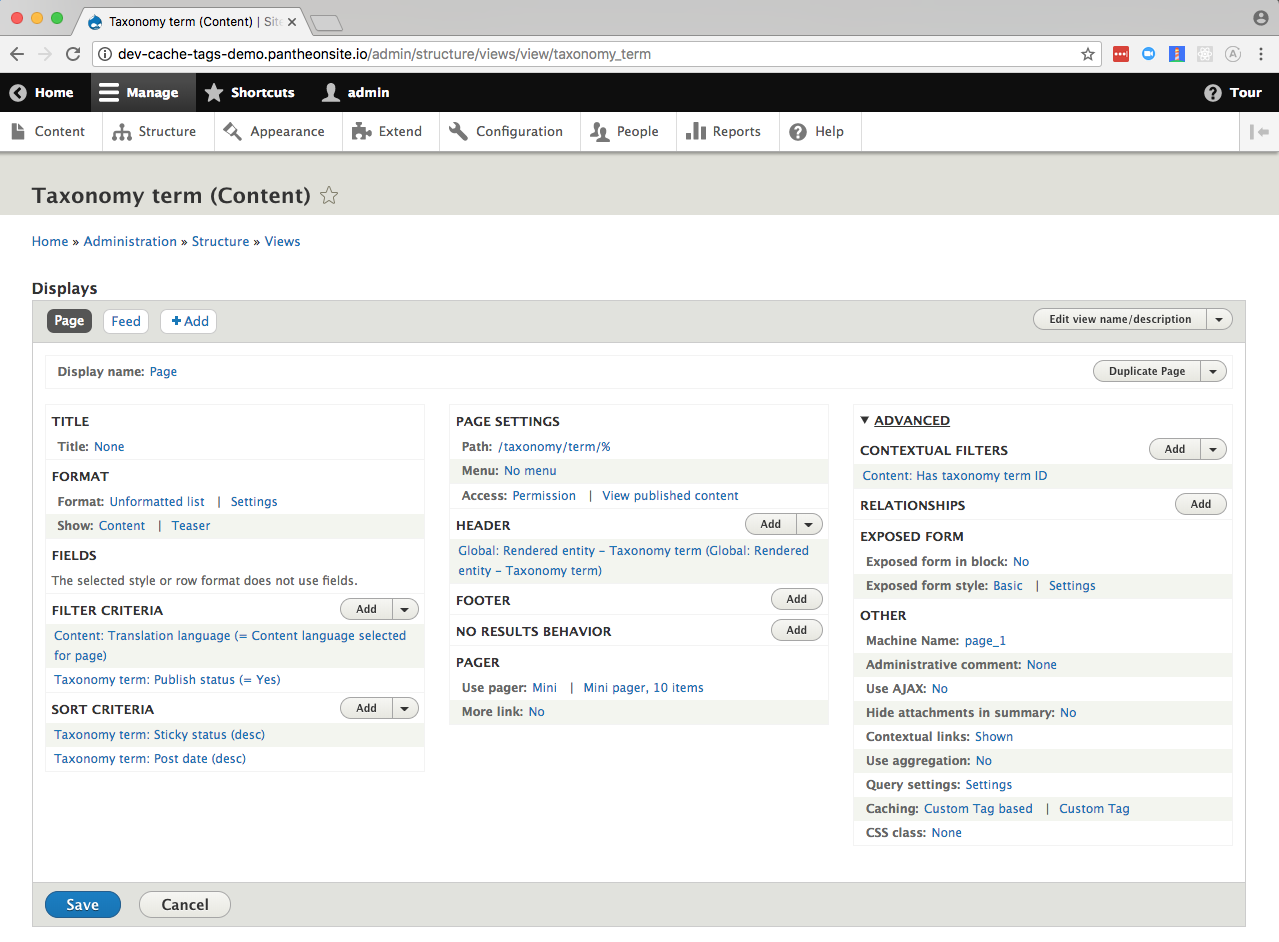
Edit the View that controls taxonomy terms (
admin/structure/views/view/taxonomy_term) and change the caching settings from "Tag based" to “Custom Tag based". You may have to expand the Advanced column:
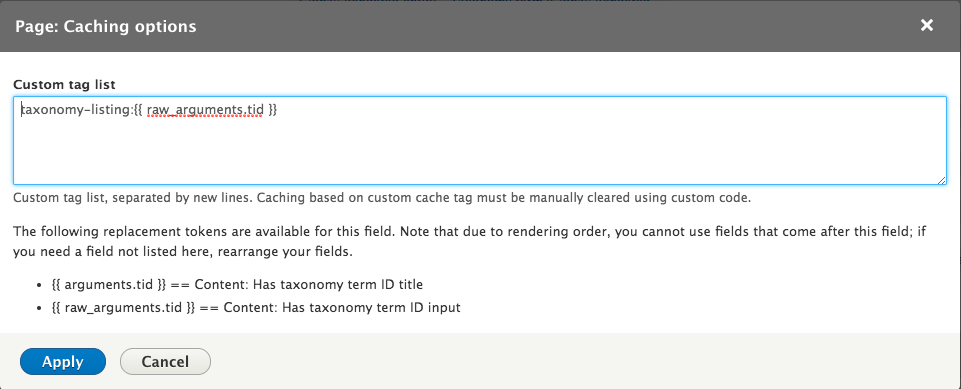
- Use
taxonomy-listing:{{ raw_arguments.tid }}for the custom tag and then Save the View:
-
Clear all caches to see the change:
-
Curl the listing page a few times again:
-
Edit the custom module allow
taxonomy-listing:1to be cleared when a new node is added that references term 1 by changing the code incustom_cache_tags.modulefrom:To:
-
Check that adding a new article clears the taxonomy listing page:
Additional Resources
- Where you set and clear tags will vary greatly based on the needs of your site. See the Drupal.org documentation for how you can set cache metadata directly on render arrays.
- You can also read this blog post from Aaron Wolfe of Capellic on Pantheon Advanced Page Cache in Drupal 7.