Drupal Commerce on Drupal
Use Composer to Install Drupal Commerce with Drupal, on Pantheon
This guide covers installing Drupal Commerce, an e-commerce implementation designed specifically for Drupal. At the end of this guide you will have a:
- Drupal Commerce site
- GitHub repository
- Circle CI configuration for testing
Before You Begin
- Make sure you have updated to the latest version of Drupal
Drupal 8 reached end-of-life status in November 2021, and is no longer supported by Drupal. Read the official announcement on Drupal.org.
-
Follow the Before You Begin section of the Build Tools guide to install Terminus and the Terminus Build Tools plugin on your local computer, and create machine tokens for GitHub and CircleCI. Export the tokens to your current terminal session, as described below.
-
Export the variables in your local terminal session copy and paste commands without needing to change the variable.
Create a New Drupal Site
- Use the Terminus Build Tools plugin to create a new Drupal site from the Pantheon Drupal Recommended repository on GitHub:
Do not go to the web interface to continue installation. You now have a repository on GitHub containing your new site.
- Clone a local copy to your
projectsfolder:
Remember to replace username with your GitHub username.
Install Drupal Commerce
- Move into the local repository for your site:
- Use Composer to install the Commerce Installation Profile:
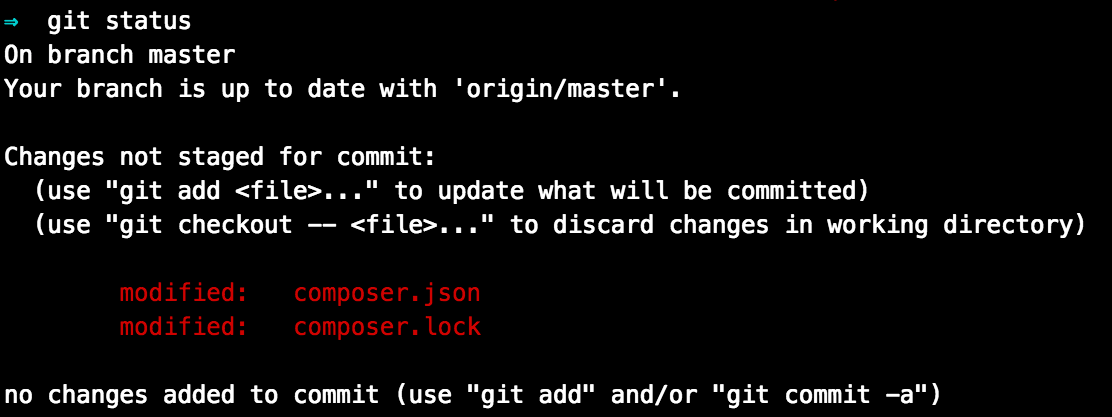
- Run
git statusto see that thecomposer.jsonandcomposer.lockfiles have changed:
- Commit the new files and then push them to GitHub:
-
Open your CircleCI Dashboard to see that tests are running on your new commit. After they pass, CircleCI will push the changes to your Site Dashboard.
-
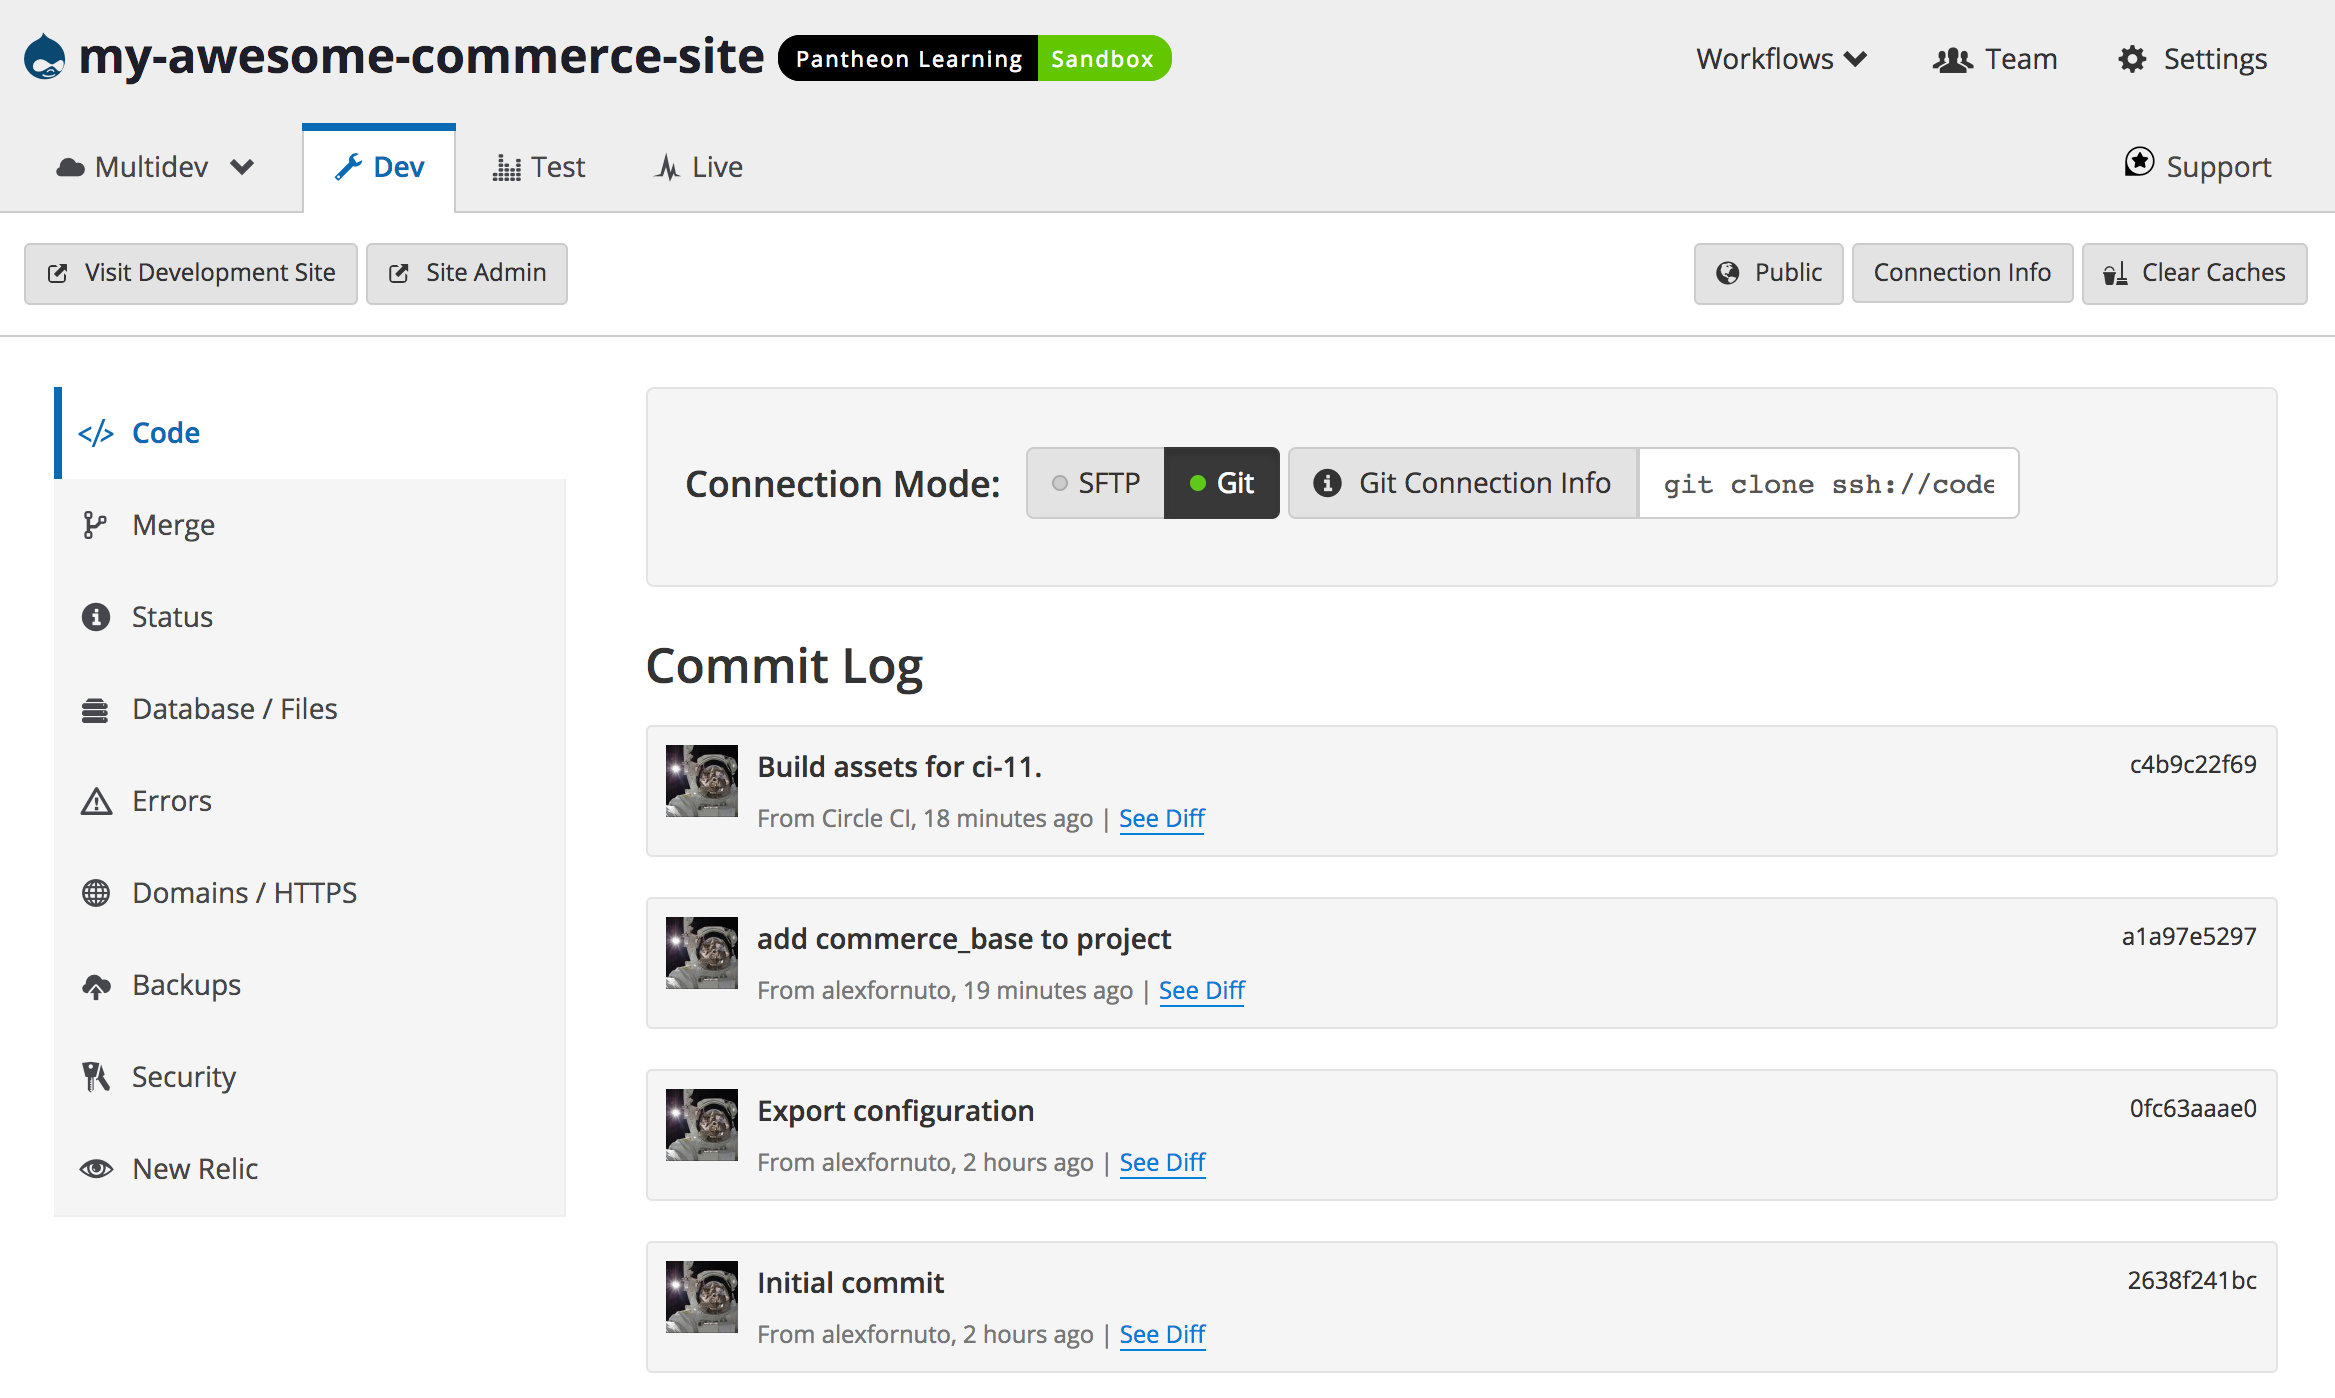
Go to your newly created Site Dashboard. Under the Dev tab, click on Code, then install later.
You should now see your commit history. After CircleCI completes the automated tests built into our repository, it will commit the build assets and push them to Dev:
Reinstall Drupal
The Build Tools Plugin command you used earlier automatically installed Drupal's standard profile in the Dev environment for us. Now that you've installed the Commerce profile, you need that installed instead.
- Use Terminus to run the Drush command
site-install.
This will first clear the database of the Standard profile before installing Commerce. This Drush command requires that the system be in writable (SFTP) mode:
- Review the last two lines of output to identify the username and password created:
-
Log in to your Drupal site in the Dev environment. The presence of the Commerce button on the toolbar indicates a successful install:

Conclusion
What you do next is up to you and your needs. Consider reading our Composer Fundamentals and Workflows doc for more information.