Manage Themes
Beginners guide on how to use the WordPress Dashboard, an SFTP client, and your text editor of choice to work quickly, safely and easily on Pantheon's Git-based platform.
This lesson demonstrates how to utilize Git while developing over SFTP with a local file client and text editor. Often, premium plugins or themes need to be downloaded from the plugin provider and uploaded to your site. In this example, we will replicate that by uploading a new theme, creating a child theme, and then finally make some example customizations to the stylesheet -- all while submitting our work to version control along the way in sensibly grouped commits. ARE YOU UPDATING
Upload a Theme
-
Download the Bento theme from WordPress.org to your local machine.
-
Navigate to Code in the Dev tab of your Site Dashboard. Confirm your Connection Mode is still set to SFTP.
-
Establish a secure connection from your local to Pantheon using an SFTP client of your choice (this guide uses Transmit).
Click Connect with SFTP then select the link to Open SFTP Client:
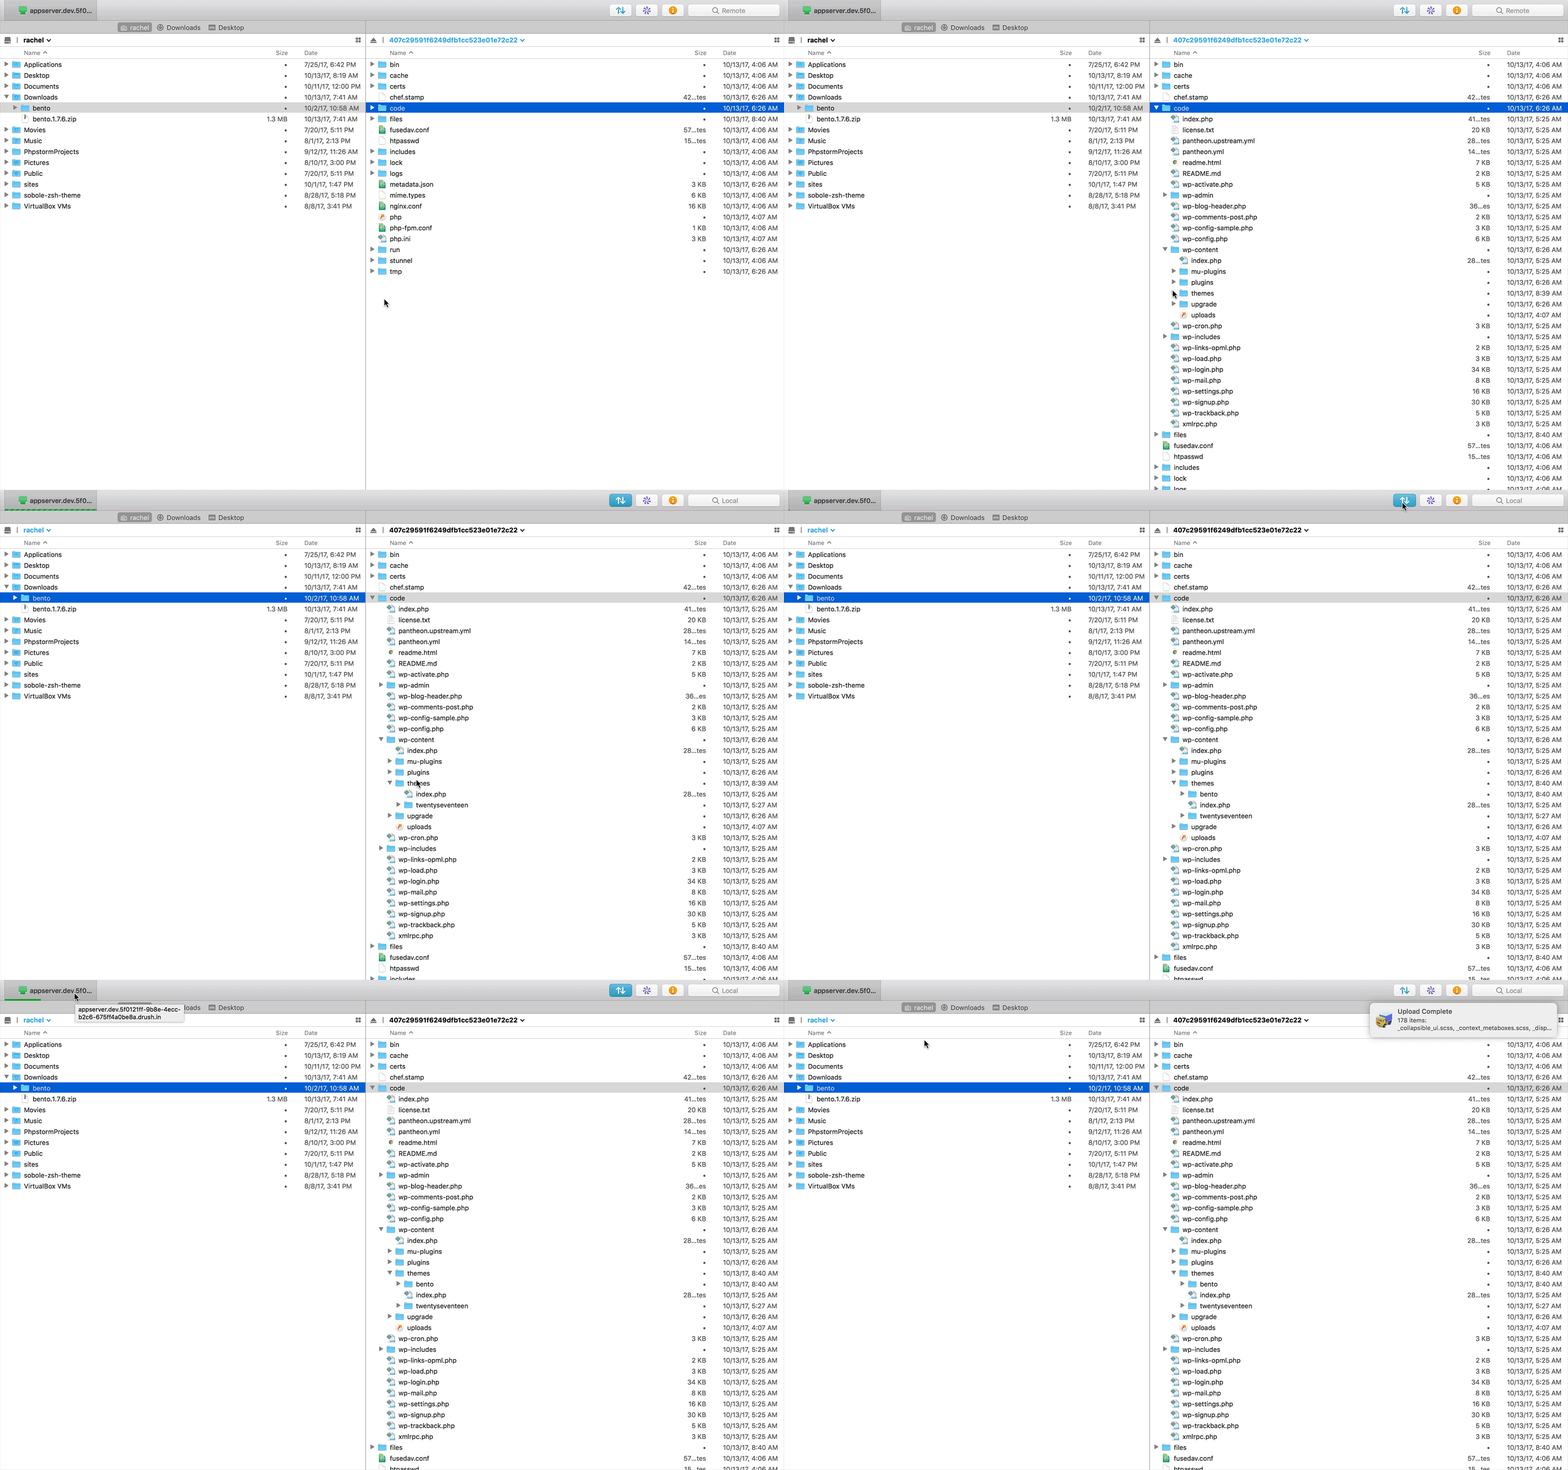
If you have already set up an SSH key, as recommended in the Before You Begin section of the guide's introduction, you should see a new window open for your SFTP client where you can see local files and remote files on Pantheon. In Transmit, local files are managed on the left and Pantheon's on the right:
- Navigate to the
code/wp-content/themesdirectory within the remote file manager for Pantheon on the right side. Then drag and drop the Bento theme folder from your local computer onto Pantheon to upload the theme. You'll see Transmit begin uploading, then confirm once it's done:
That's all it takes! You can now activate the Bento theme in the WordPress Dashboard.
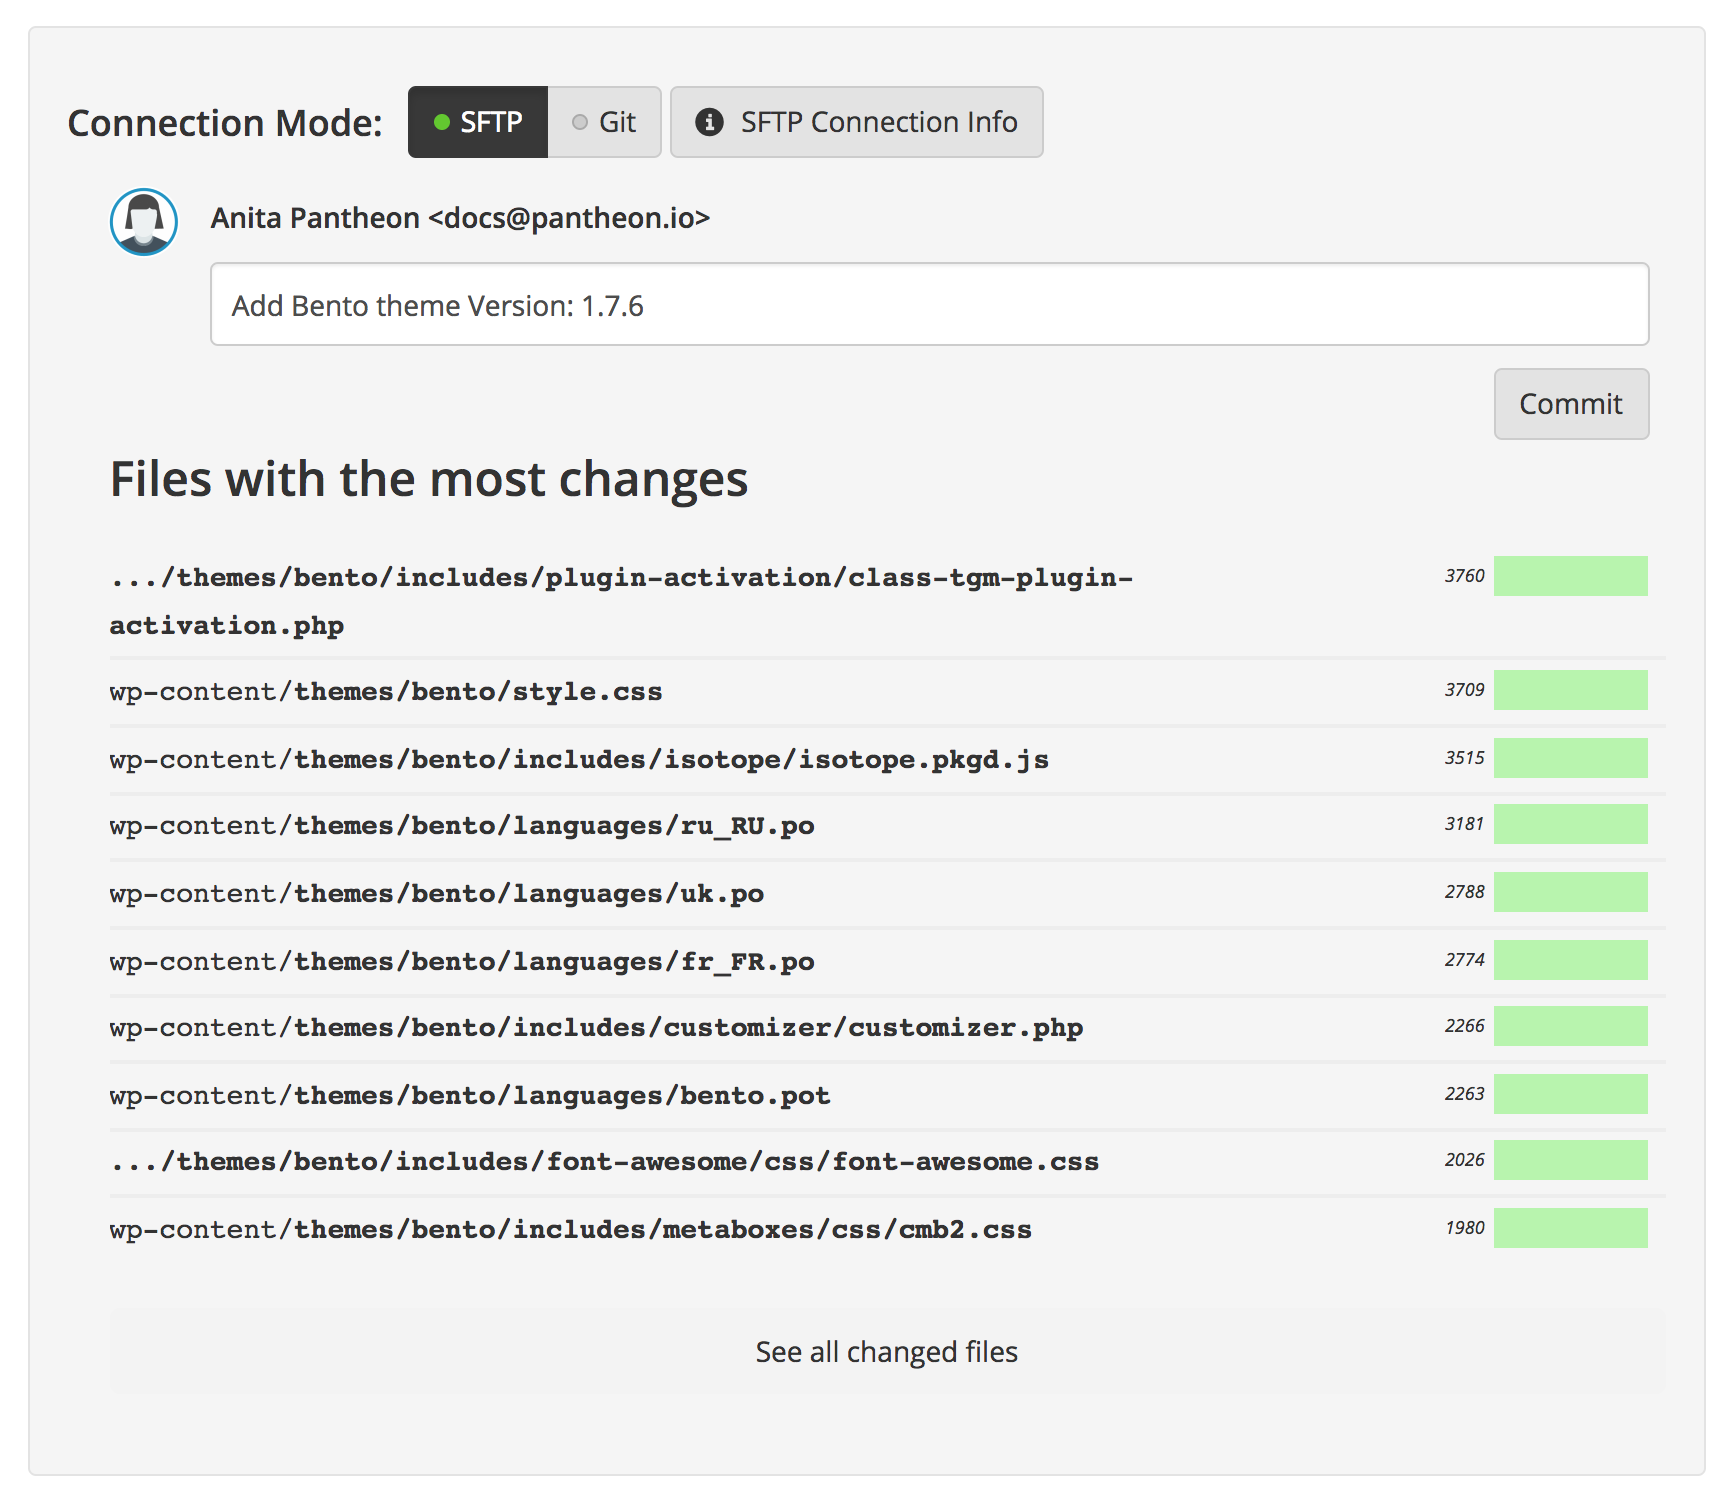
- Return to the Site Dashboard on Pantheon, and you should see quite a few files ready to be committed to Git. That's from the theme we just uploaded. Write a commit message then click Commit to submit our new theme to version control:
Create a Child Theme
If you intend to tweak the look and feel of a theme using custom functions or styles, you need to do it in a child theme. Otherwise, you'll lose that customization on the next update to the theme.
The child theme inherits all the features of the Bento theme. It's simply a spot to safely extend the theme so that customizations persist after future updates.
-
Use Transmit and navigate to the remote
code/wp-content/themesdirectory on Pantheon. -
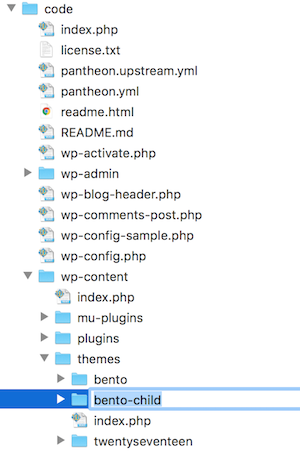
Right-click then select New Folder and name it
bento-child:
- Right-click the
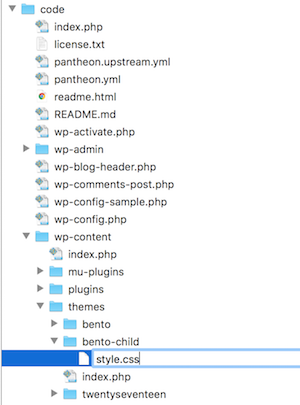
bento-childdirectory then select New File and name itstyle.css:
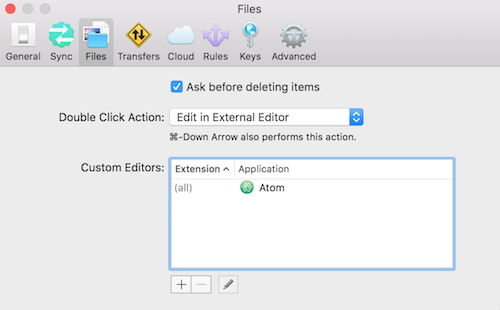
- If you don't already have your SFTP client configured to use your preferred text editor, you can do that now. Here's how we configured Transmit so that double-clicking a file opens it up for edits in Atom (Transmit > Preferences > Files from the app menu):
- Double-click the new
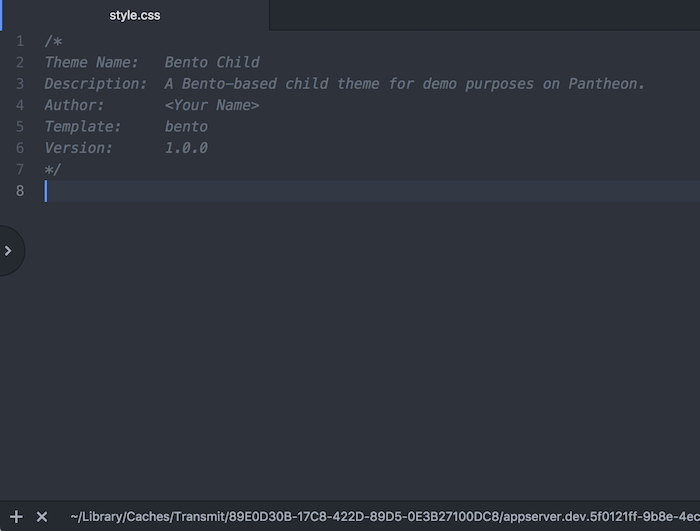
style.cssfile within Transmit to open it up for edits in Atom, then add the following to the top:
Here is what it looks like in the Atom text editor.
-
Save your additions to the
style.cssfile in Atom. Saving changes to this file in Atom will trigger Transmit to upload the file to Pantheon automatically. -
Right-click the
bento-childdirectory then select New File and name itfunctions.php. Open the file in Atom by double-clicking, then add the following code (which tells WordPress to apply our child theme's stylesheet) and save:
- Now we should have a working child theme. From the WordPress Dashboard, navigate to the Appearance tab and activate the child theme.
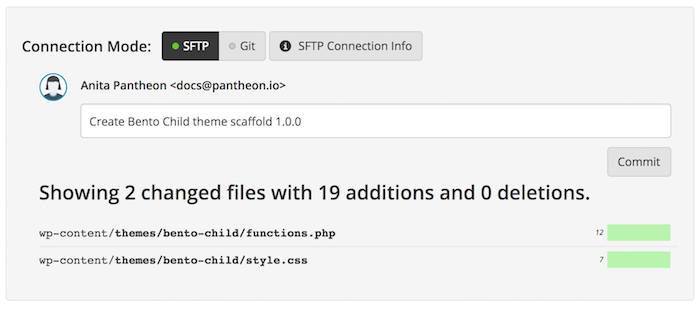
- Return to the Site Dashboard on Pantheon, and you should see two files ready to be committed to Git. They're from the child theme we just created. Write a commit message then click Commit to submit our new child theme to version control:
Customize the Stylesheet
Finally, let’s make a few small customizations to our active child theme using Transmit and Atom.
-
In Transmit, double-click the
style.cssfile within the child theme's remote directory to open it up for edits in Atom. -
Add the following CSS snippets towards the bottom:
-
Save the file changes in Atom.
-
Refresh the Dev environment's site URL and you should see your changes reflected. The header background should be salmon and the page should have deepskyblue anchors:
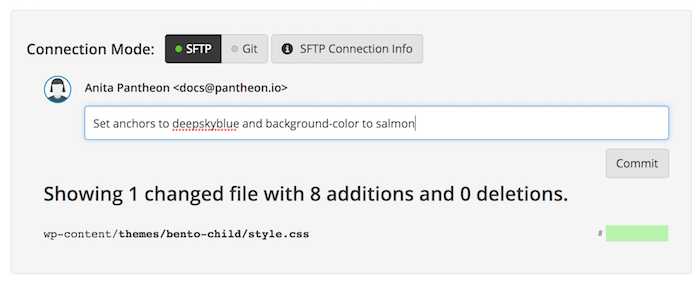
- Return to the Site Dashboard on Pantheon, and you should see one file ready to be committed to Git. That's from recent edits to the child theme's
style.cssfile. Write a commit message then click Commit to submit our new styles to version control:
This example is a very simple demonstration of the edit process, and is not intended to be a comprehensive resource on extending the layout or design of a theme (which likely means writing custom PHP functions). If you're looking for advanced tips on how to build and maintain themes efficiently checkout the Theme Handbook on WordPress.org.


