Install and Configure Lando for WordPress
Install and configure Lando for WordPress local development.
This section provides information on how to use Lando for local development with WordPress sites on Pantheon.
Lando is an Open Source development tool for customizable local server environment configurations that can be tracked in source-control repositories.
Before You Begin
Be sure that you have:
- An existing WordPress site on Pantheon, or create a site.
- A working knowledge of local server environments.
- Reviewed the Lando getting started guide and the Lando CLI usage.
- Verified that your meet Lando's system requirements. Lando does not currently provide a Graphical User Interface (GUI). Everything is managed from the command line.
Download and Install Lando
-
Download the appropriate Lando release for your Operating System.
-
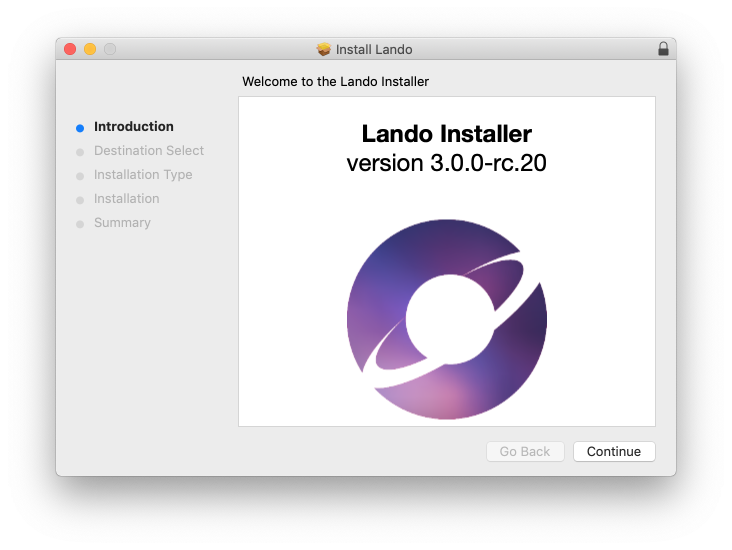
Open the installer package. The installer has a few pre-flight checks it runs before it starts.
- Follow the system prompts to install Lando.
Get Started
You must manage your Lando instances via the command-line. The Lando command is installed globally. You can run it from anywhere within your terminal.
- Review the short list of useful Lando commands in the Lando documentation or run the command below for a list of useful Lando commands:
-
Keep your project's site files and folders organized by placing your website projects in separate folders from one another.
-
Create a separate folder to hold your Lando-powered installations rather than mixing with installs managed by other server environments.
Install WordPress Locally
This example shows you how to install and spin up a fresh WordPress site locally, without Pantheon integration.
You can follow these same basic steps with an existing Pantheon Drupal site by replacing the starting recipe.
- Open your terminal and go to the directory where you plan to run your Lando WP site. Replace
my-wp-sitewith the name of your site.
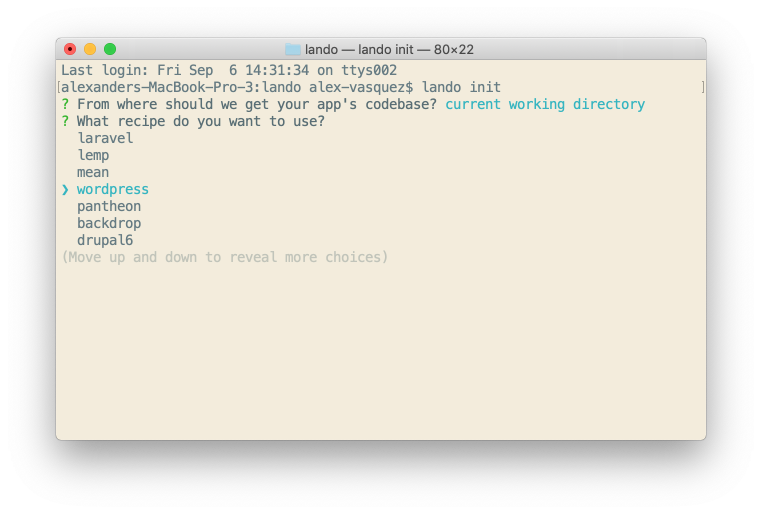
- Initialize the Lando site:
-
Select your directory. You can choose to start from your current directory or you can clone from Pantheon, Github, or another remote repository, or zip file. This example uses the current working directory.
-
Choose WordPress as your starting recipe.
-
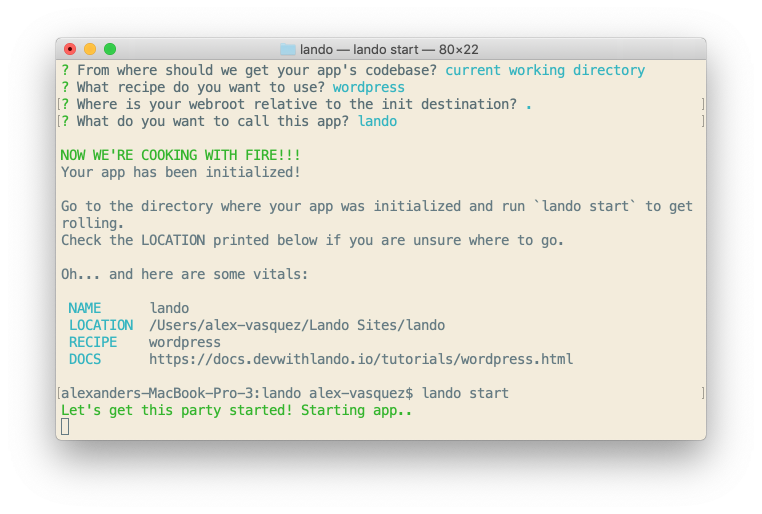
Press enter and Lando will spin up the site for your webroot from your current directory.
-
Enter the name of the site to create your local site. Use something you’ll remember.
-
Start Lando:
This starts your Lando app and gives you some basic information like your Appserver URLs to access the site in your local browser of choice:
- Download the WordPress Core:
This command downloads the current stable release of WordPress and unpacks it in your current working directory. This step isn’t necessary if you started with a Git or Pantheon repository instead of the current working directory.
Prefix your wp command with lando to use WP-CLI commands in Lando.
-
Create your WP configuration file. You can also do this in the command line.
-
Open your browser and enter the URL provided when you started Lando. You’ll notice WordPress’s Famous Five Minute install screen.
-
Click Next after choosing your preferred language, and then click let’s go on the following screen.
-
Enter your credentials and complete the installation process. In Lando, for a WordPress installation without Pantheon, the Database, Username, and Password are all
wordpressand Database Host isdatabase(all values are case-sensitive).
You can find your site’s login details by typing lando info in your terminal.
WordPress with the Pantheon Recipe
Using Lando with Pantheon provides a few key advantages:
-
It closely mimics Pantheon’s tech stacks and environments for your local environment, getting you as close to a one-to-one development setup as possible.
-
The recipe also installs Terminus (if you don’t already have it installed), Pantheon’s powerful web server management CLI.
-
The ability to push and pull changes directly into Lando from any of your Pantheon environments.
WordPress Pantheon Requirements
Verify that you have:
-
An account with Pantheon, which you can register for free.
-
A Pantheon hosted site ready to go. You can either use an existing Pantheon site or spin up a new one.
-
A unique Pantheon machine token.
Install WordPress with the Pantheon Recipe
- Open the directory of the WordPress site created in the section above, and stop the Lando instance (if it is running):
-
Open your project directory, create a new directory for your WordPress and Pantheon integrated environment, and
cdto it. -
Initiate a new Lando site, specifying Pantheon as the source:
The only difference between this and lando init is that defining the source as Pantheon allows you to skip some prompts.
-
Paste the Pantheon machine token you created for Lando when prompted. Most Terminal emulators use CTRL/Command + V to paste, and you will not see any characters added,
*or otherwise. -
Choose the Pantheon site you want to pull from to create your local site.
Lando creates your local environment, mirroring your Dev environment closely, and then clones down the site’s codebase (this part of the process does not include media files in the uploads folder or the site’s database). This will take a few minutes or so depending on the site’s size.
- Run the site locally when the installation completes:
You can get your local site URL when you start your site and access it from your browser. You can also pull your code, media files, and your database from the site’s Pantheon environment.
Push and Pull Your Changes
Push Local Changes to Pantheon
One of the benefits of using Lando with the Pantheon recipe is the ability to push your changes from your local site to your various Pantheon environments (including Live and Multidev instances).
-
Make changes to your local site.
-
Enter
lando pushto initiate a push from your local environment. -
Complete the Lando prompts to select the environments you want to push your codebase, files, and database changes to.
Your database refers to your app's database. Your code refers to your app’s codebase, and includes any files that you would track within your site’s source control repository. Your media refers to assets and files stored within the /uploads folder. In general, it’s a good idea to NOT include your media files in your repository as your repo’s size can get out of hand quickly.
Pull Changes from Pantheon to Your Local Environment
-
Open your terminal.
-
Pull changes from Pantheon:
- Select the environment you want to pull from when prompted. You can pull from any Pantheon environment, including Multidev environments.
Lando runs a search and replace on the database siteurl and sitename table fields and replaces Pantheon’s values with your local values.
You can run your own search and replace on your local site after a pull has finished. You can also run a search replace on a site on Pantheon you pushed to. Here’s how you can do both:
OR
Support
Pantheon's Support Team doesn't provide support for Lando. Visit the Lando GitHub repository if you encounter issues.


