Next.js Hello World Tutorial
Get up and running with a simple Next.js application on Pantheon
Learning Objectives
This tutorial will walk you through:
- Creating a Next.js site via the Pantheon Workspace Dashboard, with a corresponding GitHub repository.
- Making a minor code change using the pull request workflow in GitHub and creating a new Multidev environment in the Pantheon Site Dashboard.
- Accepting that change by merging the pull request and subsequently deploying to the Dev environment.
Requirements
- A GitHub account with SSH configured
- Install Git
- (Optional) Terminus — required to view build logs from the command line. Requires logging in after installation.
Site creation
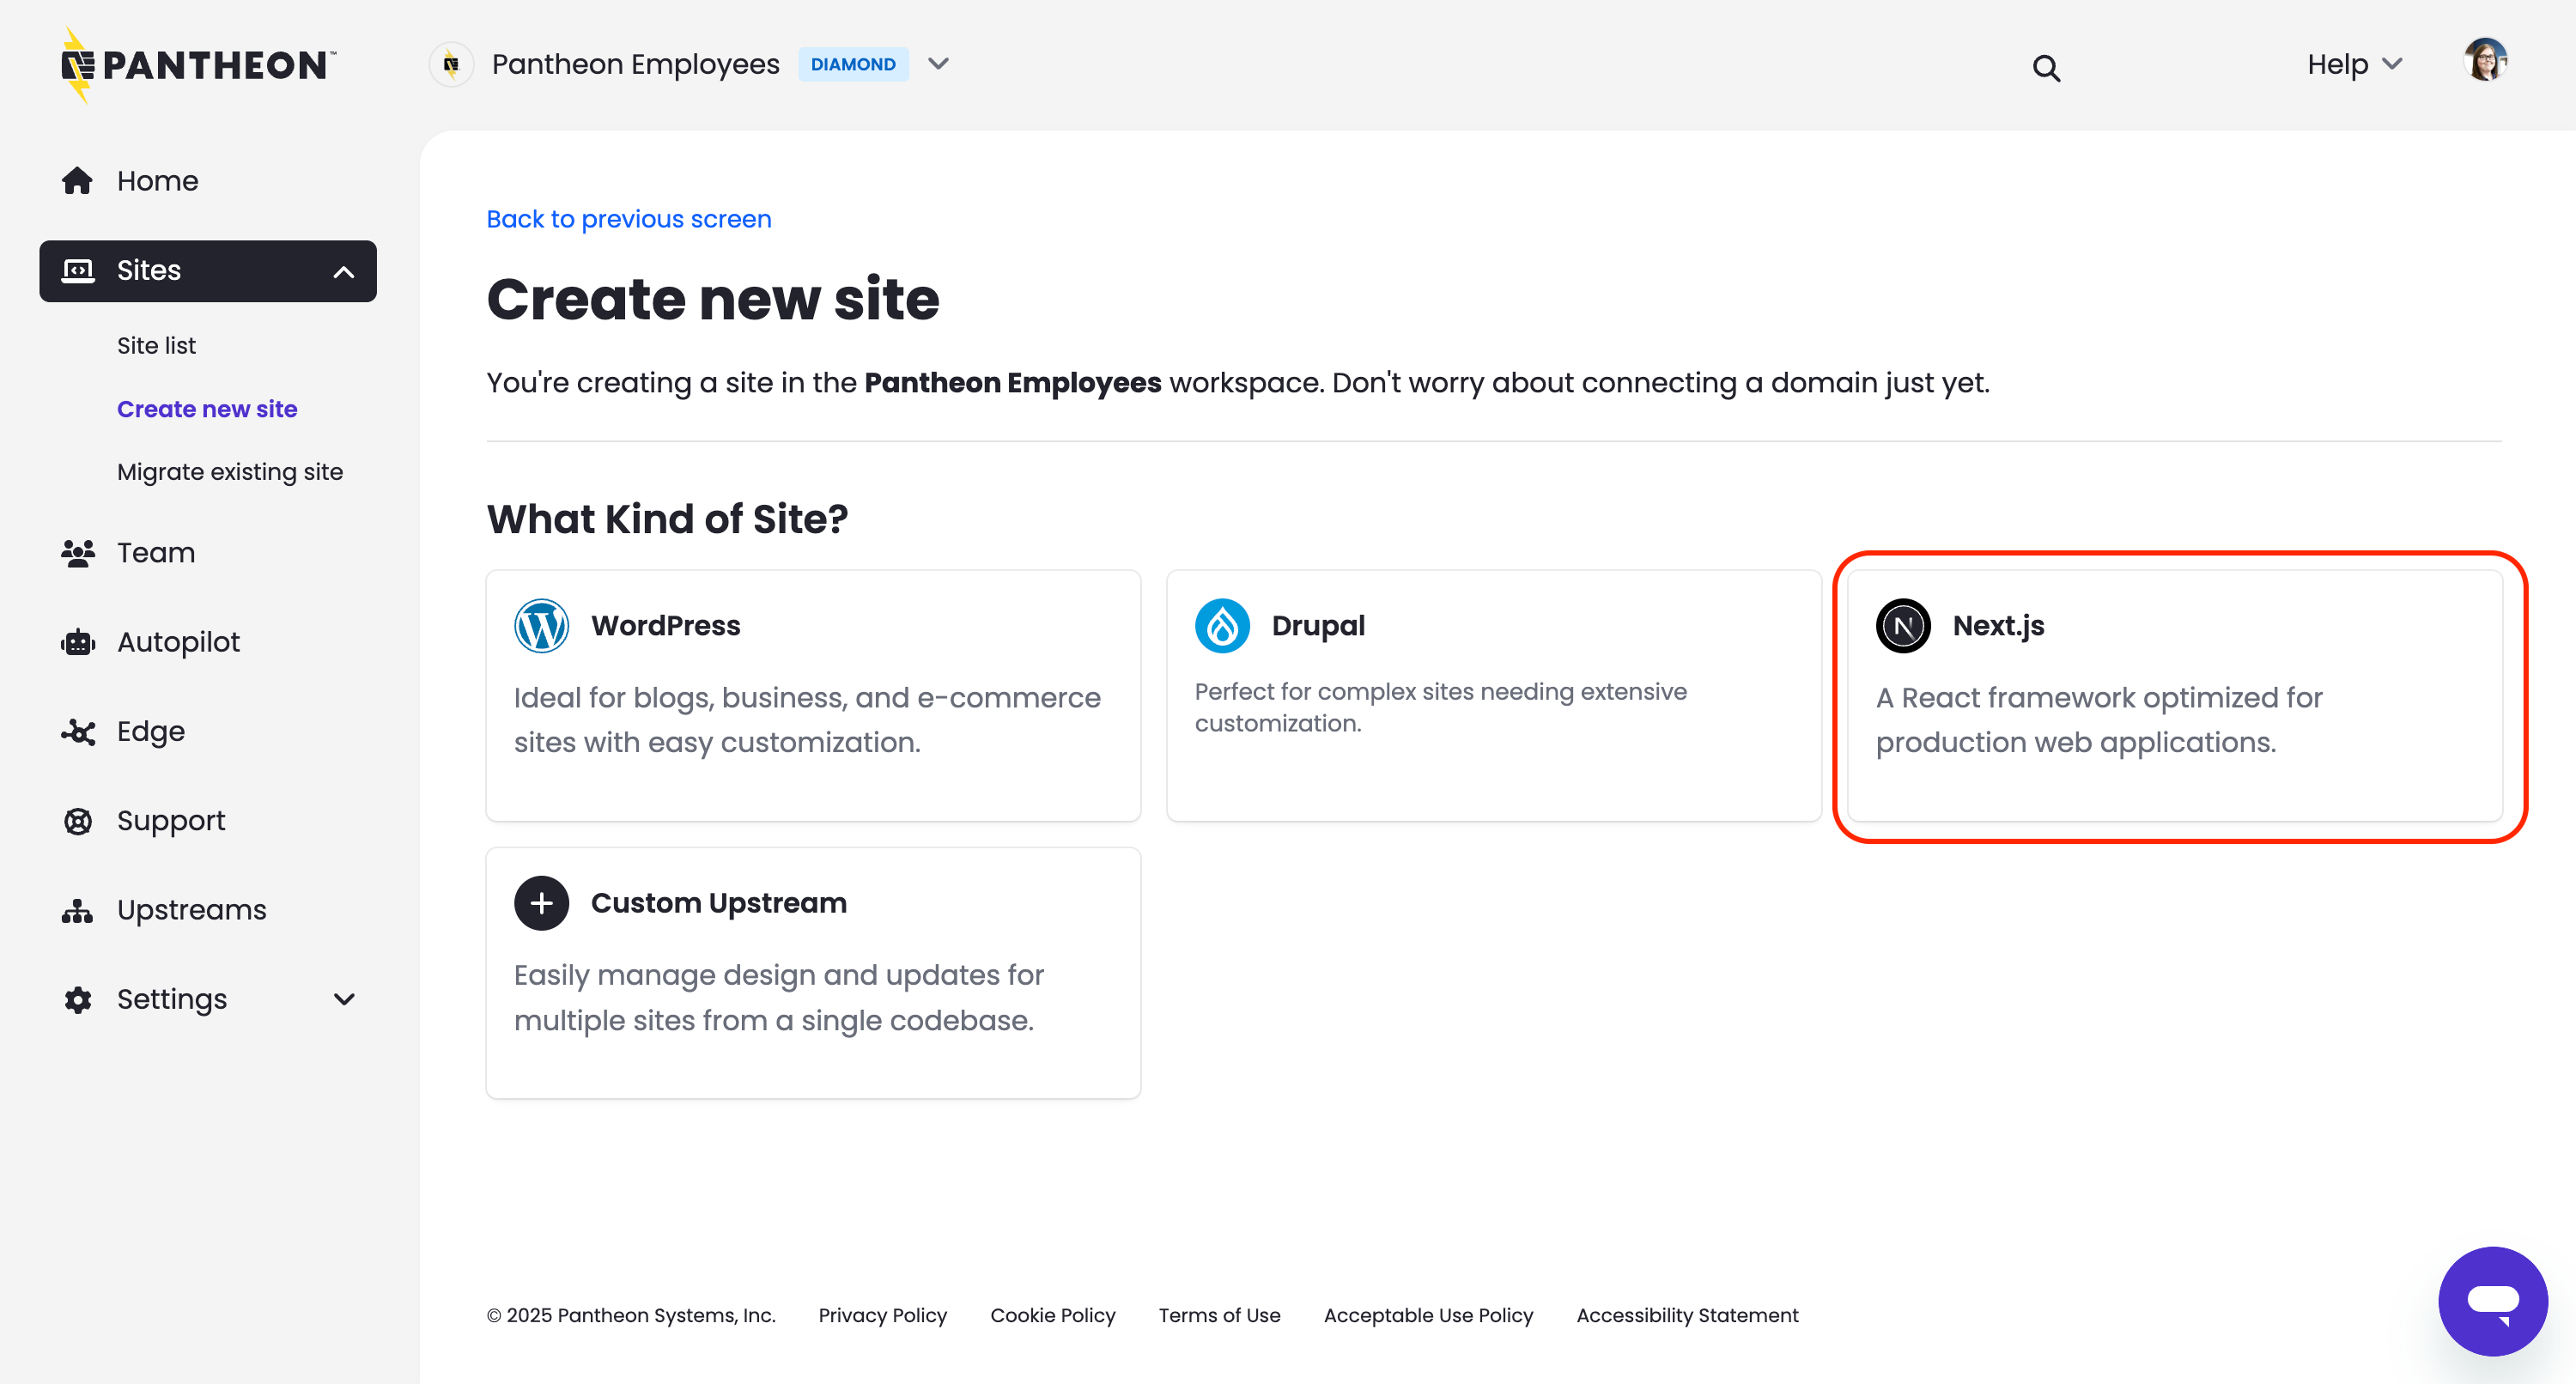
- Go to the workspace and click the Create New Site button. Then click Next.js:
- Click Connect next to GitHub. You will be prompted to install and authorize the Pantheon Site Integration GitHub application:
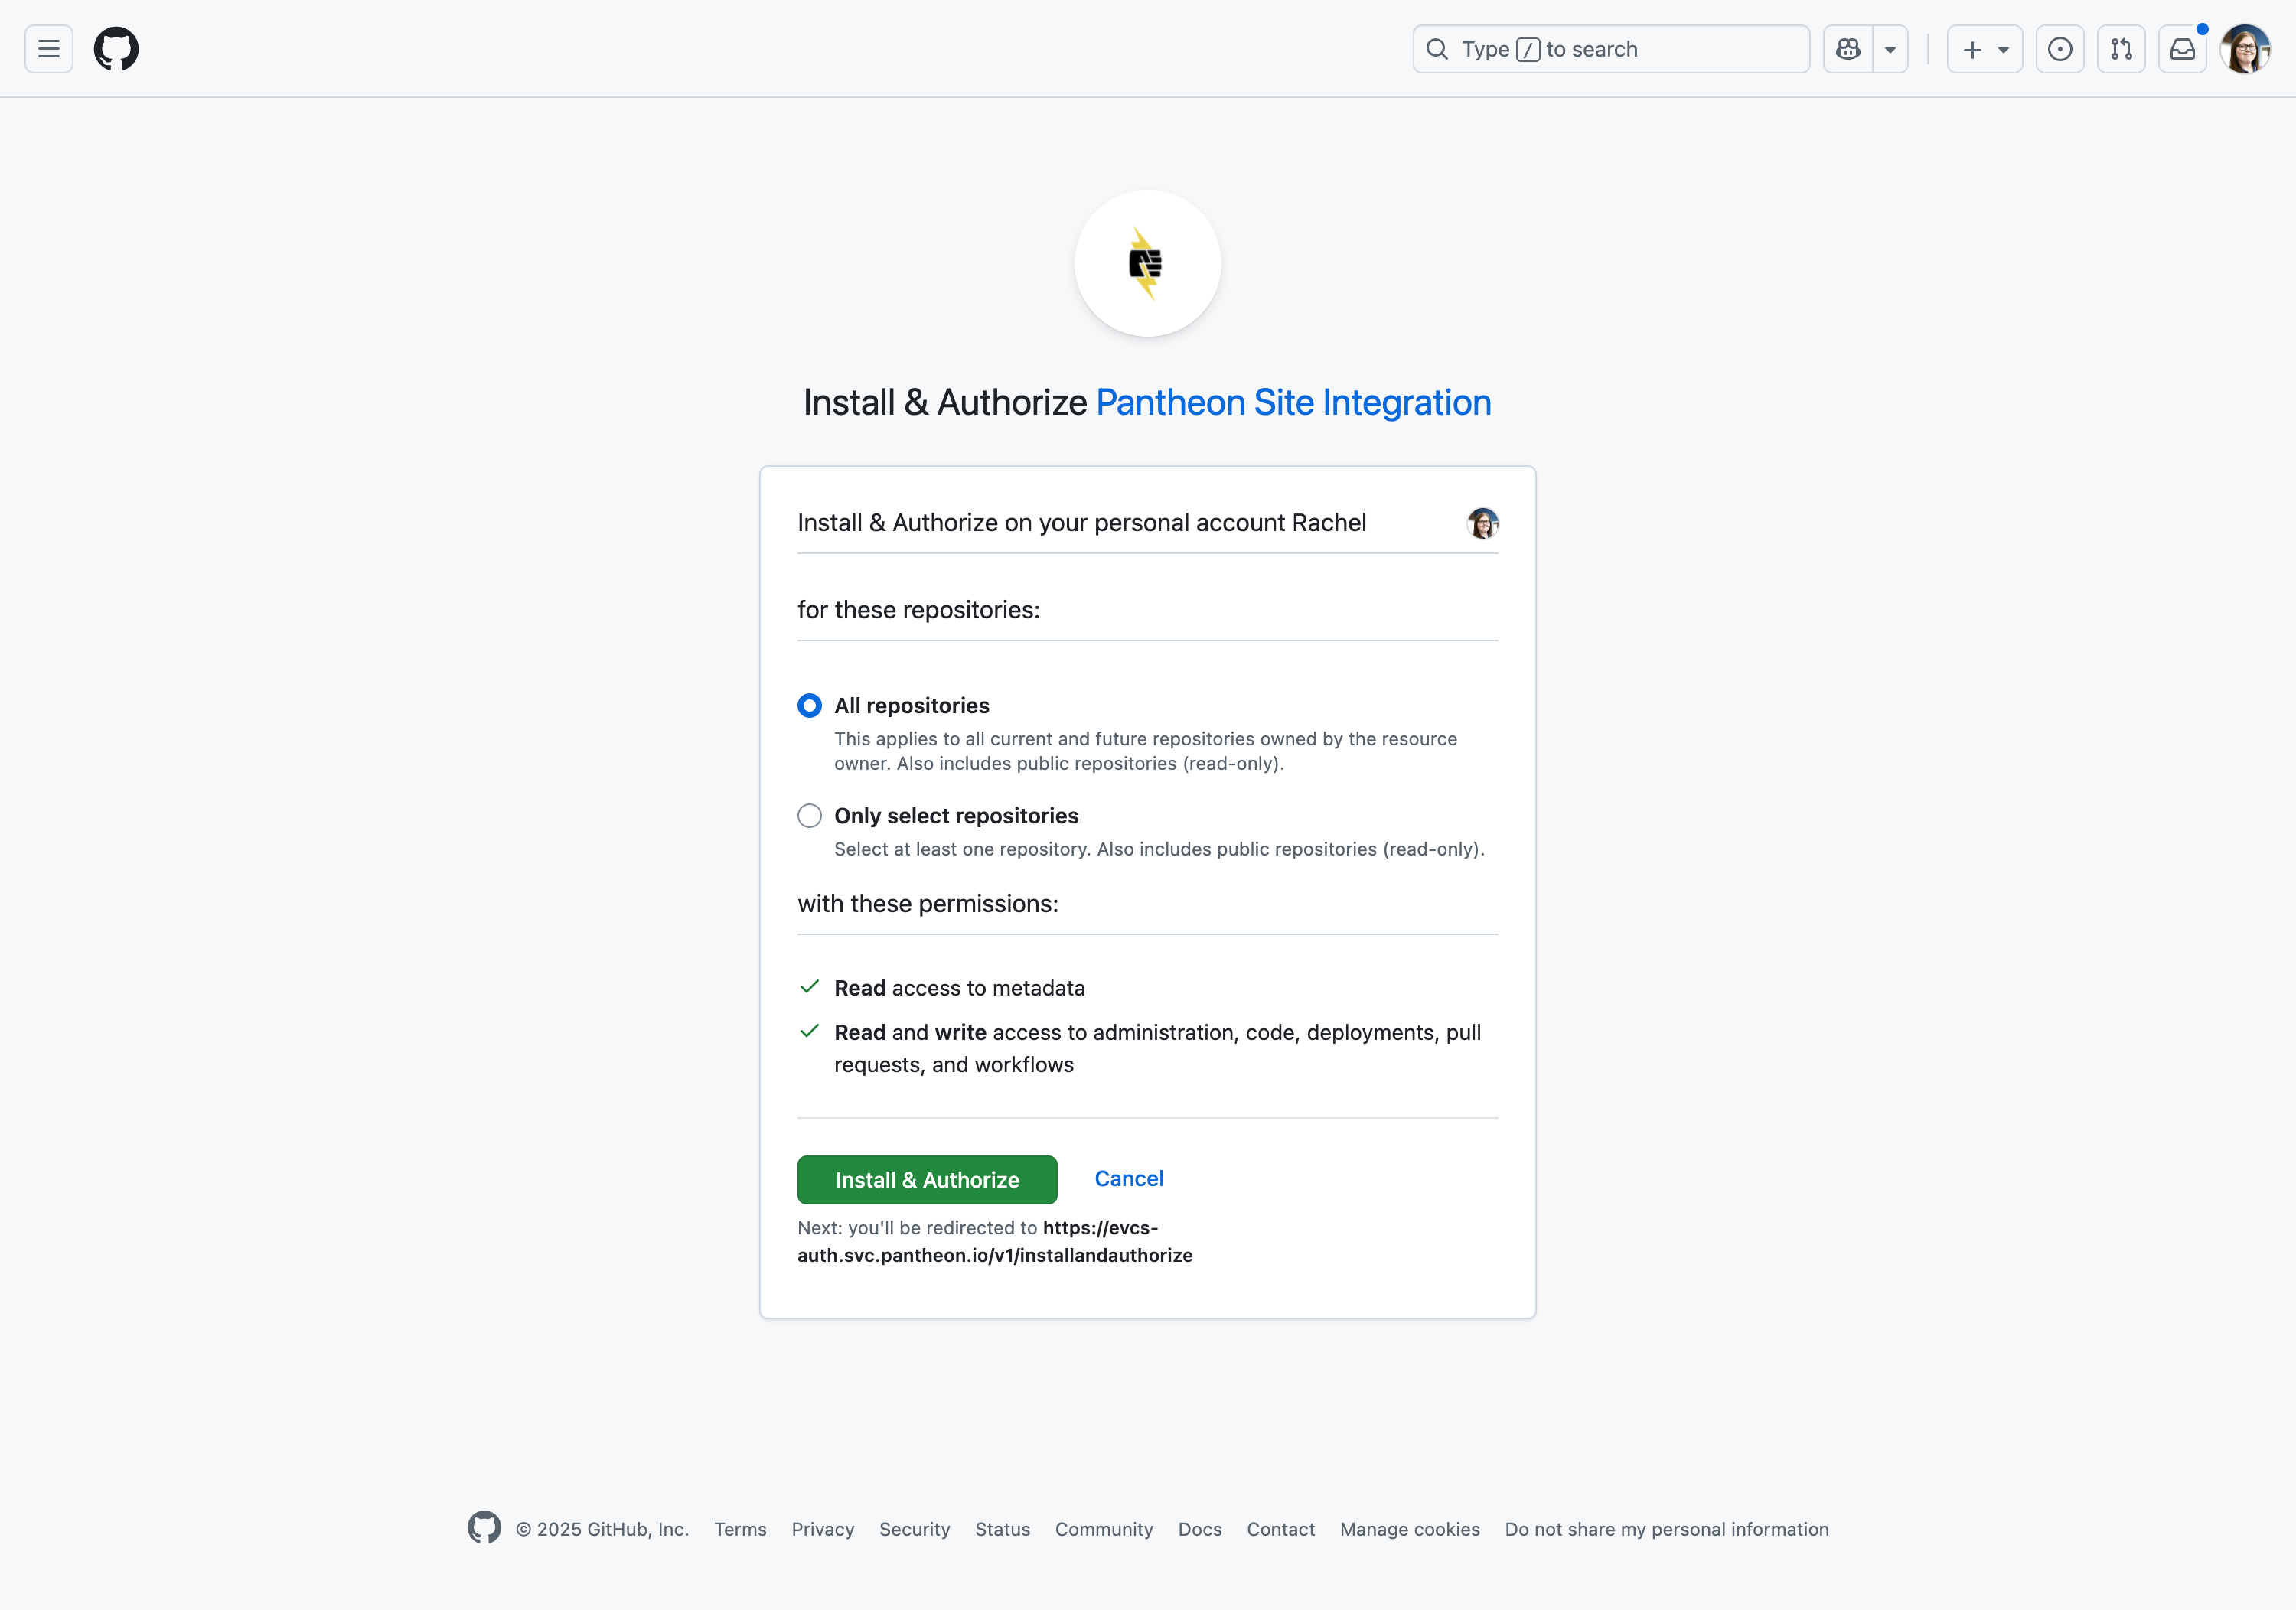
If you prefer not to grant permissions for all repositories as demonstrated above, you can instead create a new repository with your code in GitHub or link to an existing repository. Once created, return to this step and choose Only select repositories then select your new repository. An empty existing repository will not work.
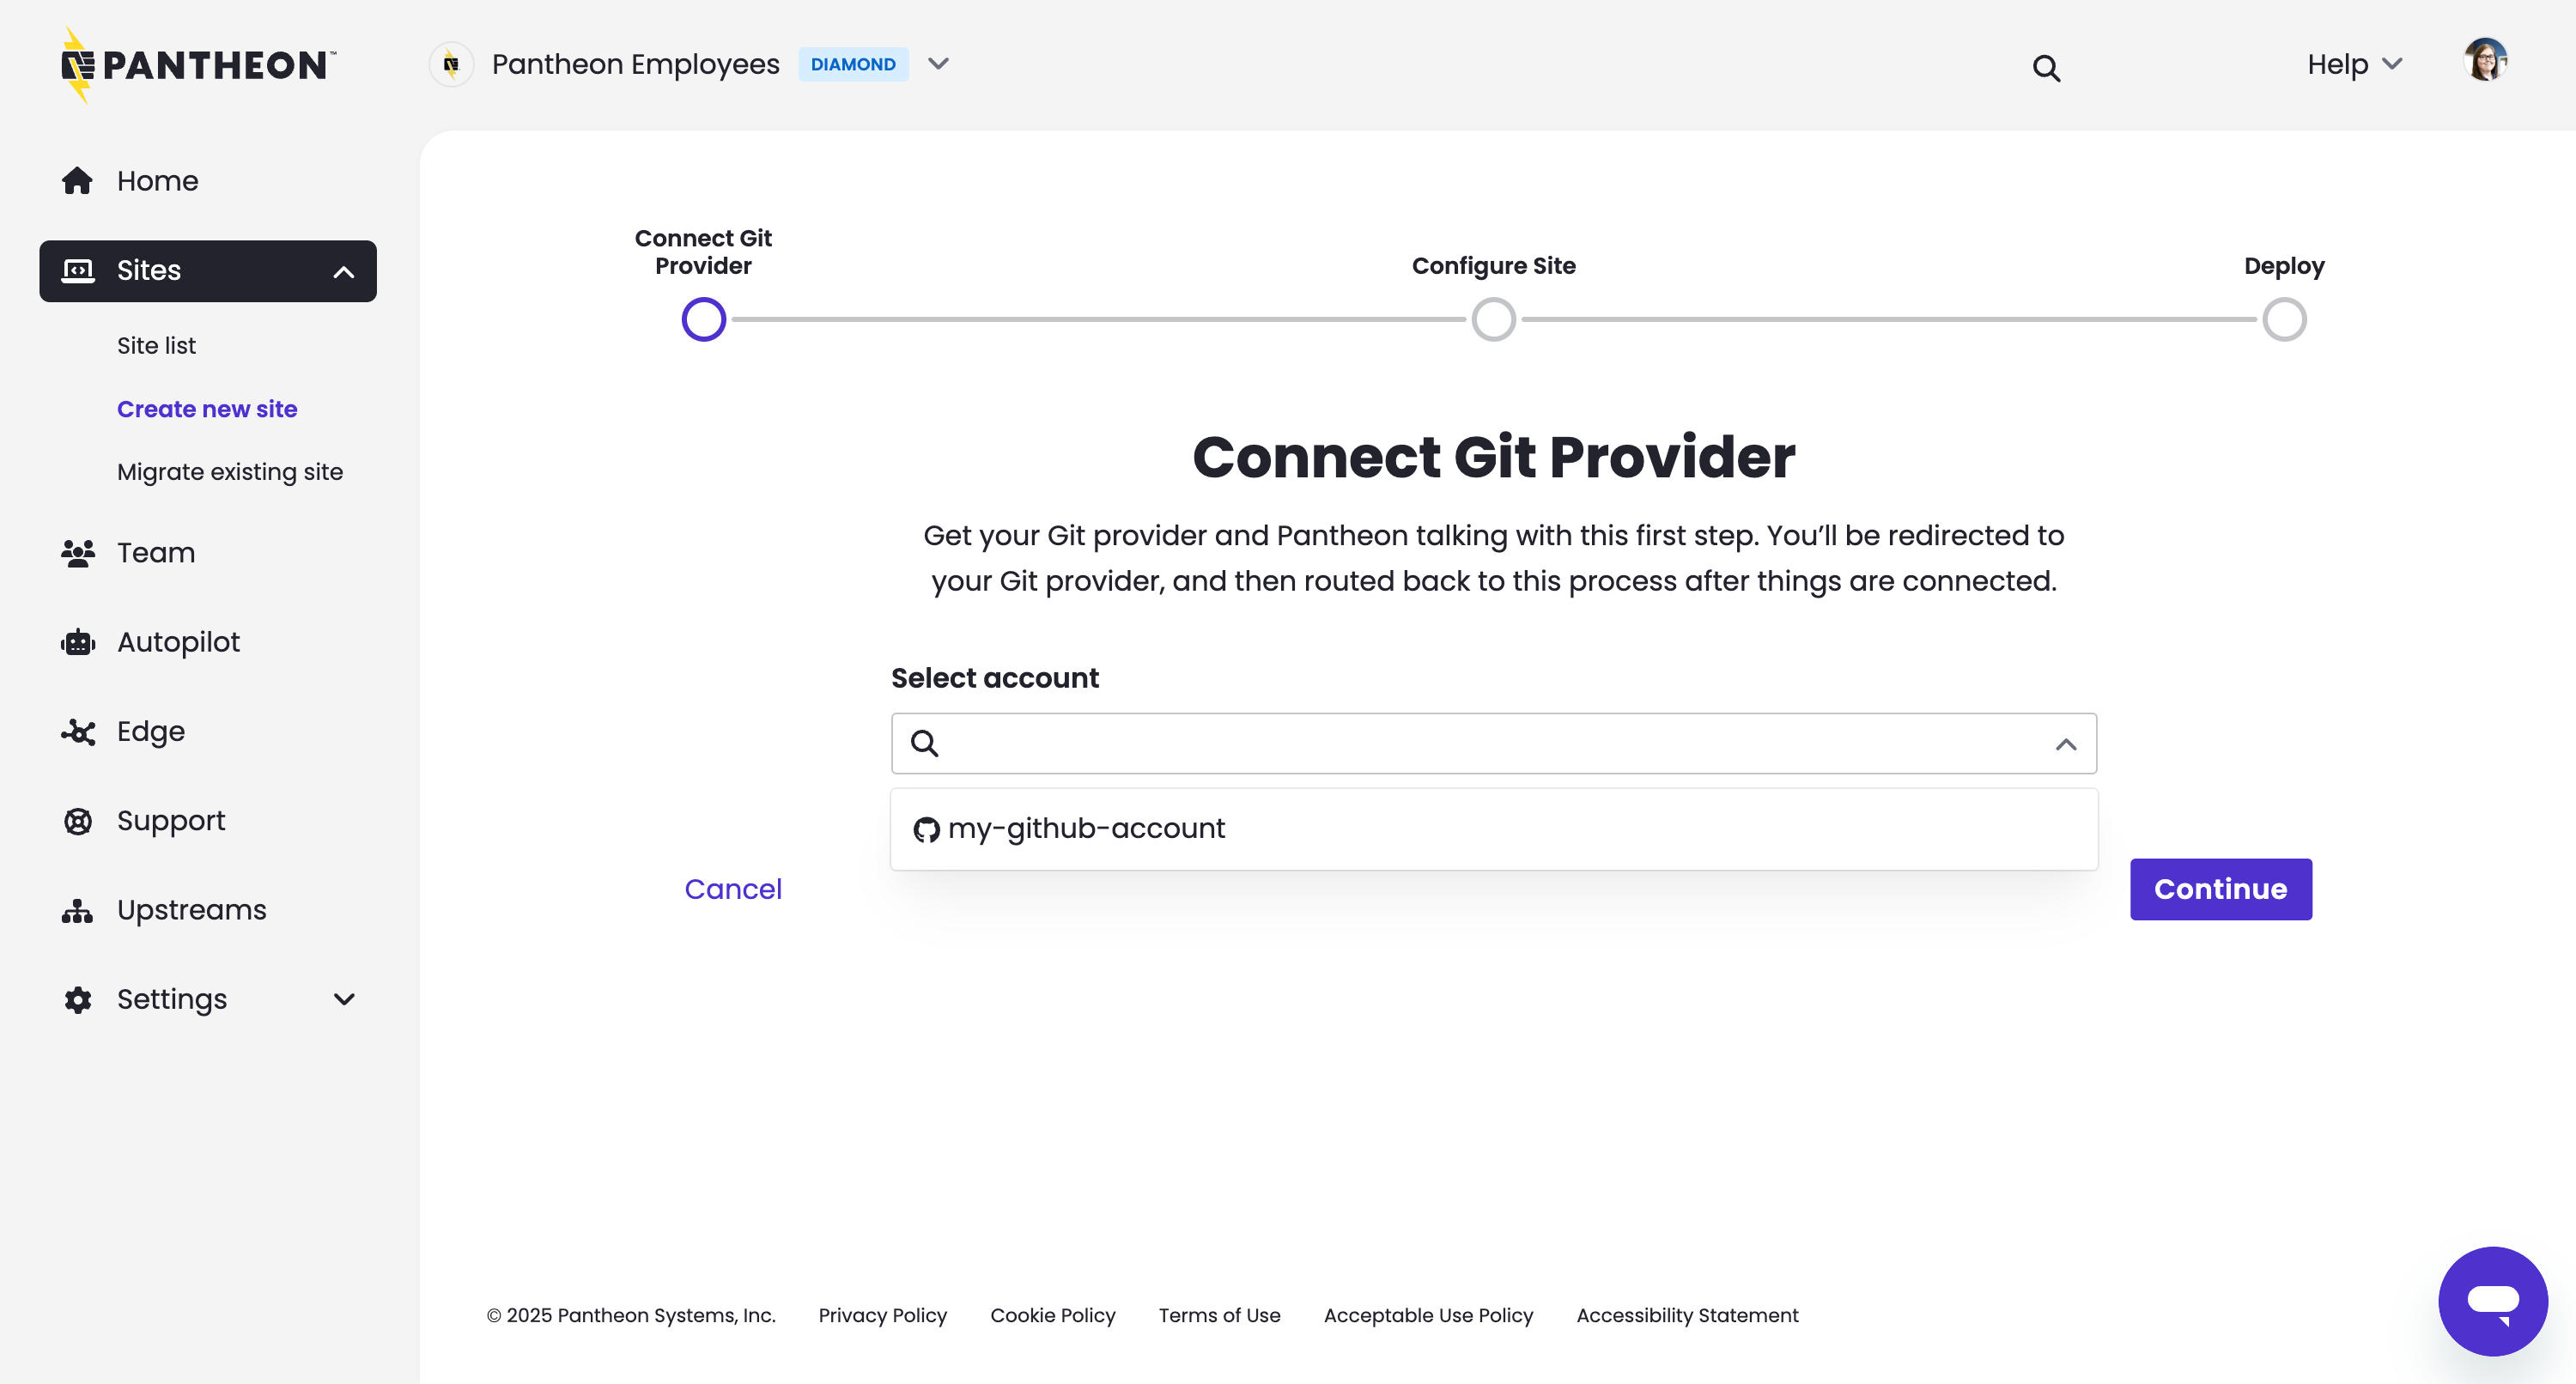
- Select the newly authorized account, then click Continue:
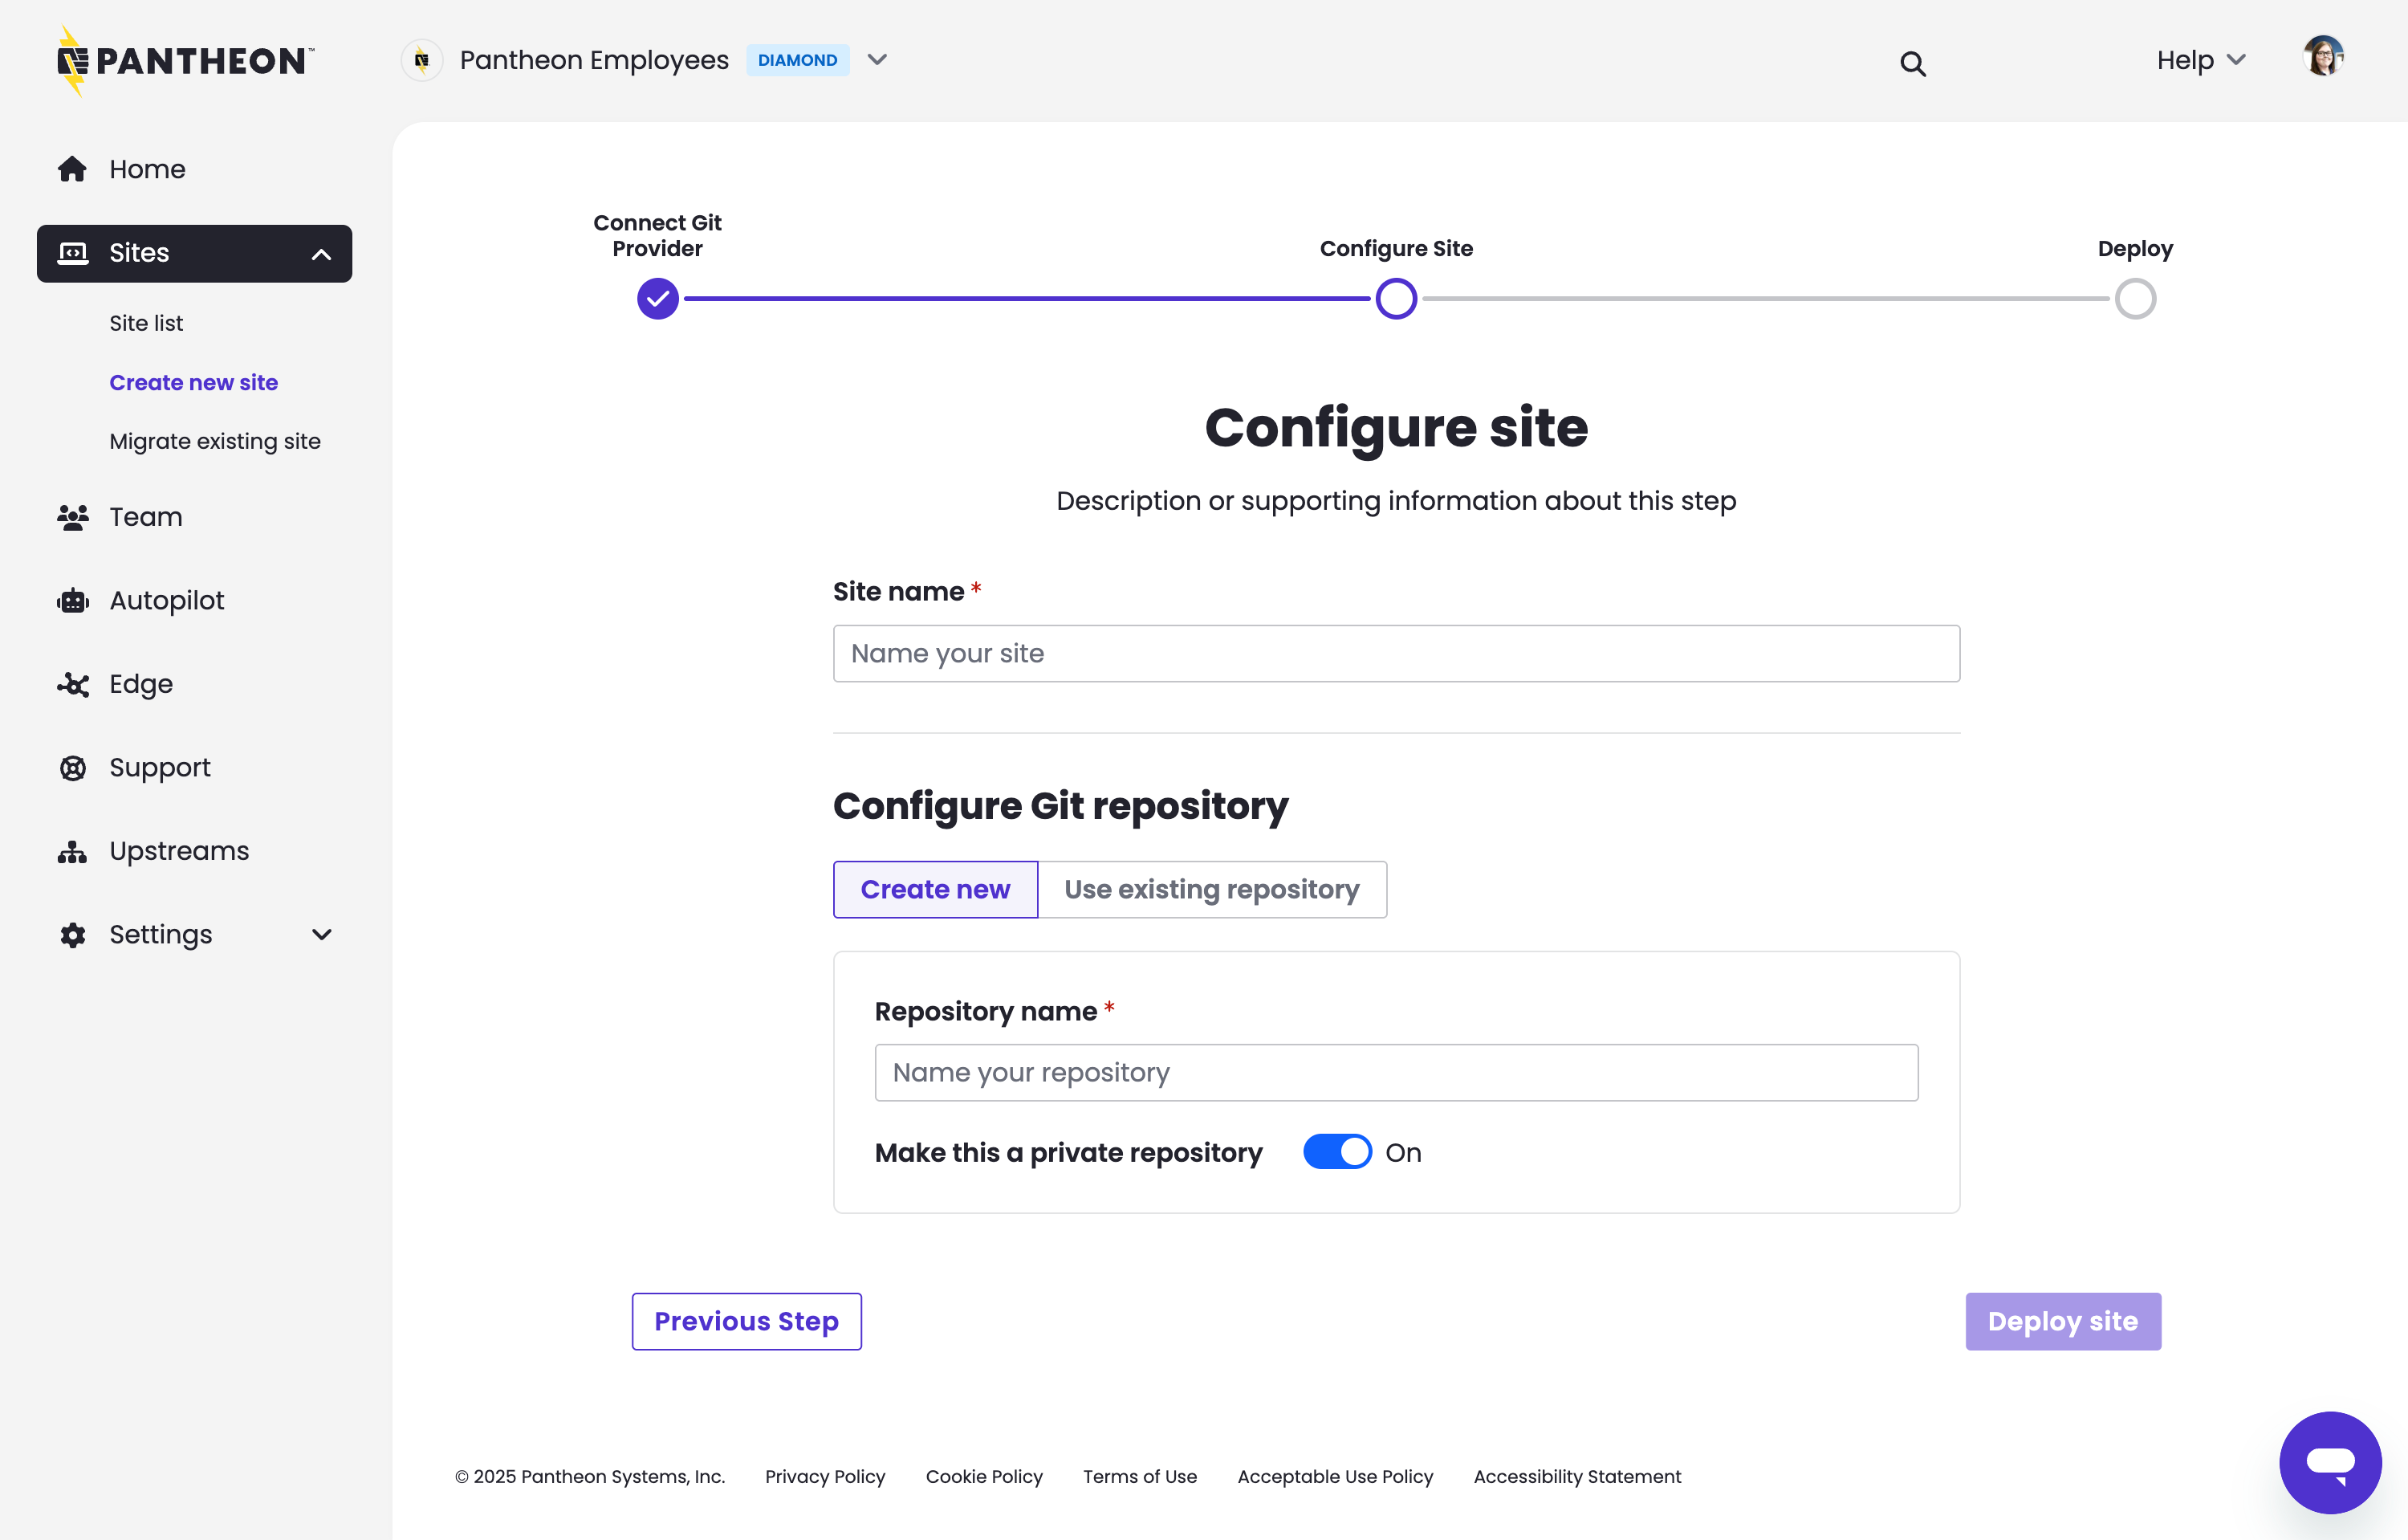
- Enter a unique sitename and unique repository name then click Deploy:
- Click Begin Deployment. Do not close the tab or navigate away from this page until the workflow is complete.
Site creation results
This site creation process will take a few minutes to complete. Once it completes you will see:
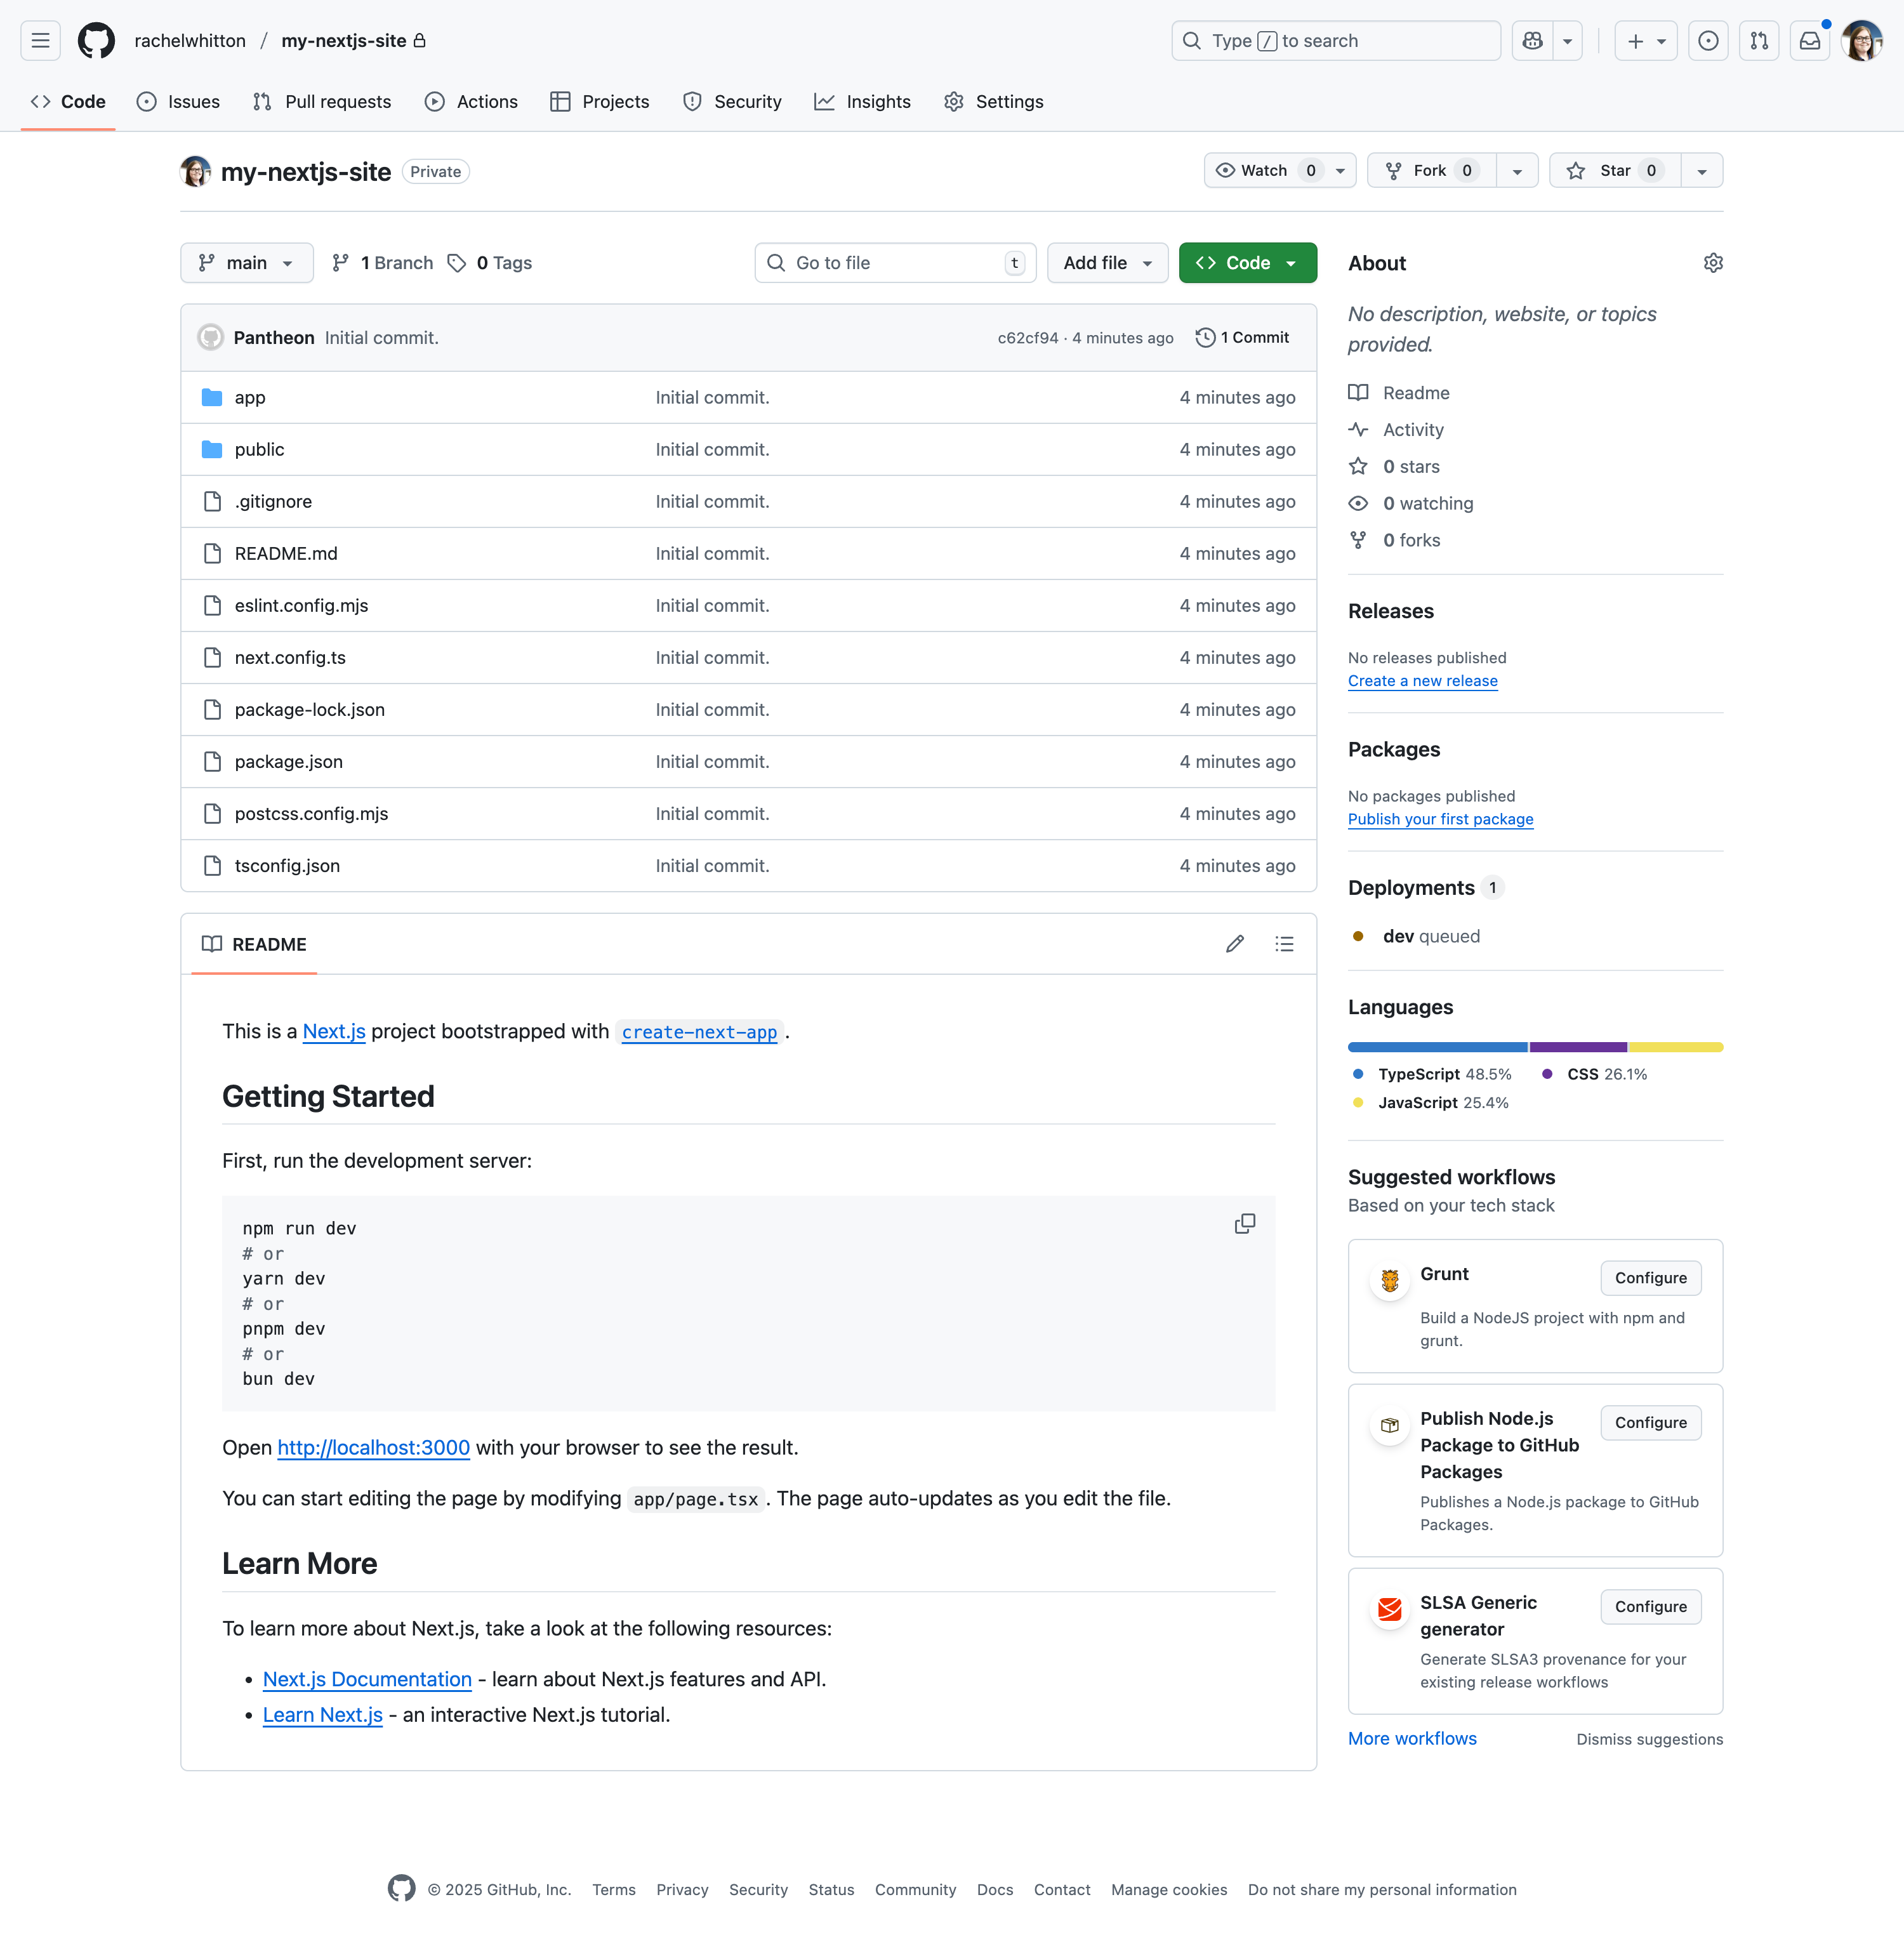
-
A repository in your GitHub account with the name you specified. It will contain a copy of the sample Next.js codebase:
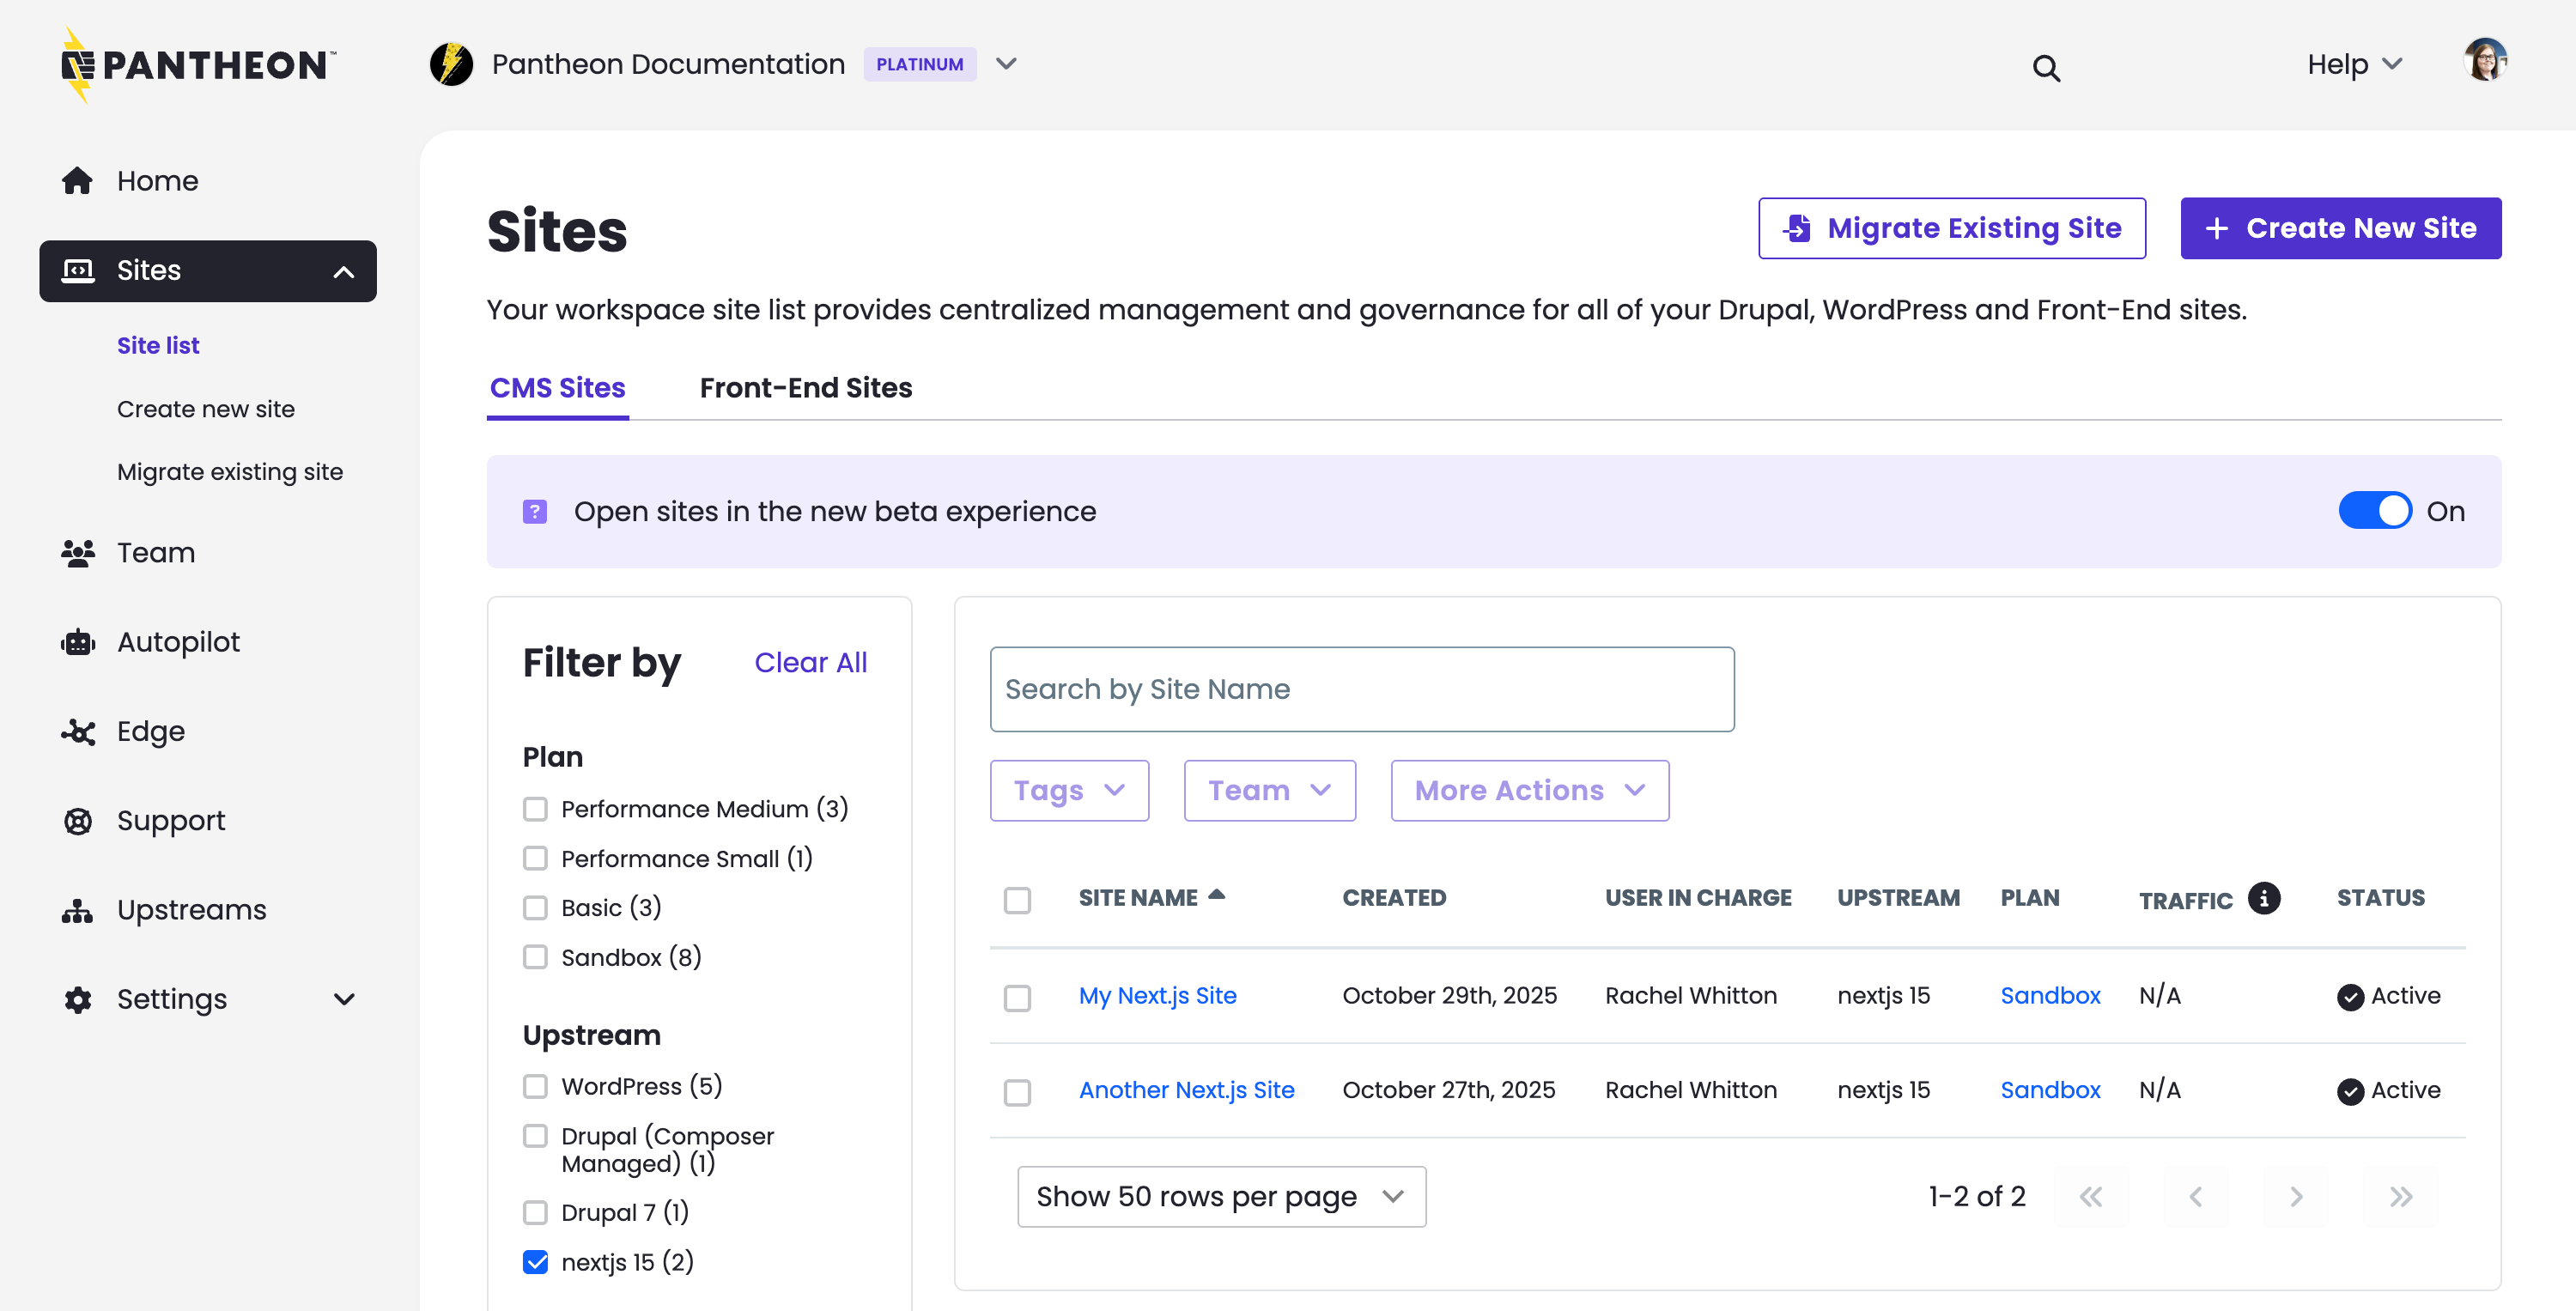
-
You will see your newly created site listed in the Workspace:
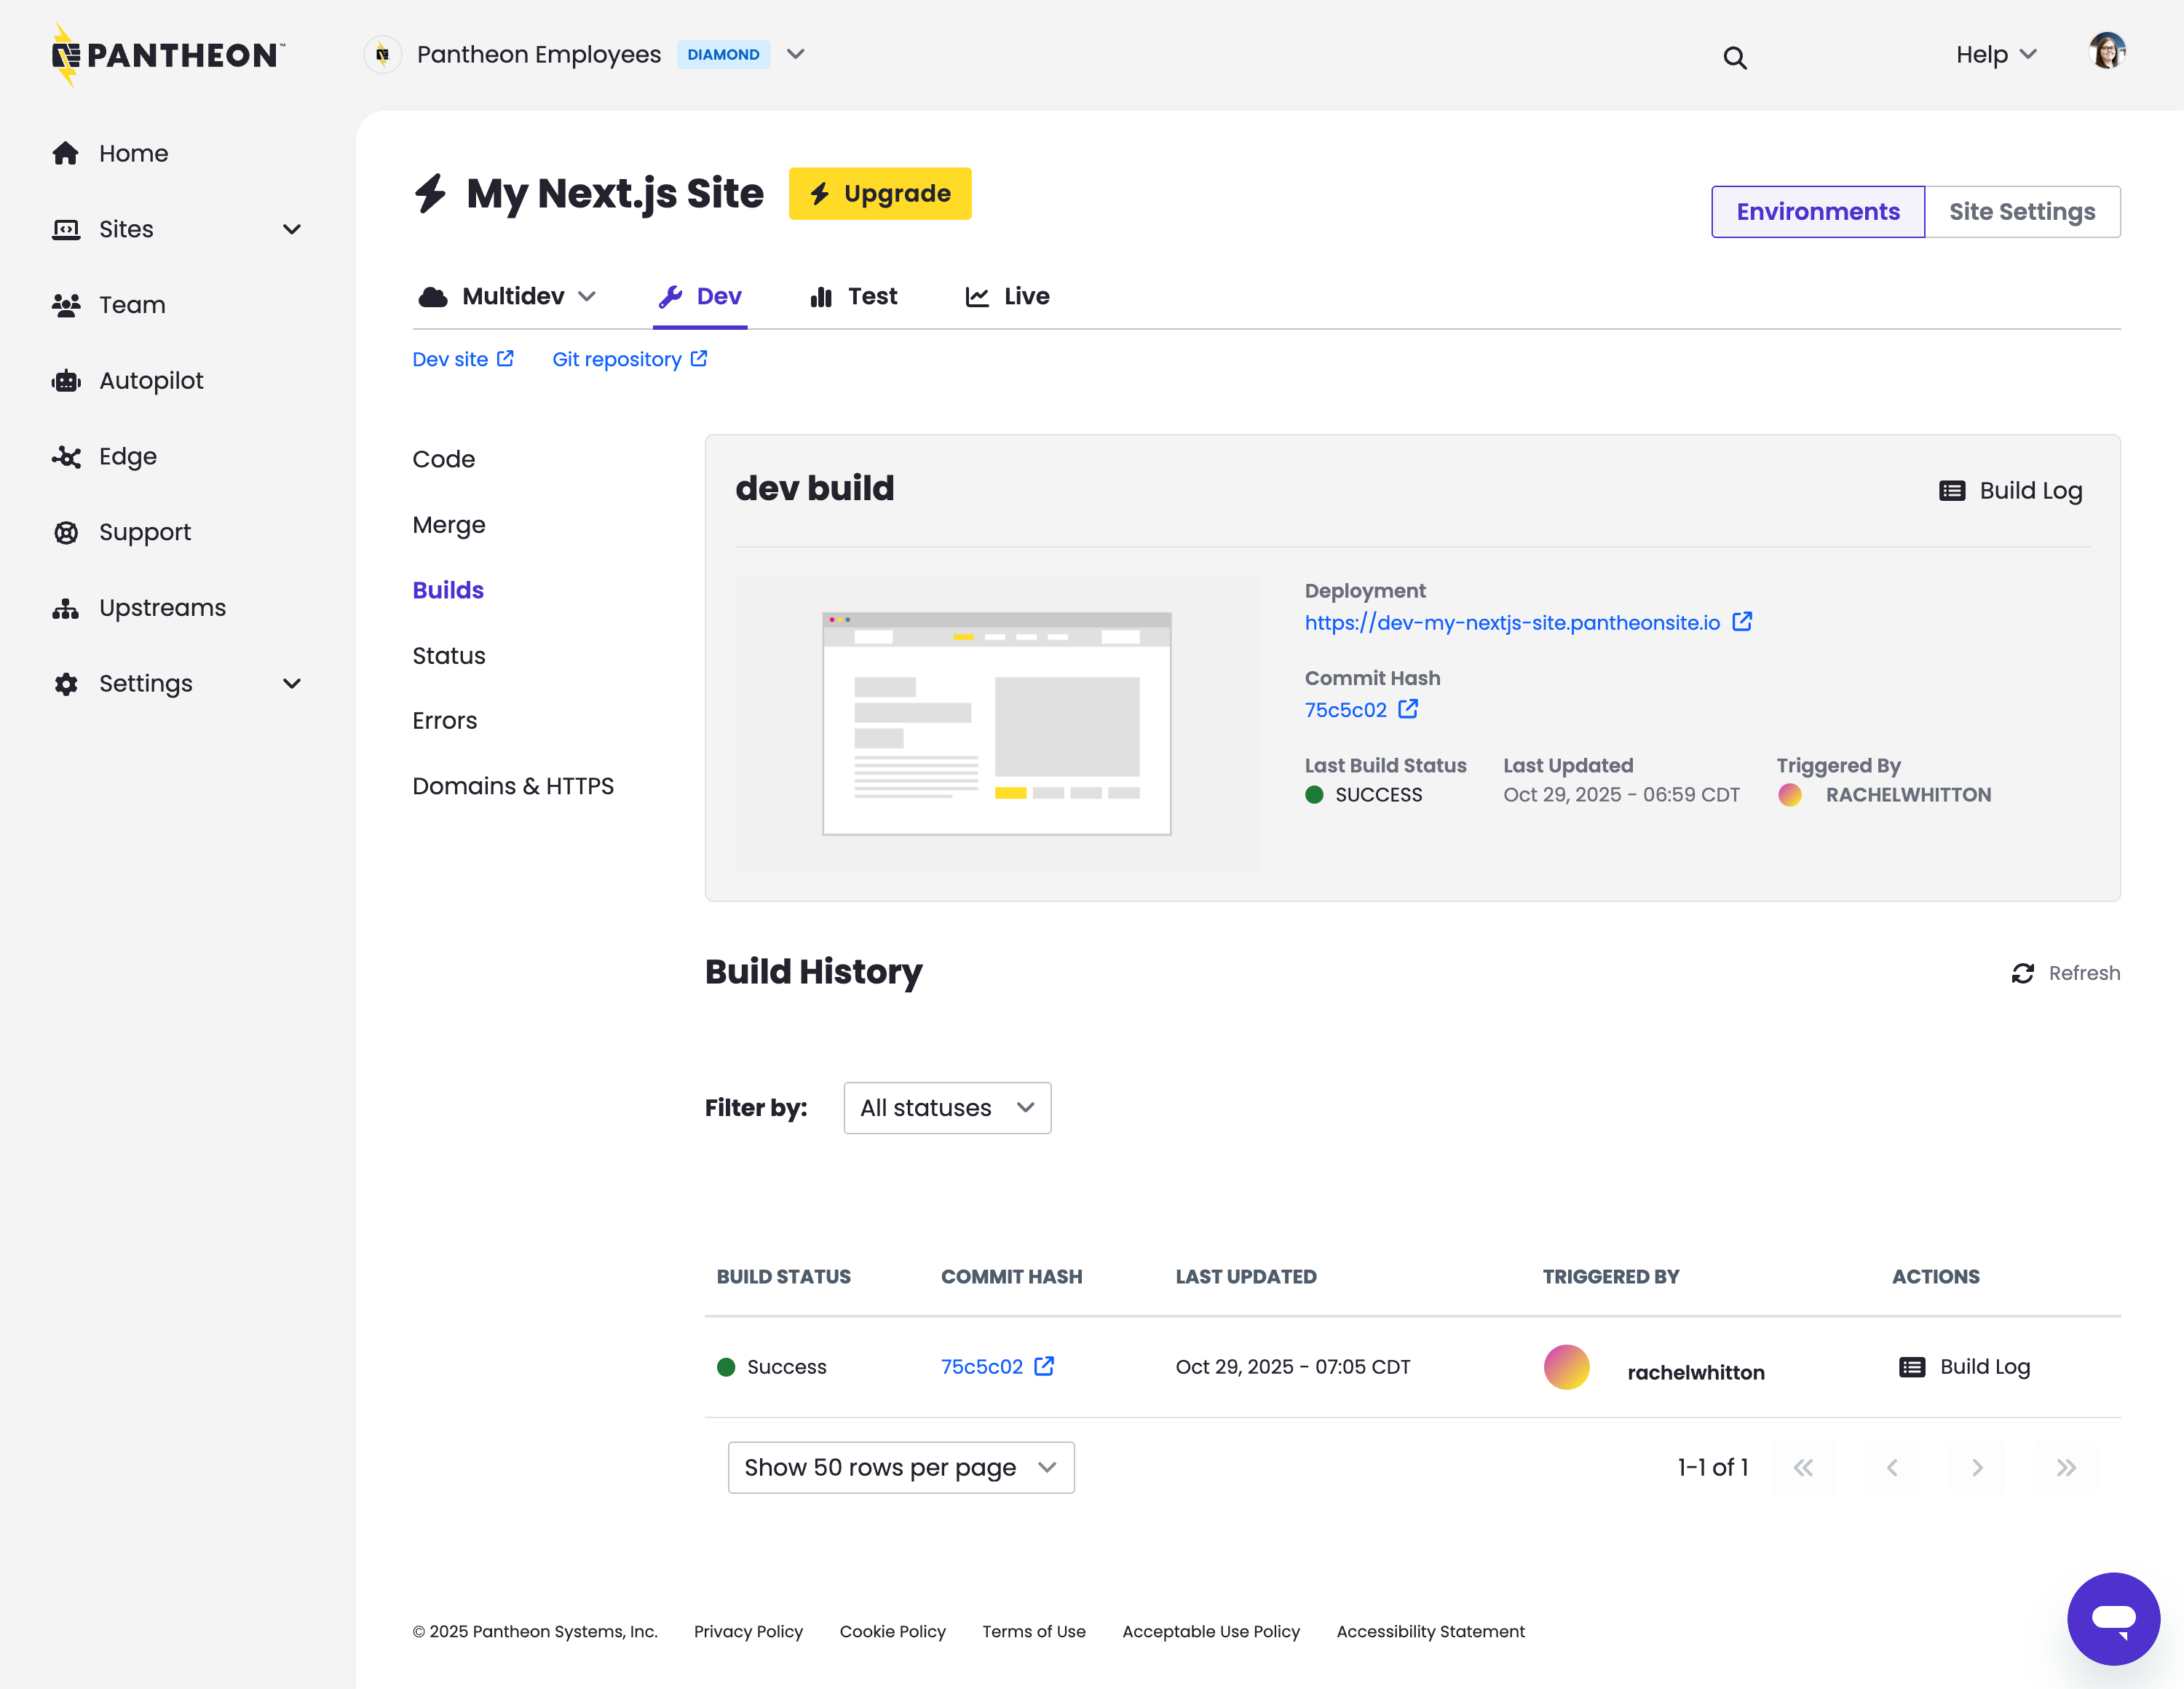
-
Within that site, you will be able to click on the "Dev site" link and see the minimal site:
Pull Request Workflow
In this section we will make a change to Next.js code and then see that change in a non-live Pantheon environment specific to the pull request.
Making a code change
Clone your new Next.js codebase to your local workstation and using your preferred code editor, make a small change to app/page.tsx.
For instance you can change the text "Welcome to Pantheon Platform" to "Hello World!"
Now make a separate Git branch, commit, and push to GitHub. On the command line, those commands are:
Verify that the differences you are about to commit are what you expect:
This command will show you the alteration you made to app/page.tsx.
Next, commit this change:
Push your new branch to GitHub before making a Pull Request.
Automatically Deploy to Multidev
With a new branch pushed to GitHub, open a pull request against the main branch in GitHub:

The creation of the Pull Request will prompt Pantheon to start a build and deployment process.
(Optional) Review Build Status from the CLI
To view the status of that process, run this command, replacing <site> with your sitename (which presumes we are listing the logs that correspond to the first Pull Request, or pr-1):
Over the course of a few minutes, you will see the statuses update as the files necessary to run Next.js are built and deployed. See this section for more details on the build and deployment process.
For as small of a change as we made in this pull request, some "Hello World" text, we should soon see DEPLOYMENT_SUCCESS as the status. Once that status is reached, you should be able to see your change in your browser by opening a Multidev environment from your dashboard.
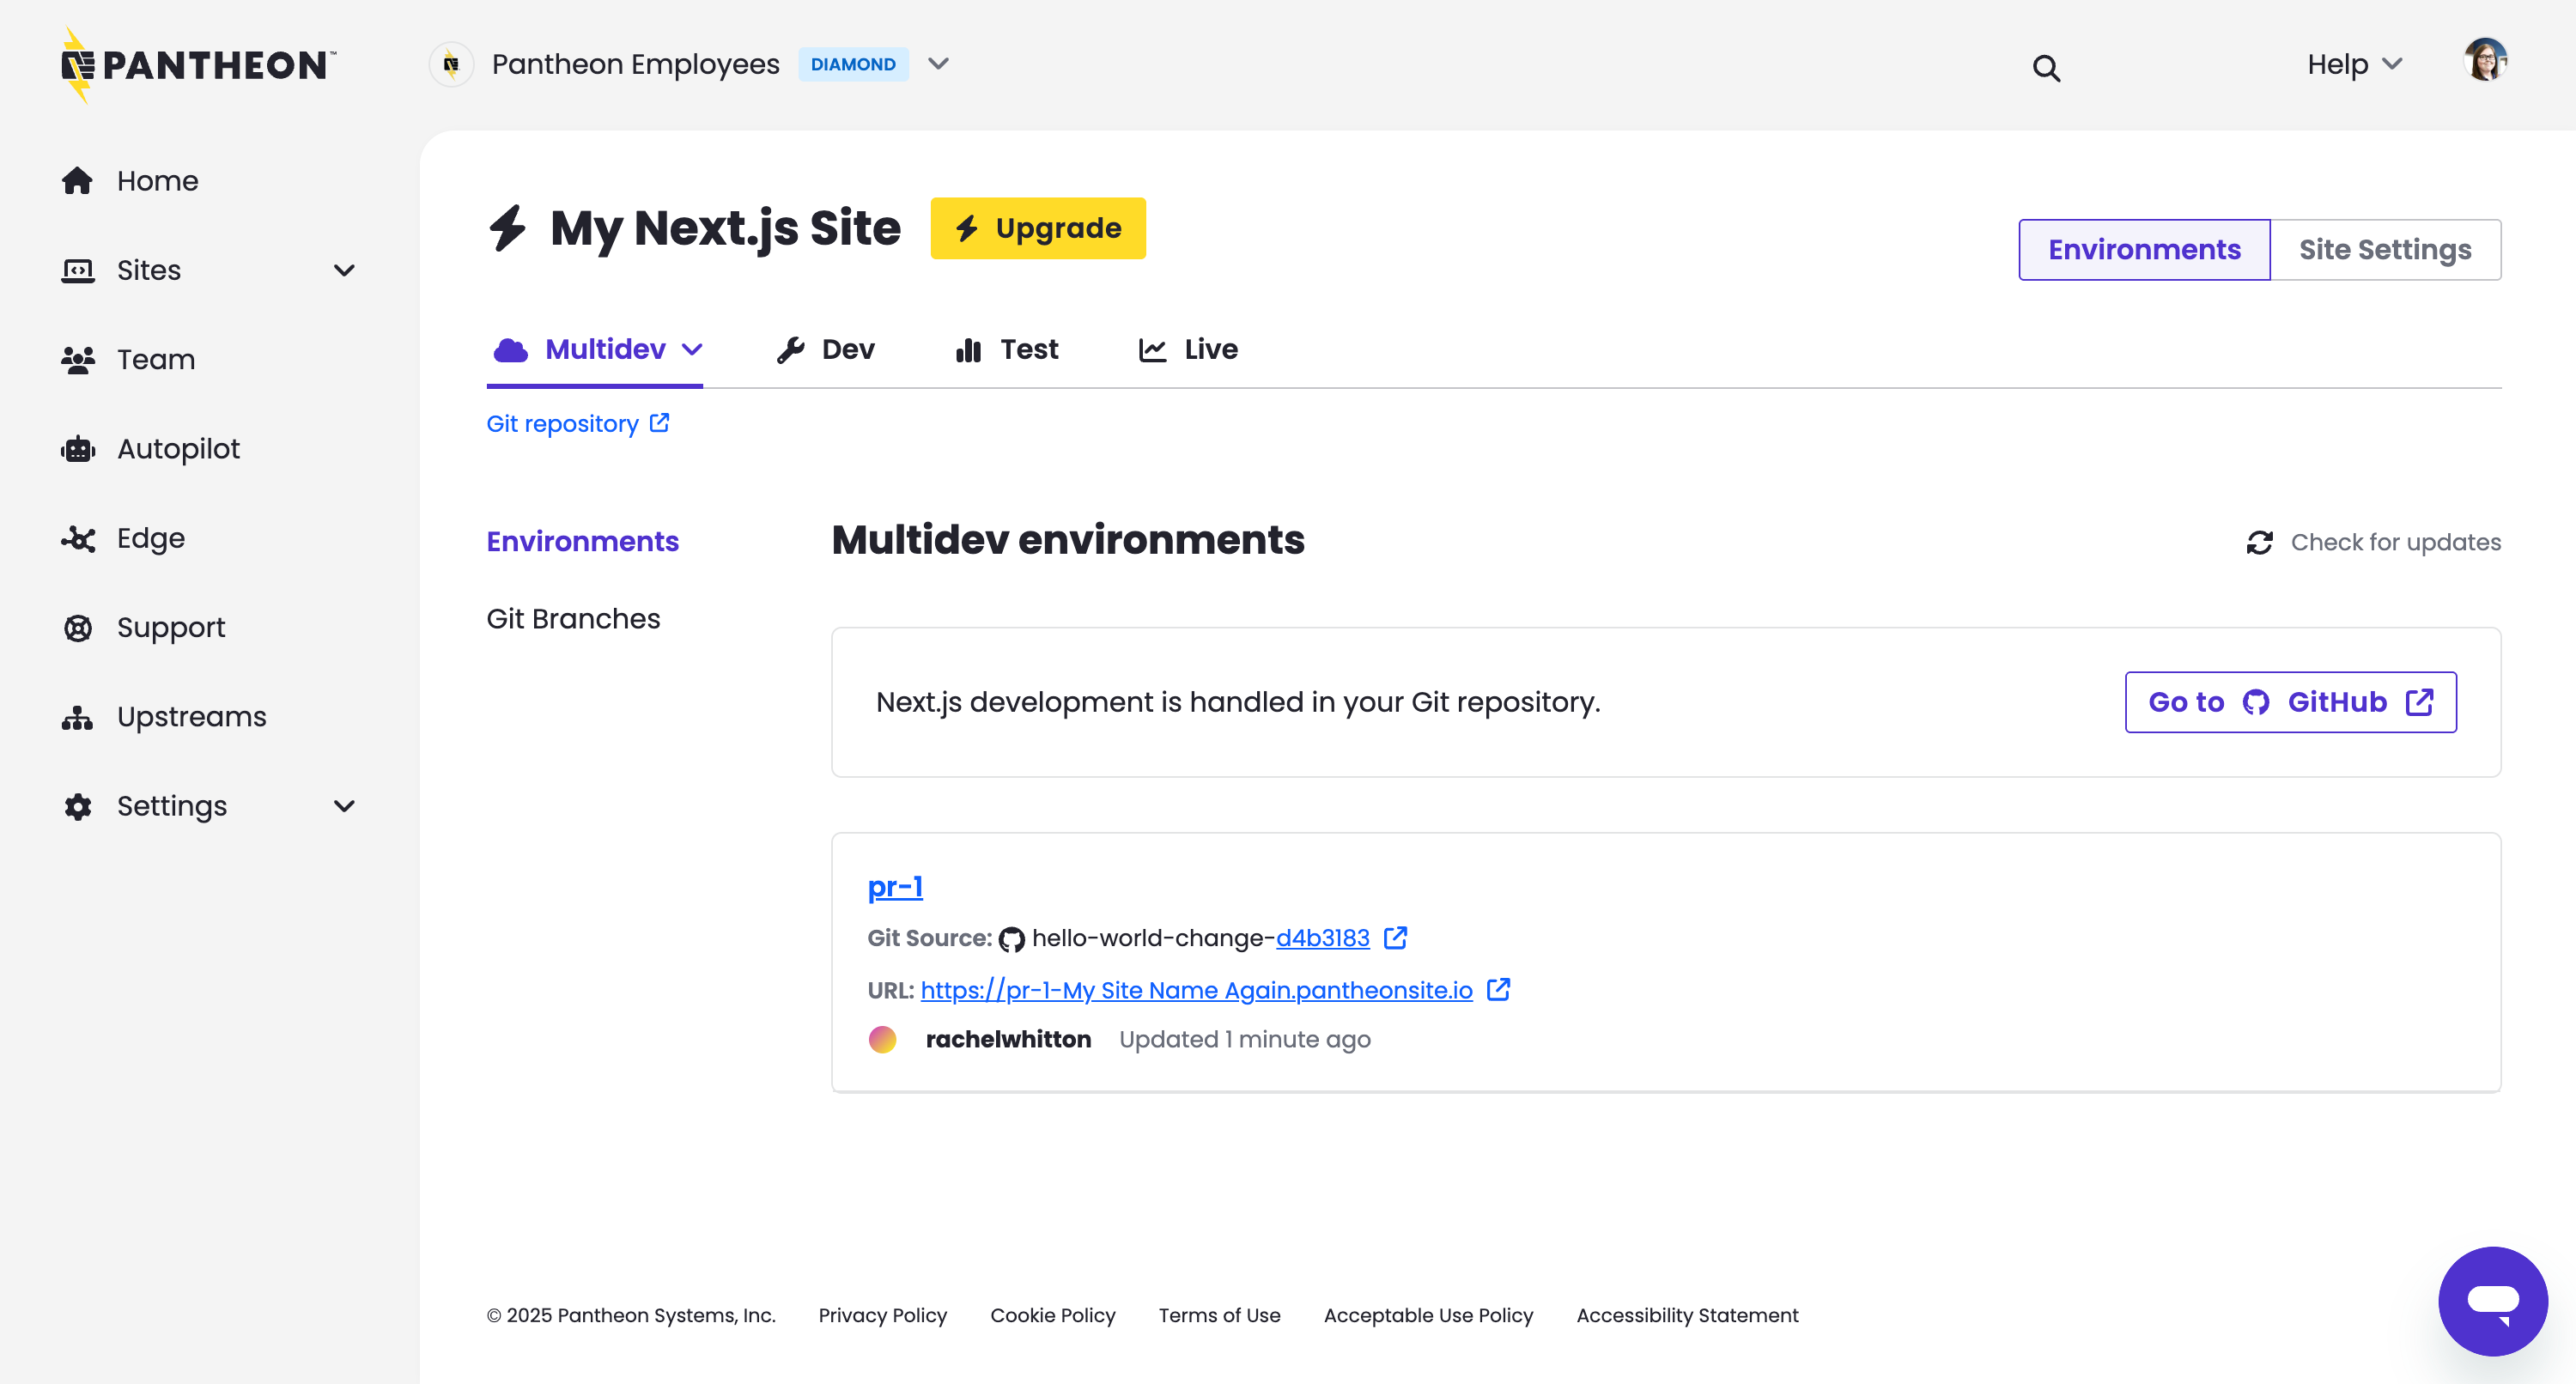
Having seen this change to the Next.js site deployed on a non-live environment we can merge it with more confidence.
If you chose to merge this change you can watch the same progression of build and deployment statuses through terminus node:logs:build:list my-site-machine-name.dev.
Conclusion
Having reached a "Hello World" state with Next.js on Pantheon, you might want to proceed to one or more other Tutorials or guides.