Network Solutions Domain Configuration
Learn how to point your Network Solutions domain to a Pantheon site.
Before You Begin
Be sure that you have a:
- Registered domain name using Network Solutions to host DNS
- Paid Pantheon plan
- Domain connected to the target Pantheon environment (typically Live)
Locate Pantheon's DNS Values
Identify DNS values to point your domain to Pantheon:
-
Navigate to the Site Dashboard and select the target environment (typically Live) then click Domains / HTTPS.
-
Click the Details button next to your domain.
Keep this page open and login to your Network Solutions account in a new tab before you continue.
Configure DNS Records on Network Solutions
A Record
-
Navigate to Account Manager > My Domain Names
-
Select the domain you want to point to Pantheon, then click Manage.
-
Click Change Where Domain Points, then select Advanced DNS.
-
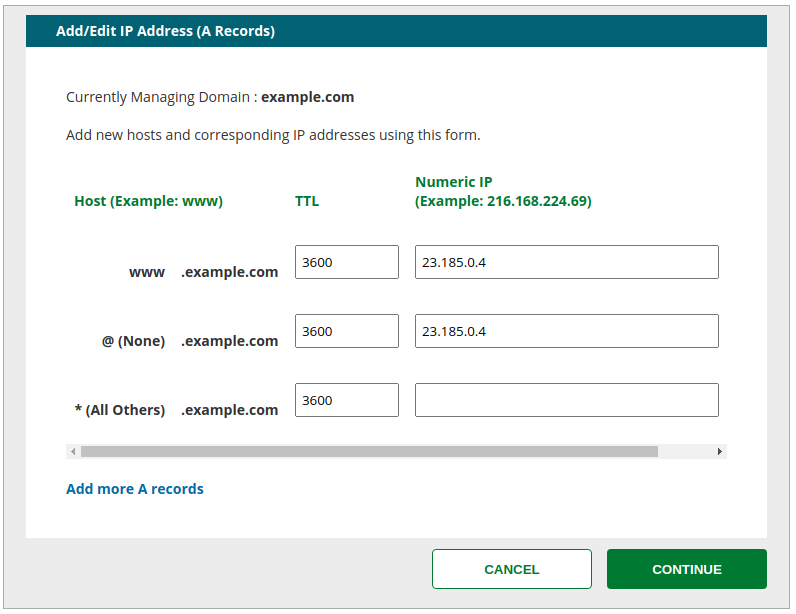
In the IP Address (A records) section, click Edit A Records.
-
The domain likely has a few default values for
wwwand the bare domain. Paste the IP address provided by Pantheon in the Numeric IP field for the existing@ (None)record, then delete any default records like so:
-
Select desired Time to Live (TTL).
-
Click Save Changes.
-
Once changes are saved, the section of the Advanced DNS interface for A records should look like this:
AAAA Records
-
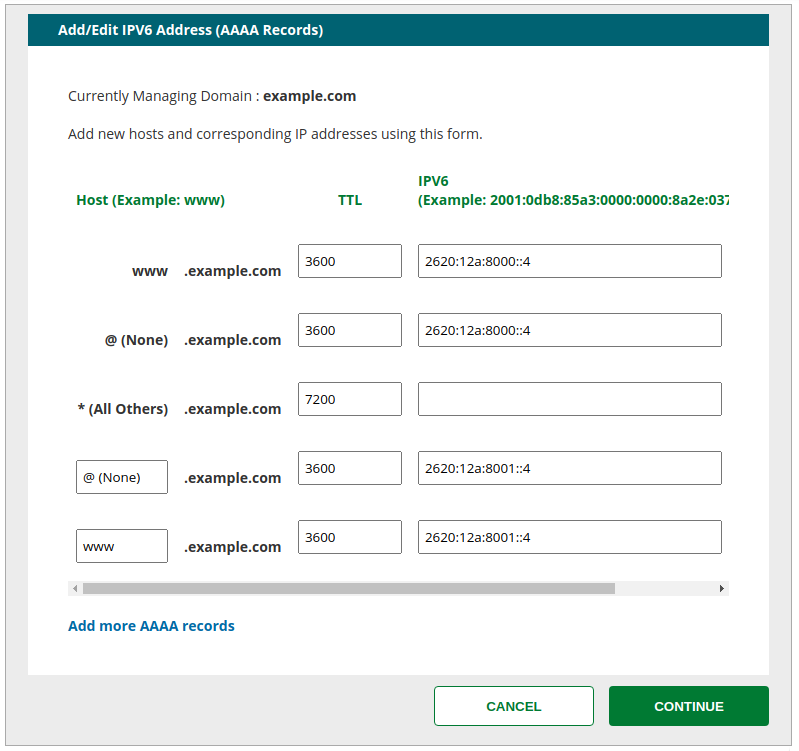
In the IPV6 Address (AAAA Records) section, click Edit AAAA Records.
-
For each domain hosted at Pantheon, enter the AAAA record value provided by Pantheon in the IPv6 field:
-
Enter the desired Time to Live (TTL).
-
Click Continue.
-
Review the information on the confirmation page, and then click Save Changes.