WP-CLI on the Pantheon Platform
Install Plugins and Themes with WP-CLI
Learn how to install plugins and themes with WP-CLI and Terminus.
This section provides information on how to install WordPress plugins and themes with WP-CLI and Terminus.
Install WordPress Plugins
The WordPress plugin repository provides a list of free and paid plugins. The example below shows you how to install and activate the Contact Form 7 plugin.
-
Install and activate the Contact Form 7 plugin:
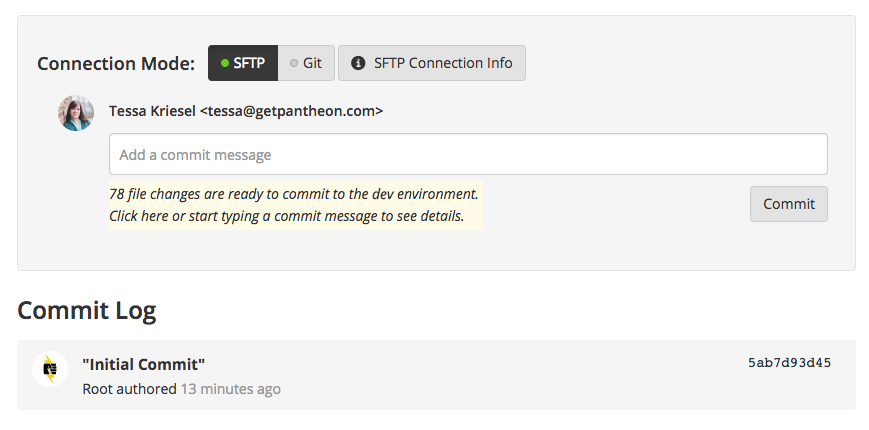
- Go to the Site Dashboard to confirm that 78 files have changed and are ready to commit in the yellow box. You can use the Site Dashboard interface to review file changes and commit, or continue to use the command line as the example below.
-
Review the file changes:
-
Commit your changes to the Dev environment:
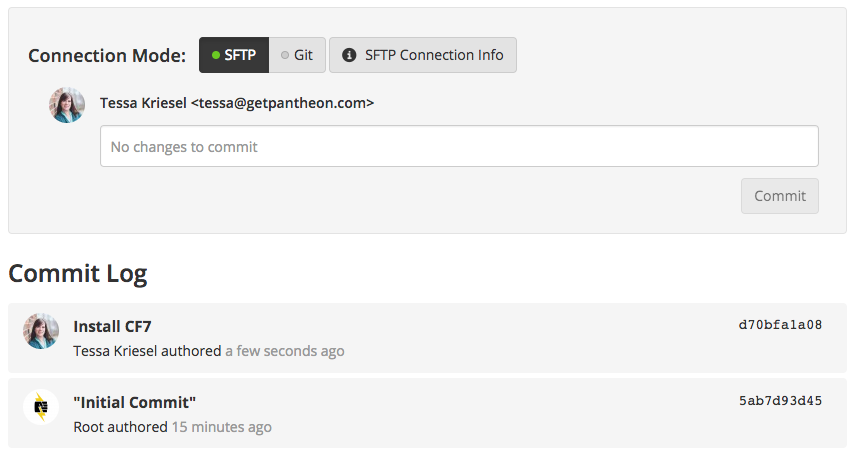
You can see the commit on the Dev environment if you refer back to the Site Dashboard:
-
Deploy the code to Test and pull content down from Live:
-
Clear the site cache after deploying the code to Test:
Information:NoteThe
--sync-contentoption will pull the database and files down from the Live environment. In a real-world scenario, your content editors most likely have added posts and files in the Live environment. These updates should be present on the Test environment with your deployed code for thorough testing. Runterminus env:deploy -hfor more information on options for the this command. -
Activate the Contact Form 7 plugin on the Test environment by making a manual configuration change:
-
Verify that your Test environment and the new plugin are working correctly, and then deploy to Live:
-
Clear the site cache after deploying the code to Live:
Information:NoteYou don't need the
--sync-contentflag when going to the Live environment because that environment already has our canonical database. -
Activate the Contact Form 7 plugin on the Live environment by making a manual configuration change:
Manually applying configuration changes is a simple task for this example because you're only activating one plugin on each environment. However, complex configuration changes are best managed in code so you can pull fresh content from Live while bringing in the site settings from Dev.
Install WordPress Themes
The WordPress theme repository provides a list of free and paid themes you can install to customize your site. The example below uses the Shapely theme.
-
Install and activate the Shapely theme:
-
Run the
terminus env:infocommand to retrieve the Dev environment's site URL: -
Commit your changes to the Dev environment:
-
Run the
scaffold child-themeWP-CLI command to create a child theme (replaceTessa-child-themeandshapelyto match your setup): -
Navigate to the WordPress Dashboard, select Appearance, and then select Themes to access the new theme.
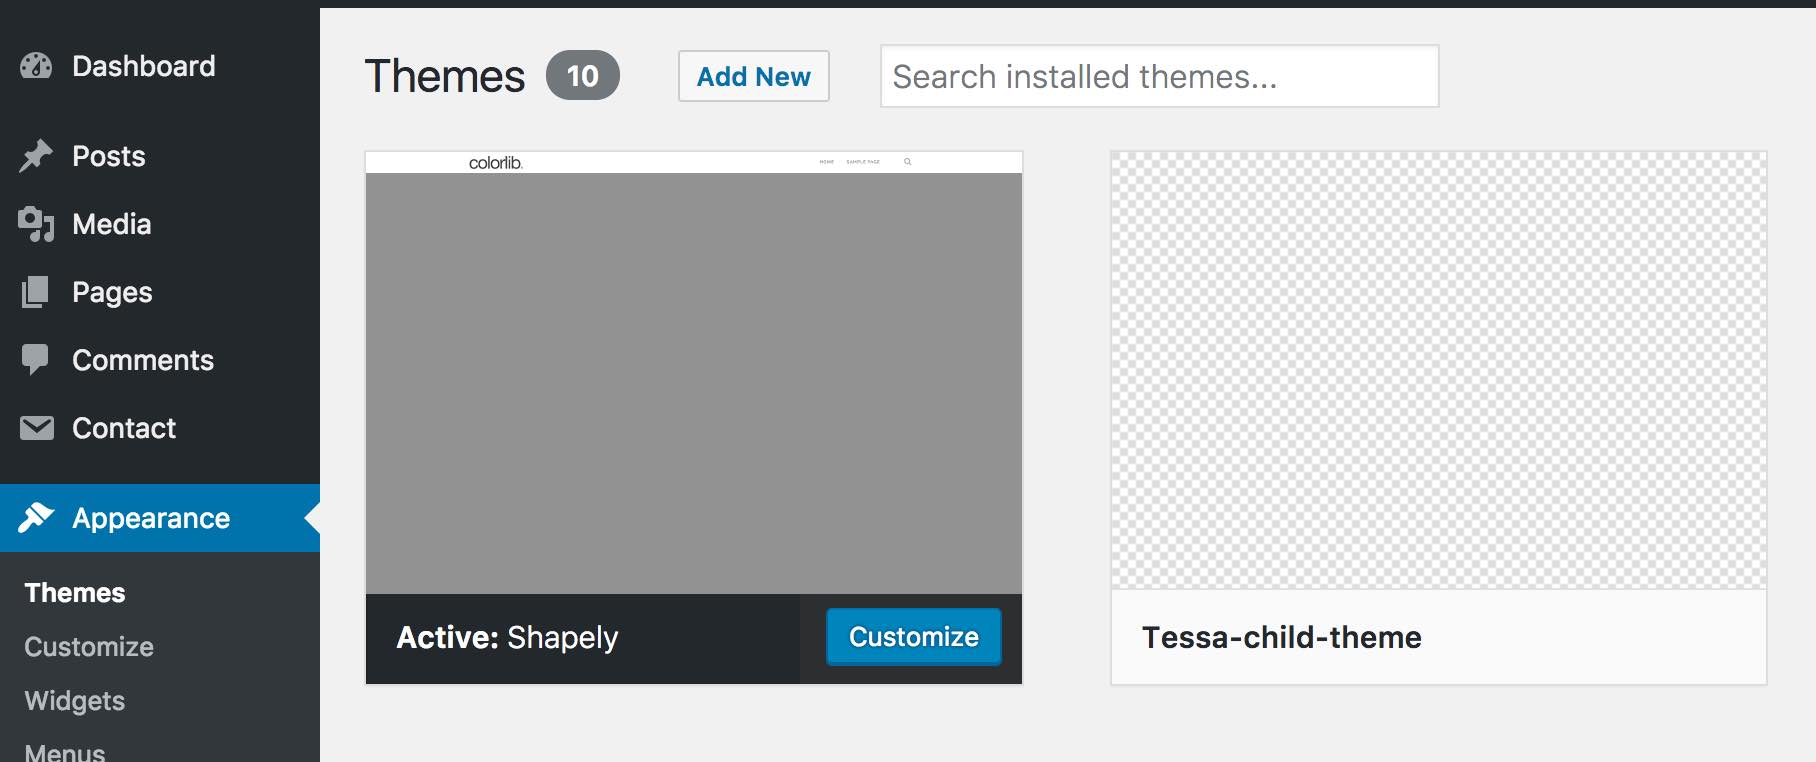
You can now edit your child theme. This allows your parent theme, in this example, Shapely, to receive updates without conflict or interference to the functionality of the site.
-
Apply configuration changes, such as activating the child theme, verify that everything is correct on the Dev environment's site URL.
-
Commit your changes to the Dev environment:
-
Deploy the themes to Test and pull content down from Live:
-
Clear the site cache:
-
Apply configuration changes and verify that everything is correct on the Test environment's site URL.
-
Deploy code to Live, then apply configuration changes:
-
Clear the site cache: