Last Reviewed: December 05, 2025

Migrate

Perform the migration.


Pantheon provides a guided path for migrating existing sites to the platform. This process begins by clicking Migrate Existing Site.

The recommended way to migrate WordPress sites from another host is to use the Pantheon Migration plugin, developed by BlogVault.

Watch: Guided WordPress Migrations
  1. Open your Personal or Professional Workspace dashboard and select the Migrate Existing Site button on the lower right side of the page:

    Migrate site button

  2. Select WordPress:

    Enter URL and select CMS

    Then enter your existing production URL for the site you want to migrate (e.g., example.com) and click Continue:

    Enter URL

  3. Enter the name of your new Pantheon site, select a workspace for the site (optional), and click Create Site:

    Site creation form for WordPress migrations prompting user to input site name and associated workspace

    When a workspace is selected, you will be prompted to confirm your selection. Review your selection and when ready click Confirm in the popup to continue:

    Confirmation prompt for workspace selection during site creation in the dashboard

  4. Click Generate Machine Token and re-authenticate if prompted:

    Begin process of installing plugin

    Copy the token to your clipboard now or in the following step. Click the Continue to Migration button.

  5. Click Go to wp-admin, and a new tab will open for your WordPress admin dashboard. Do not close the Pantheon Site Dashboard tab in your browser.

    Install on /wp-admin

  6. Log into your existing site as an admin, the button from the above step sends you directly to our plugin page. Click Install Now, then click Activate.

    Install migration plugin on WordPress

  7. Copy and paste your machine token and site name from the Pantheon Site Dashboard into the plugin form:

    Copying and pasting info

    You will see a new page where BlogVault validates the information provided (site name and token), then updates once the migration is in progress and updates once again when completed. You'll also receive an email upon migration completion.

    Migration successful

  8. Go back to the Pantheon tab and click Confirm migration progress. Your site's dashboard appears.

Information:
Note

The WordPress Native PHP Sessions plugin is automatically installed during the migration process. For more details on this plugin, see WordPress and PHP Sessions.

You now have a Dev environment containing your migrated site, including your Content Management System (accessible via the Site Admin button).

To create your Test environment:

  1. Go to the Site Dashboard.

  2. Click the Test tab, then click Initialize Test Environment to create your Test environment.

    Initializing the test environment

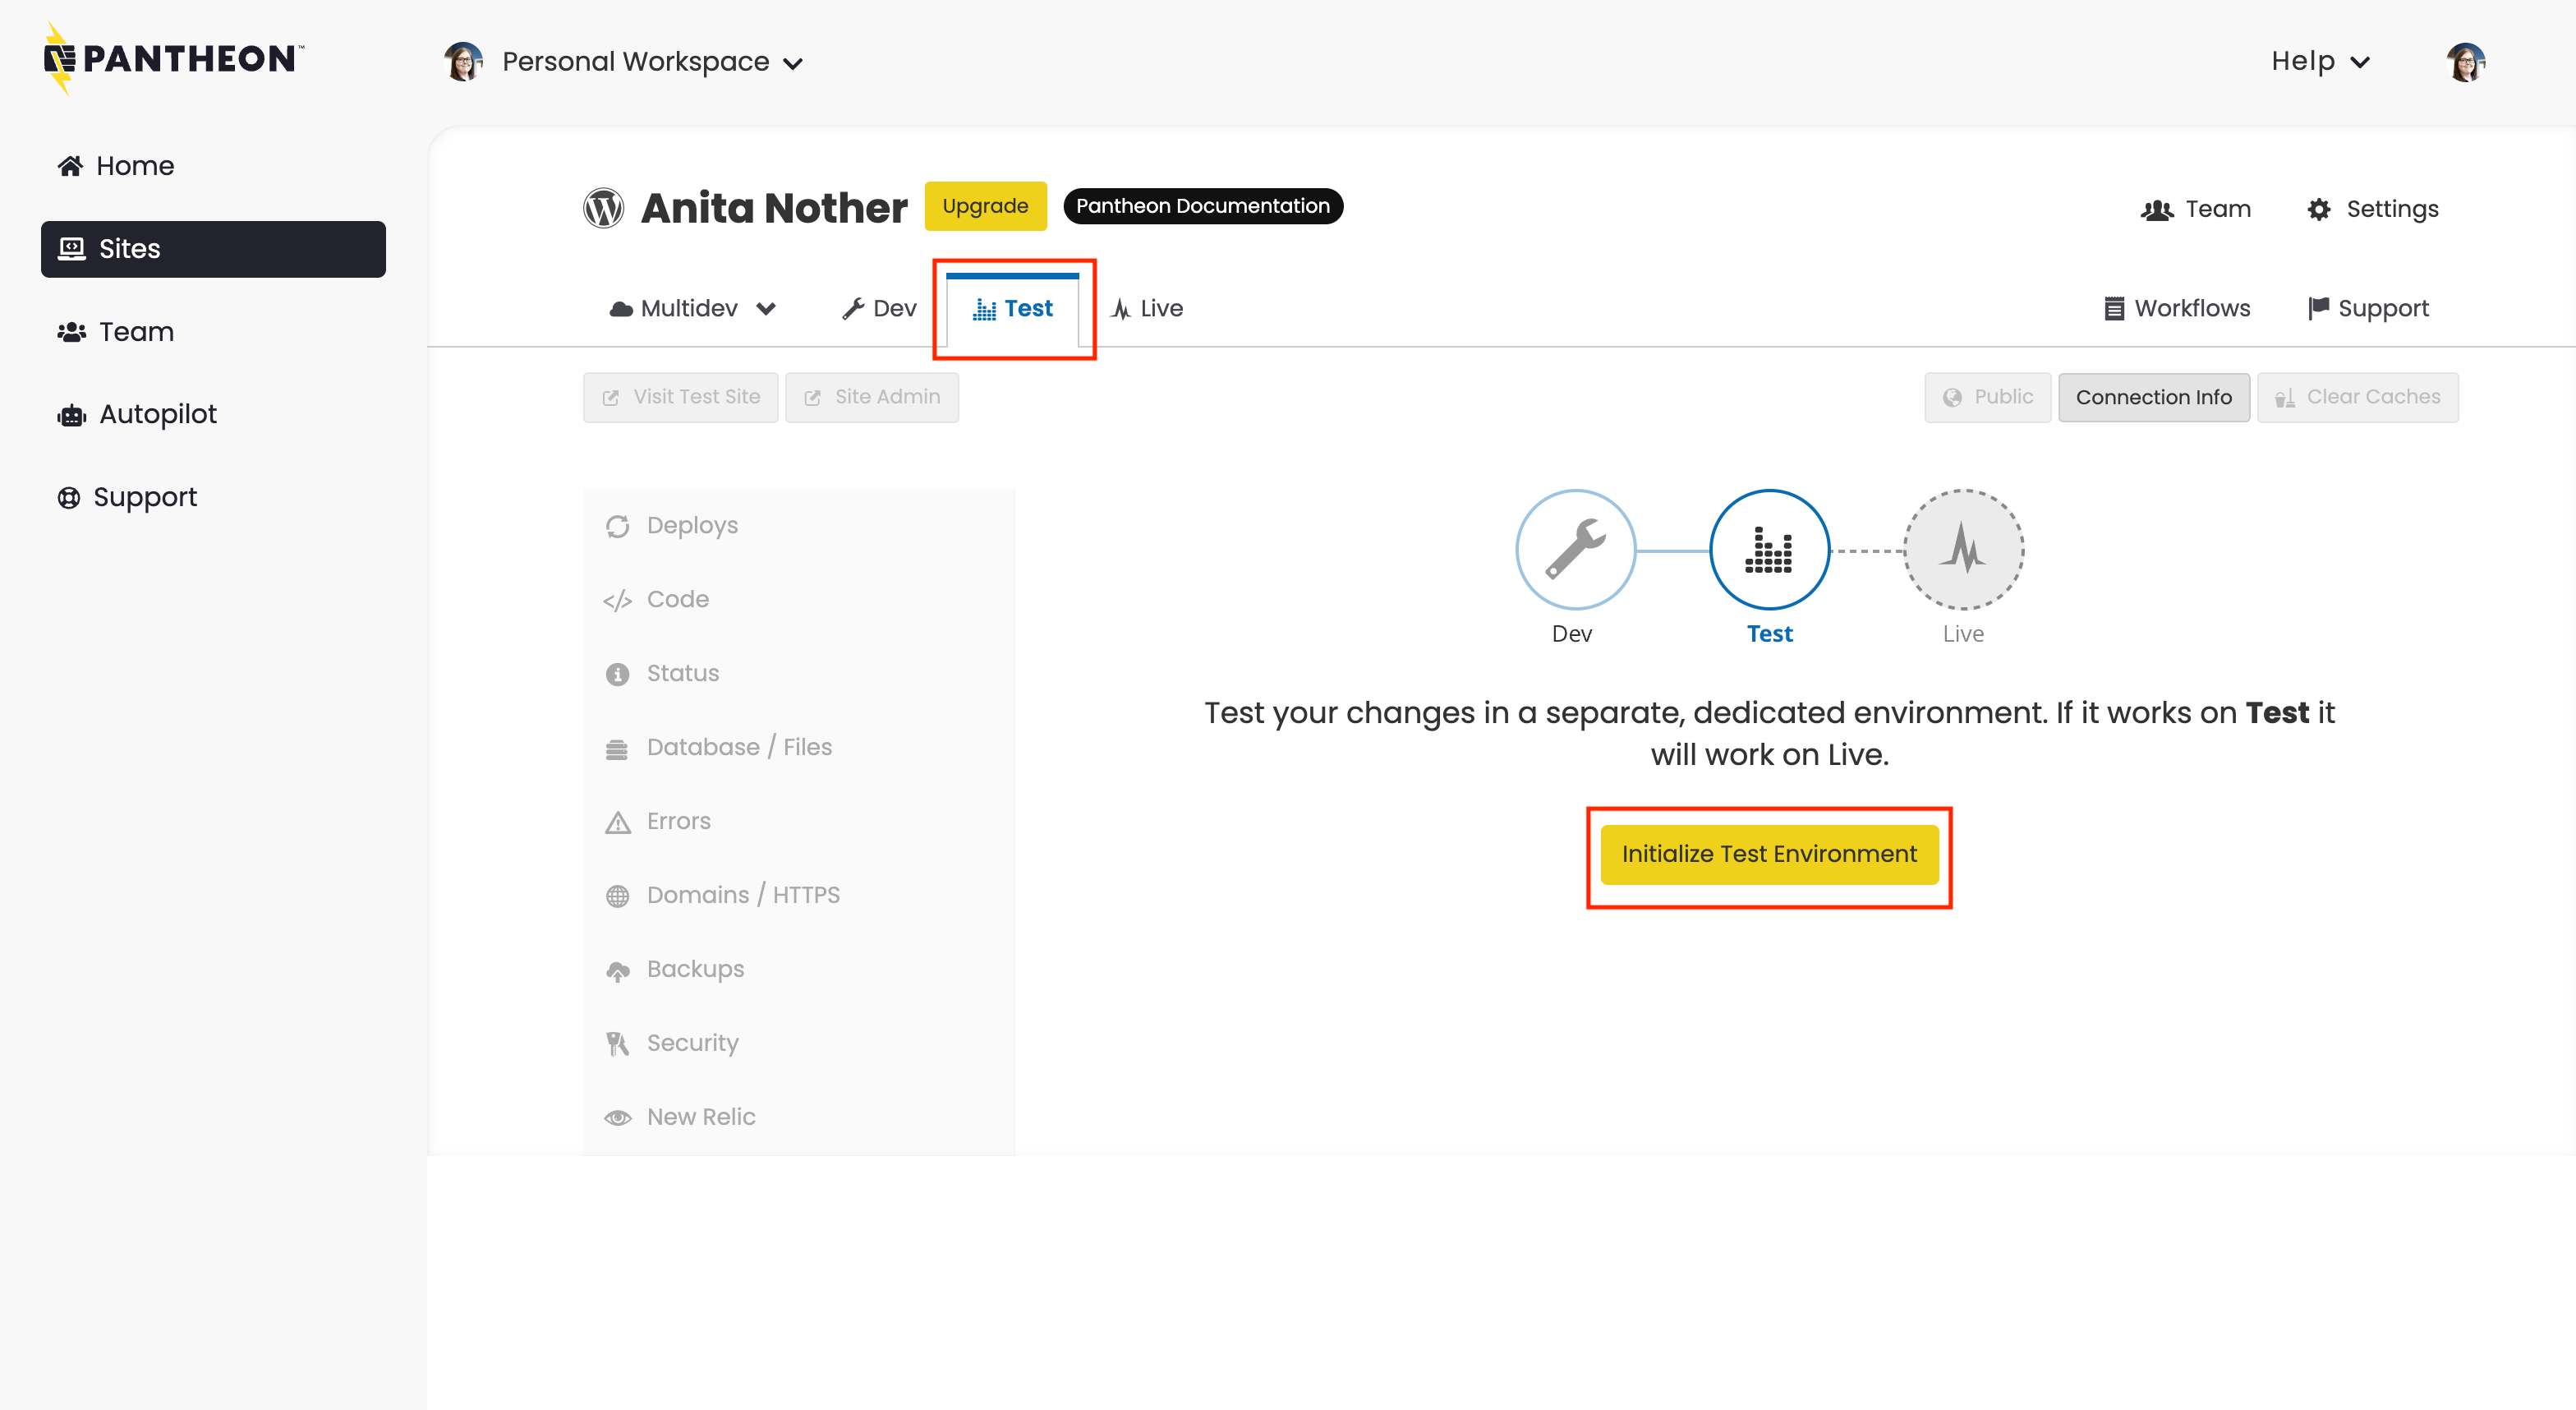
    This takes a few moments.

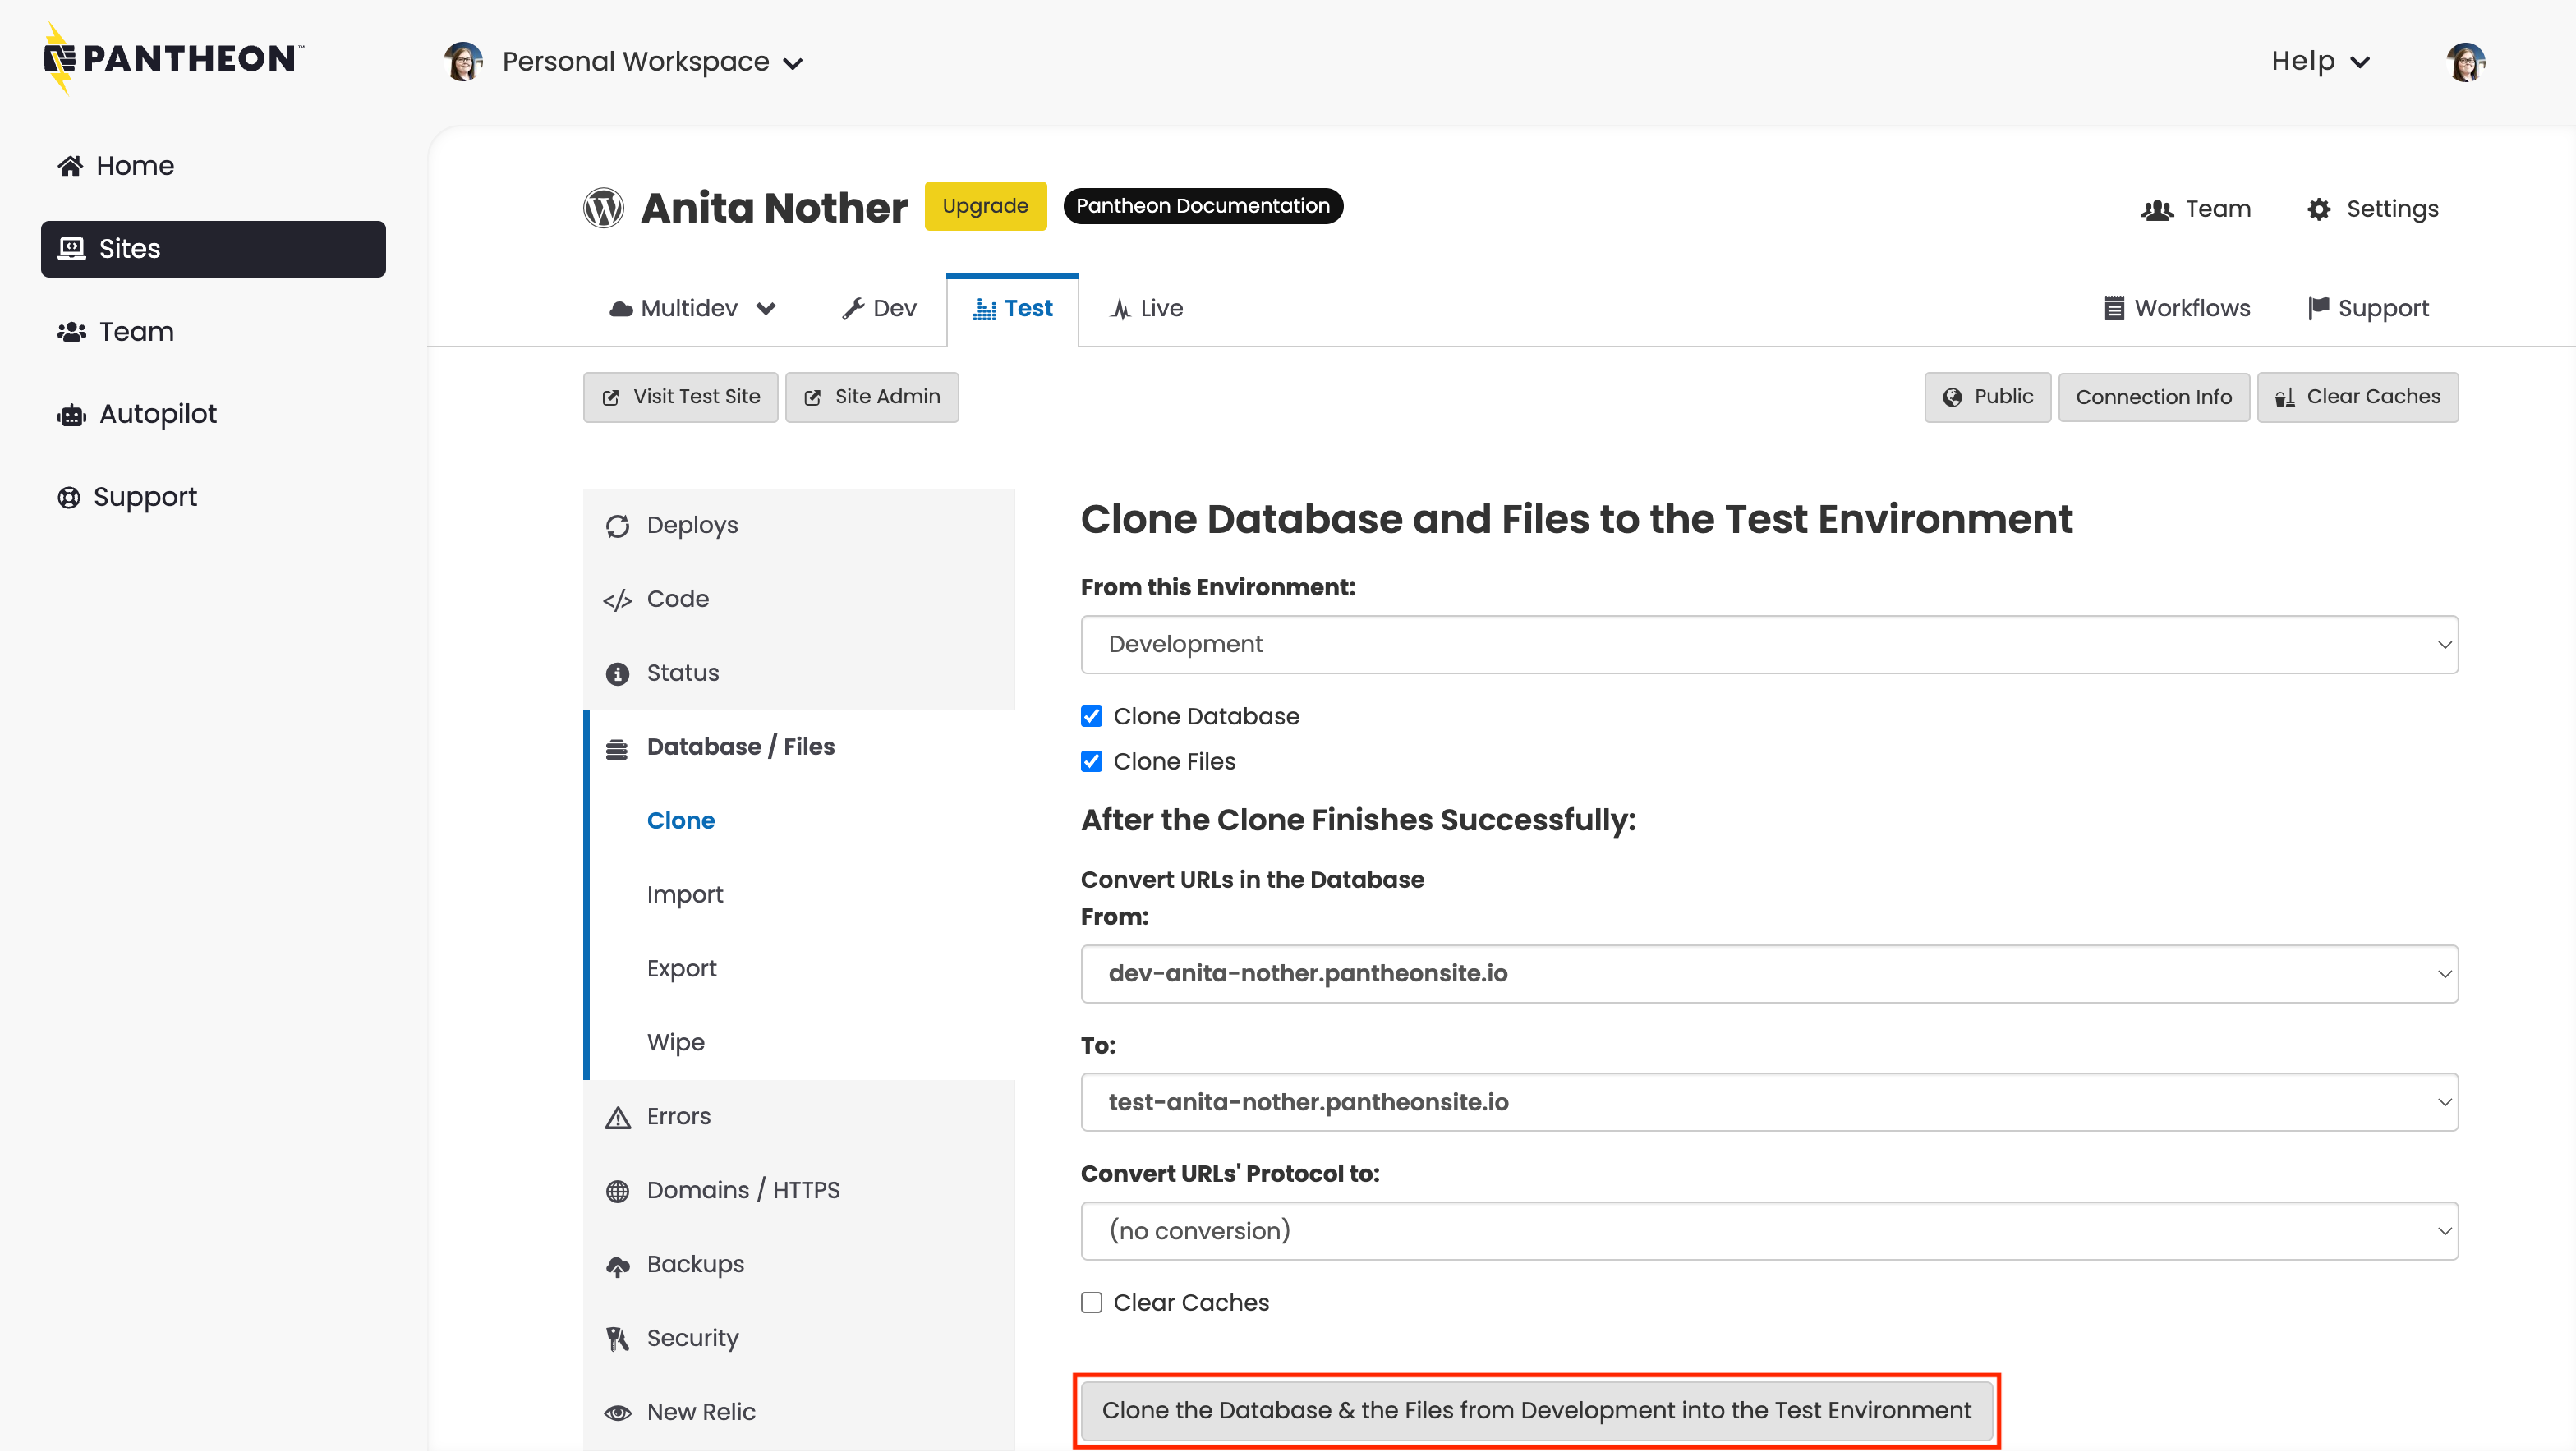
  3. Go to the Database / Files tab and select the following:

    • From this Environment: Development
    • Clone Database: Checked
    • Clone Files: Checked
  4. Click Clone the Database & the Files from Development into the Test Environment.

    Cloning Dev to Test

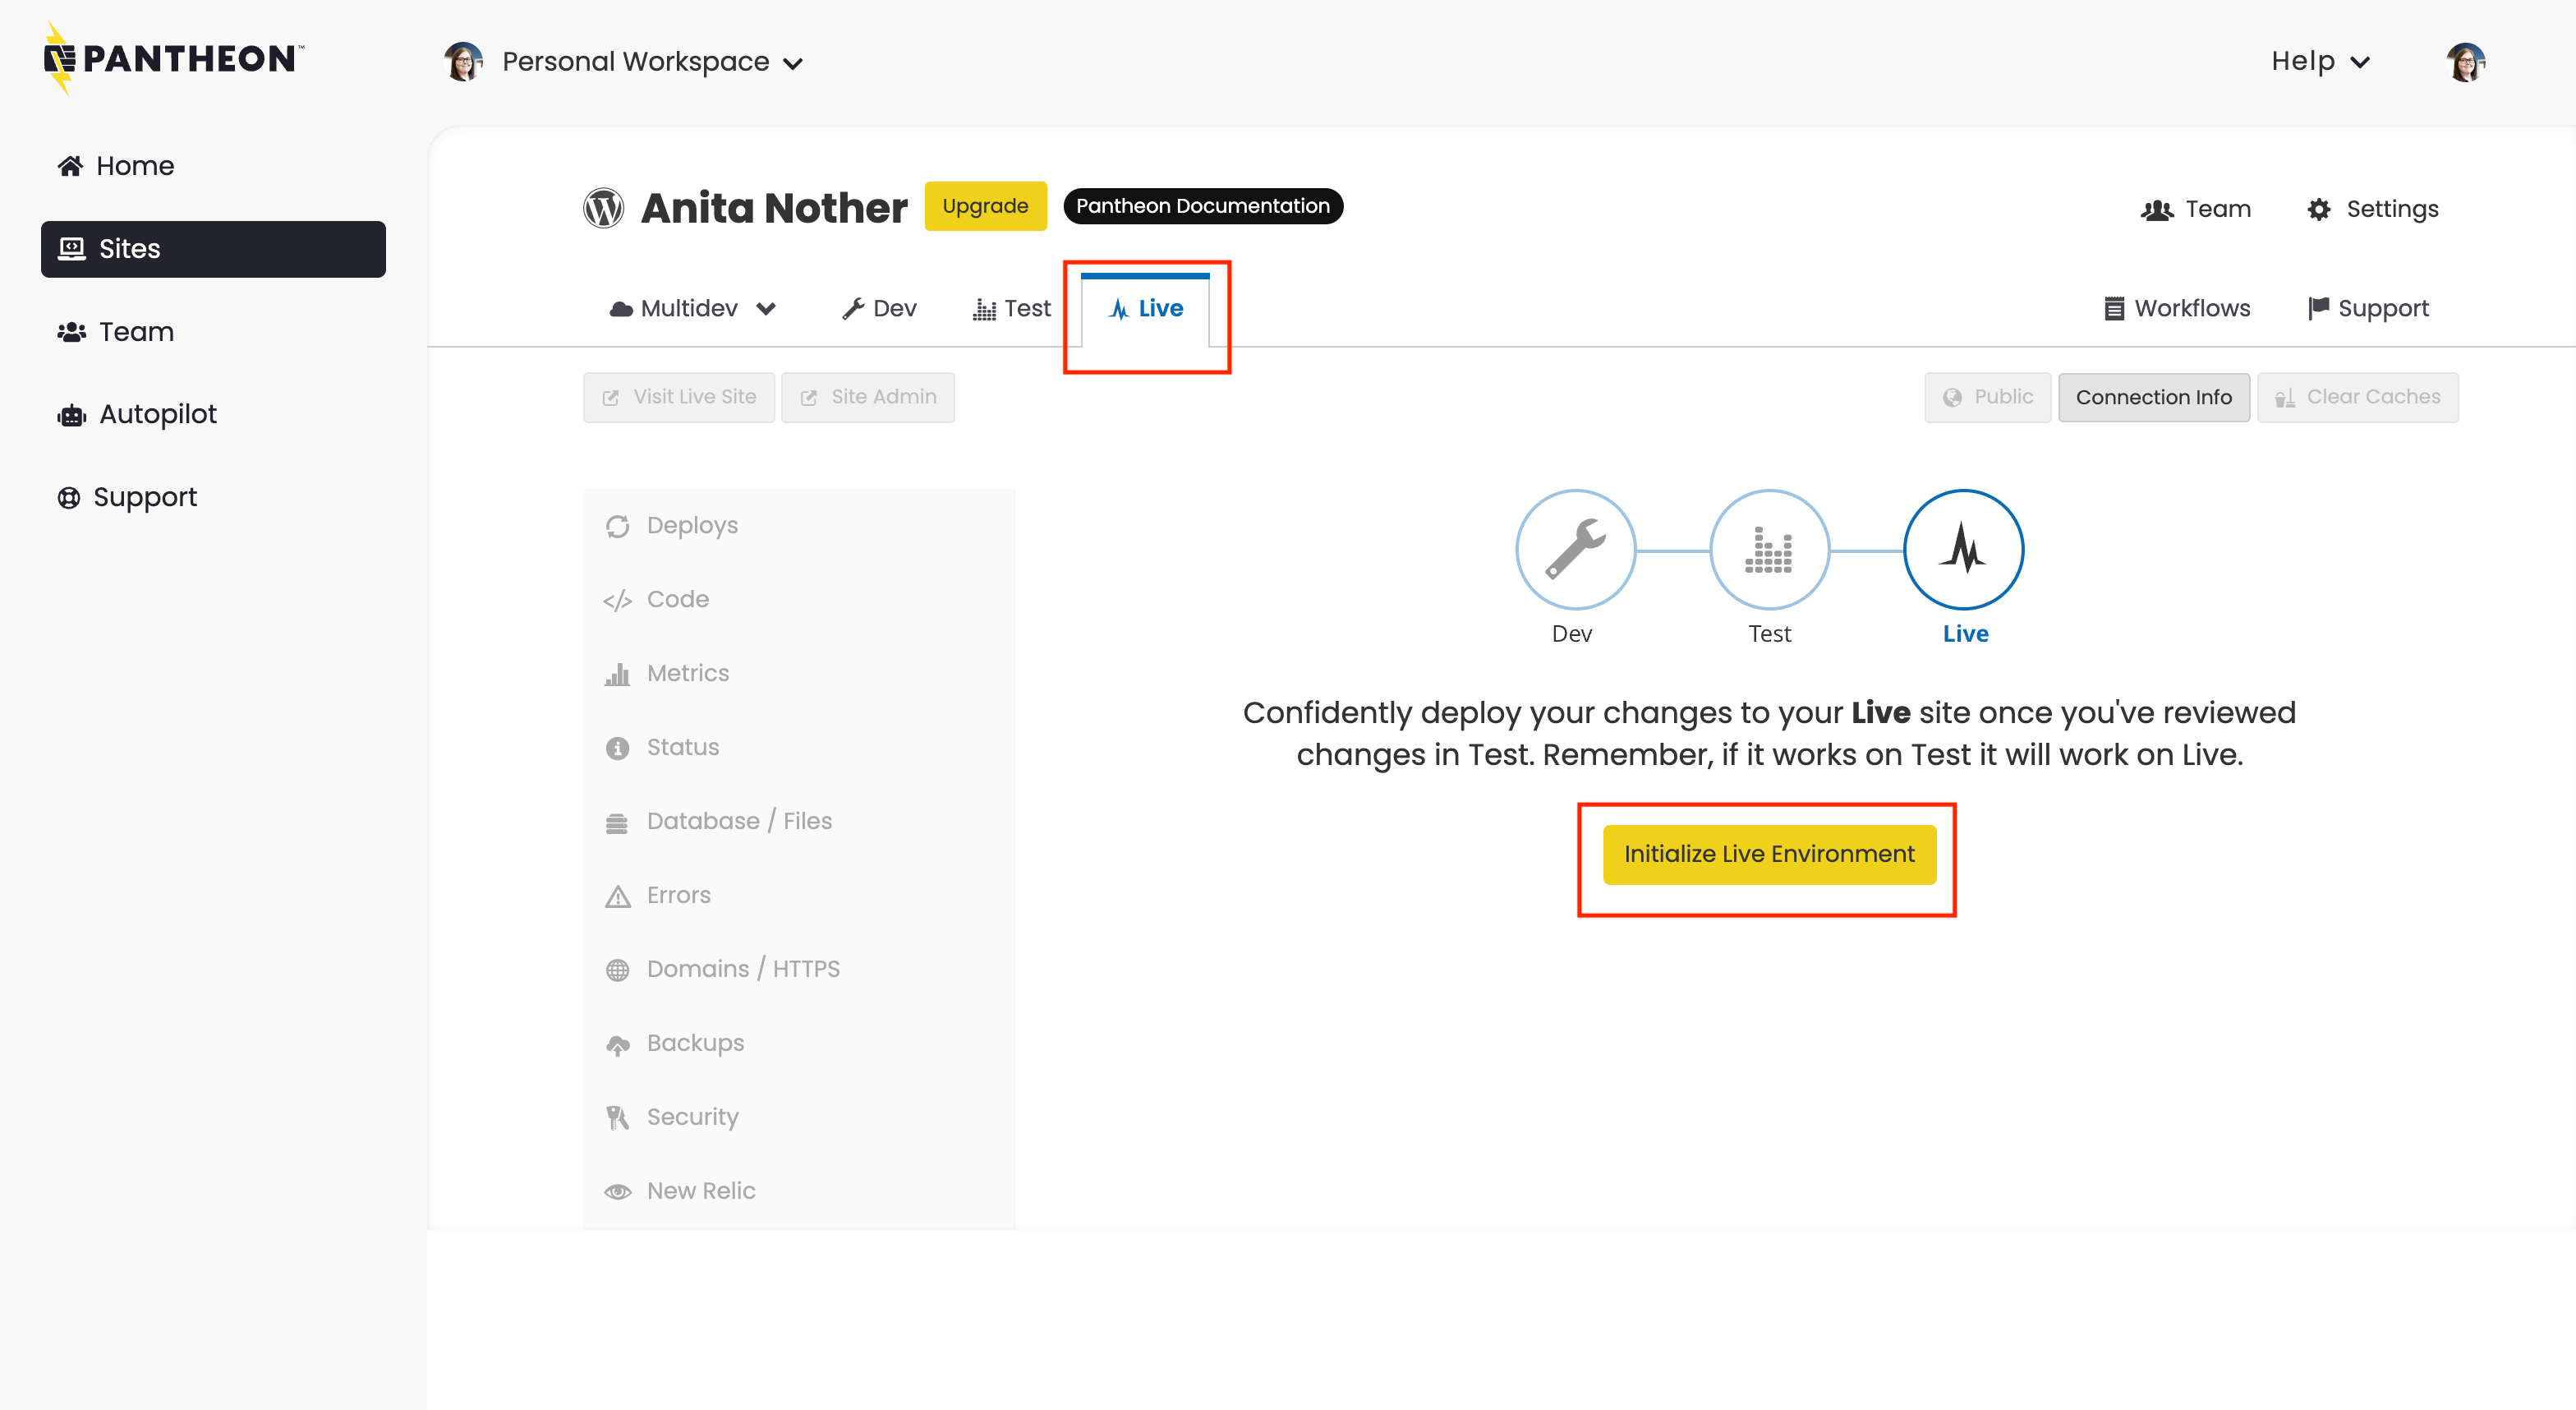
To create your Live environment:

  1. Go to the Site Dashboard.
  2. Click the Live tab.
  3. Click Initialize Live Environment to create your Live environment.

Initialize live environment

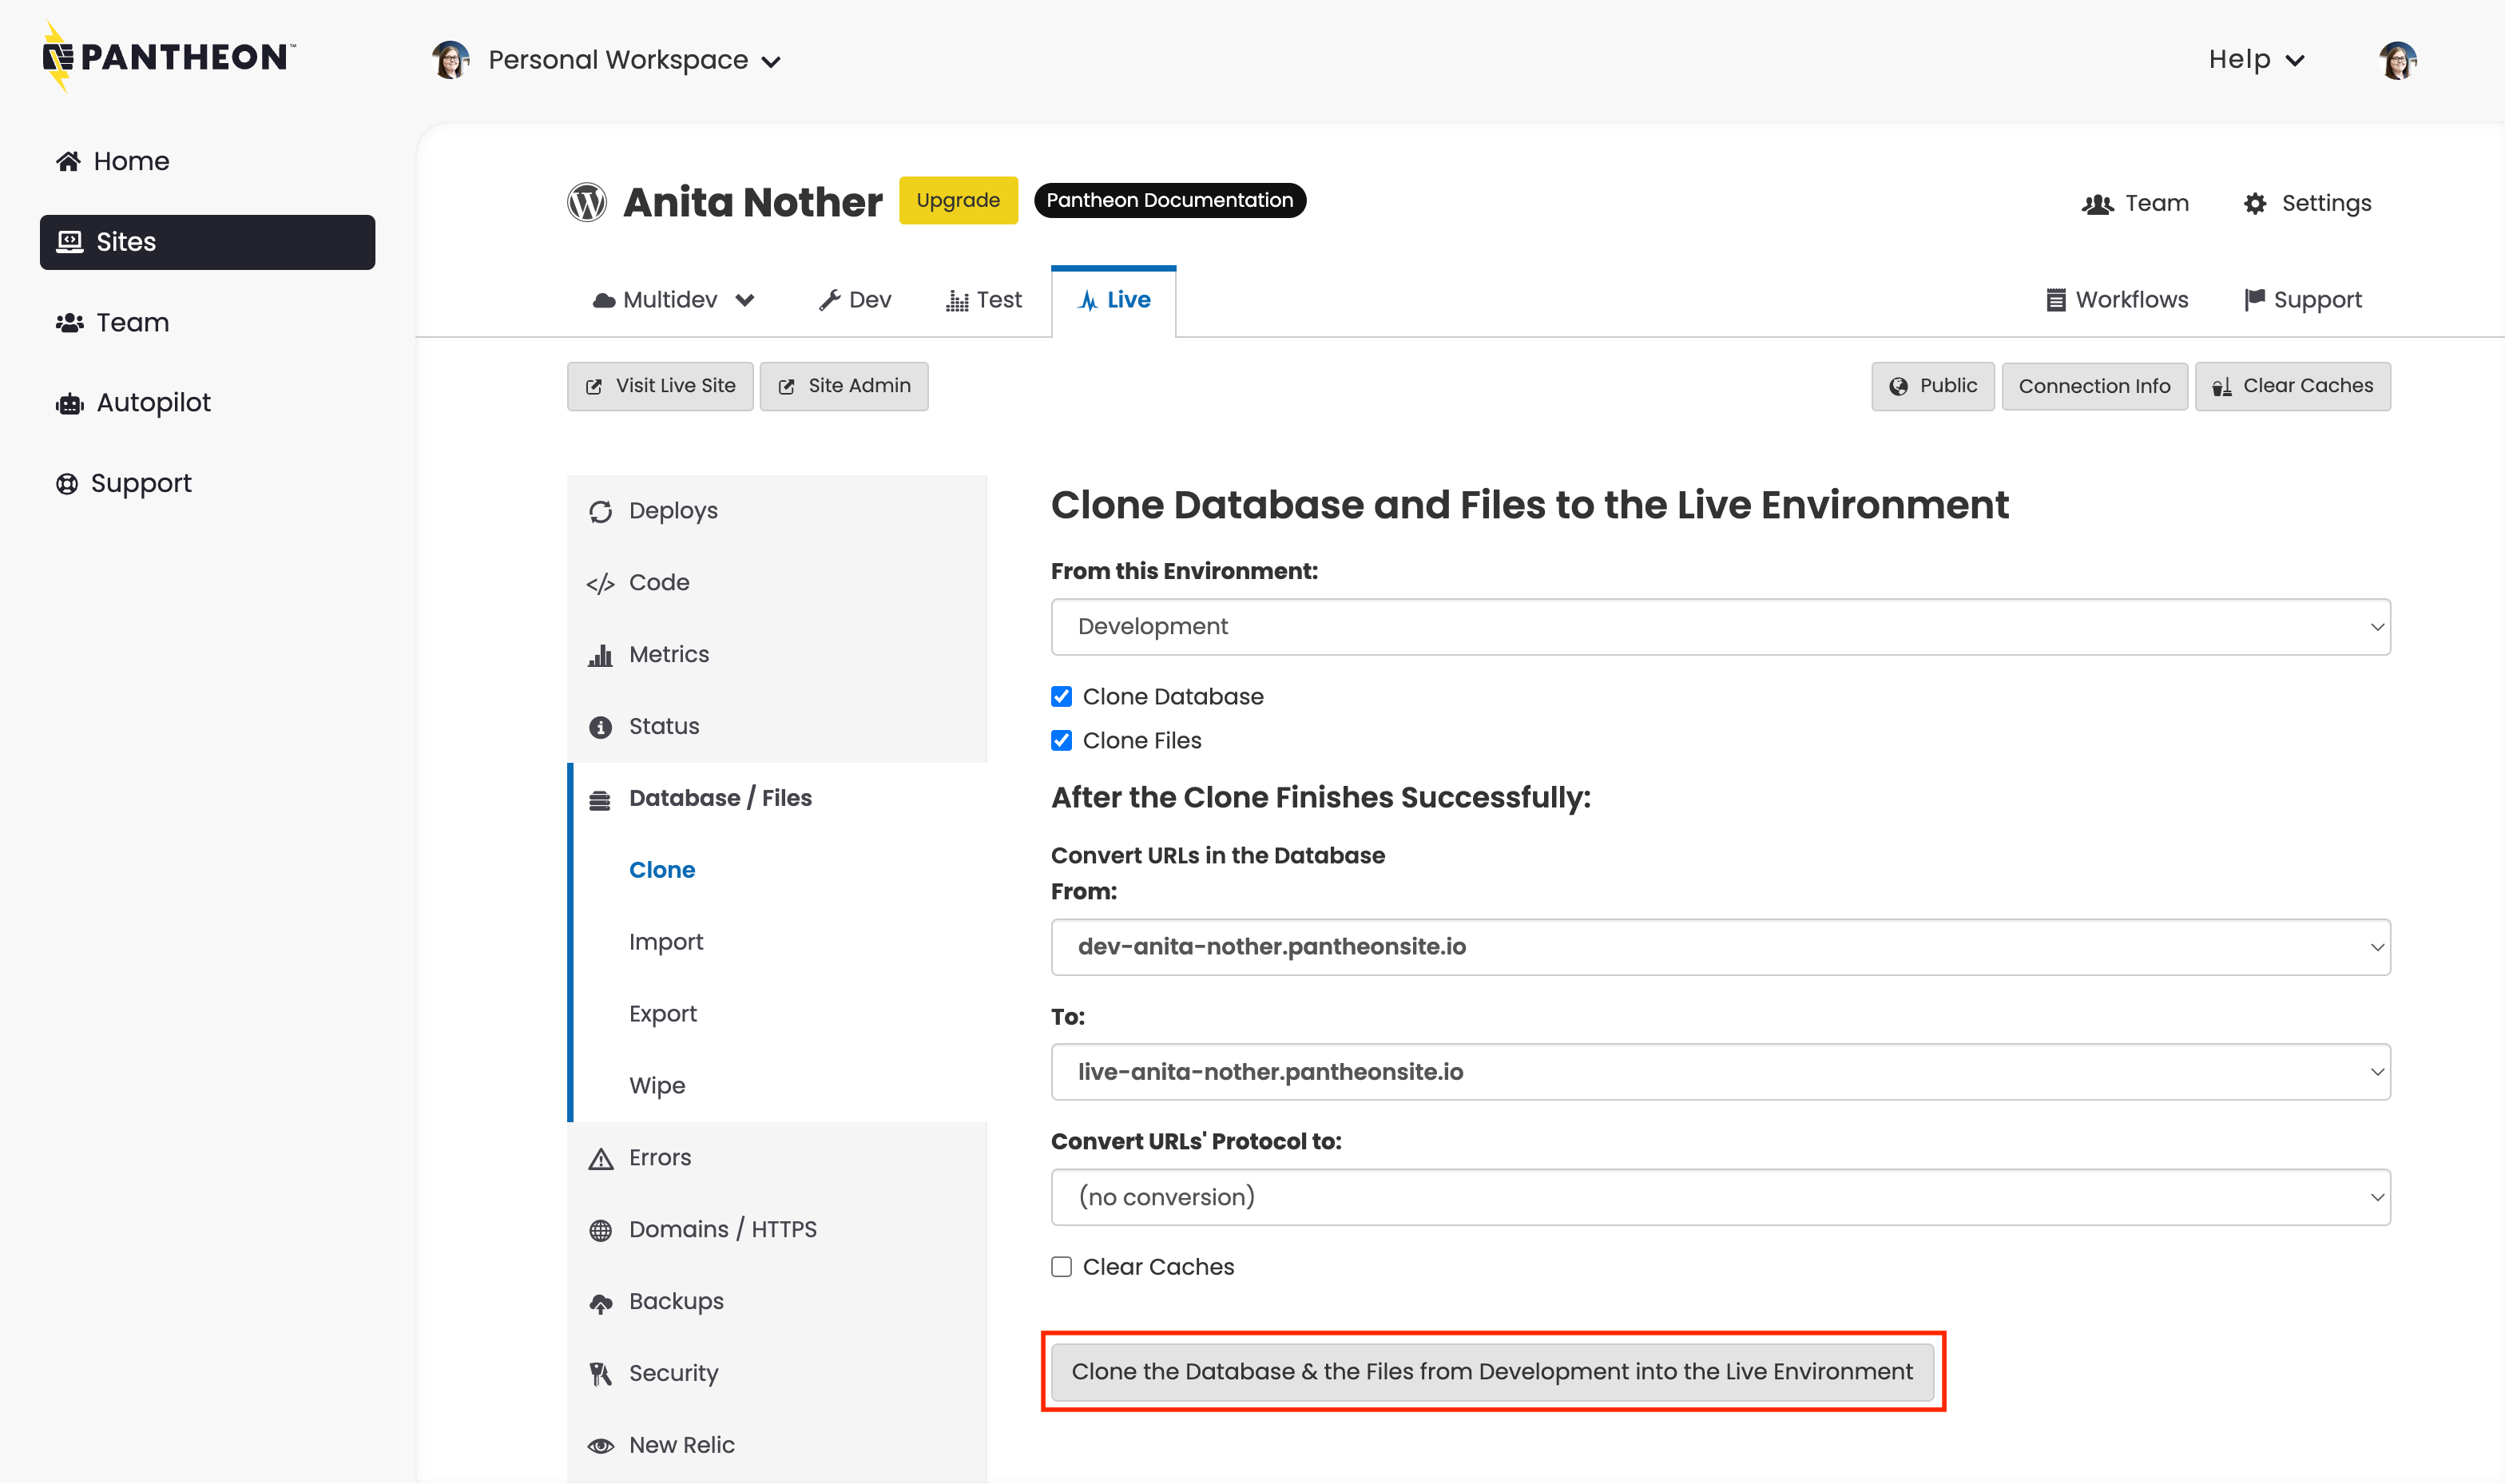
  1. Go to the the Database / Files tab and select the following:

    • From this Environment: Development
    • Clone Database: Checked
    • Clone Files: Checked
  2. Click Clone the Database & the Files from Test into the Live Environment.

    Clone test to live

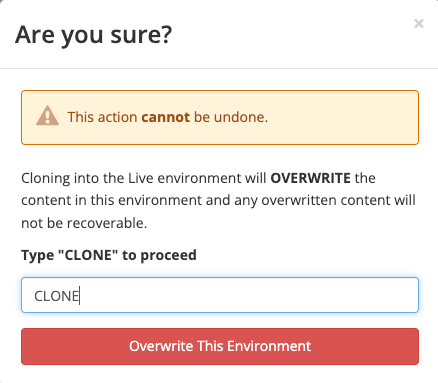
  3. Type "CLONE" and then click Overwrite This Environment when prompted to confirm you want to go live.

    Confirm cloning

Review Troubleshooting or contact Support if the migration is unsuccessful. Include a link to the Site Dashboard and any details you can provide, such as where you are migrating the site from.