Manually Migrate Sites to Pantheon
Learn how to manually migrate a Drupal or WordPress site to Pantheon
Manually migrate your site to Pantheon when any of the following apply:
If you are using Drupal version 9 or higher, or are moving a Drupal site and want to upgrade to the latest version of Drupal, use one of the following guides instead:
- Your site is Composer-managed: Migrate a Composer Managed Drupal Site from Another Platform or Import Drush Site Archives with Terminus
- Your site is not Composer-managed: Migrate a Drupal Site from Another Platform
- Large Drupal Site Archive: Site archive exceeds the import file size limit of 500MB.
- Large WordPress Site: WordPress site exceeds 500MB.
- Preserve Git History: You'd like to preserve your site's existing Git commit history.
- WordPress Multisite
- Plugin install unavailable on existing WordPress site: For example, if your existing site is hosted on WordPress.com, you'll be unable to install the Pantheon Migrations plugin.
- Local WordPress Site: If your WordPress site is only on your local machine and not yet live.
- Debug Failed Migration: It can be helpful to migrate your code, database, and files separately if the standard migration procedure failed.
The steps outlined below do not work for Composer-based sites. If you have need help migrating a Composer-based site (or any site, for that matter), site migrations are one of the services offered by our Professional Services team.
Before You Begin
To ensure a successful migration, complete the following tasks on the source site before you start:
- Read Platform Considerations
- Upgrade to the latest version of WordPress or Drupal core
- Reference your plugins and/or modules against Drupal Modules Known Issues and WordPress Known Issues
- Make sure your code is compatible with PHP 7.2 or greater. Review your CMS's PHP version requirements. You may need to adjust PHP versions.
- Clear all caches
- Remove unneeded code, database tables, and files
- Configure SSH keys
Create Pantheon Site
-
Go to My Dashboard and click the Migrate Existing Site button:
-
Choose your site type, and click Continue:
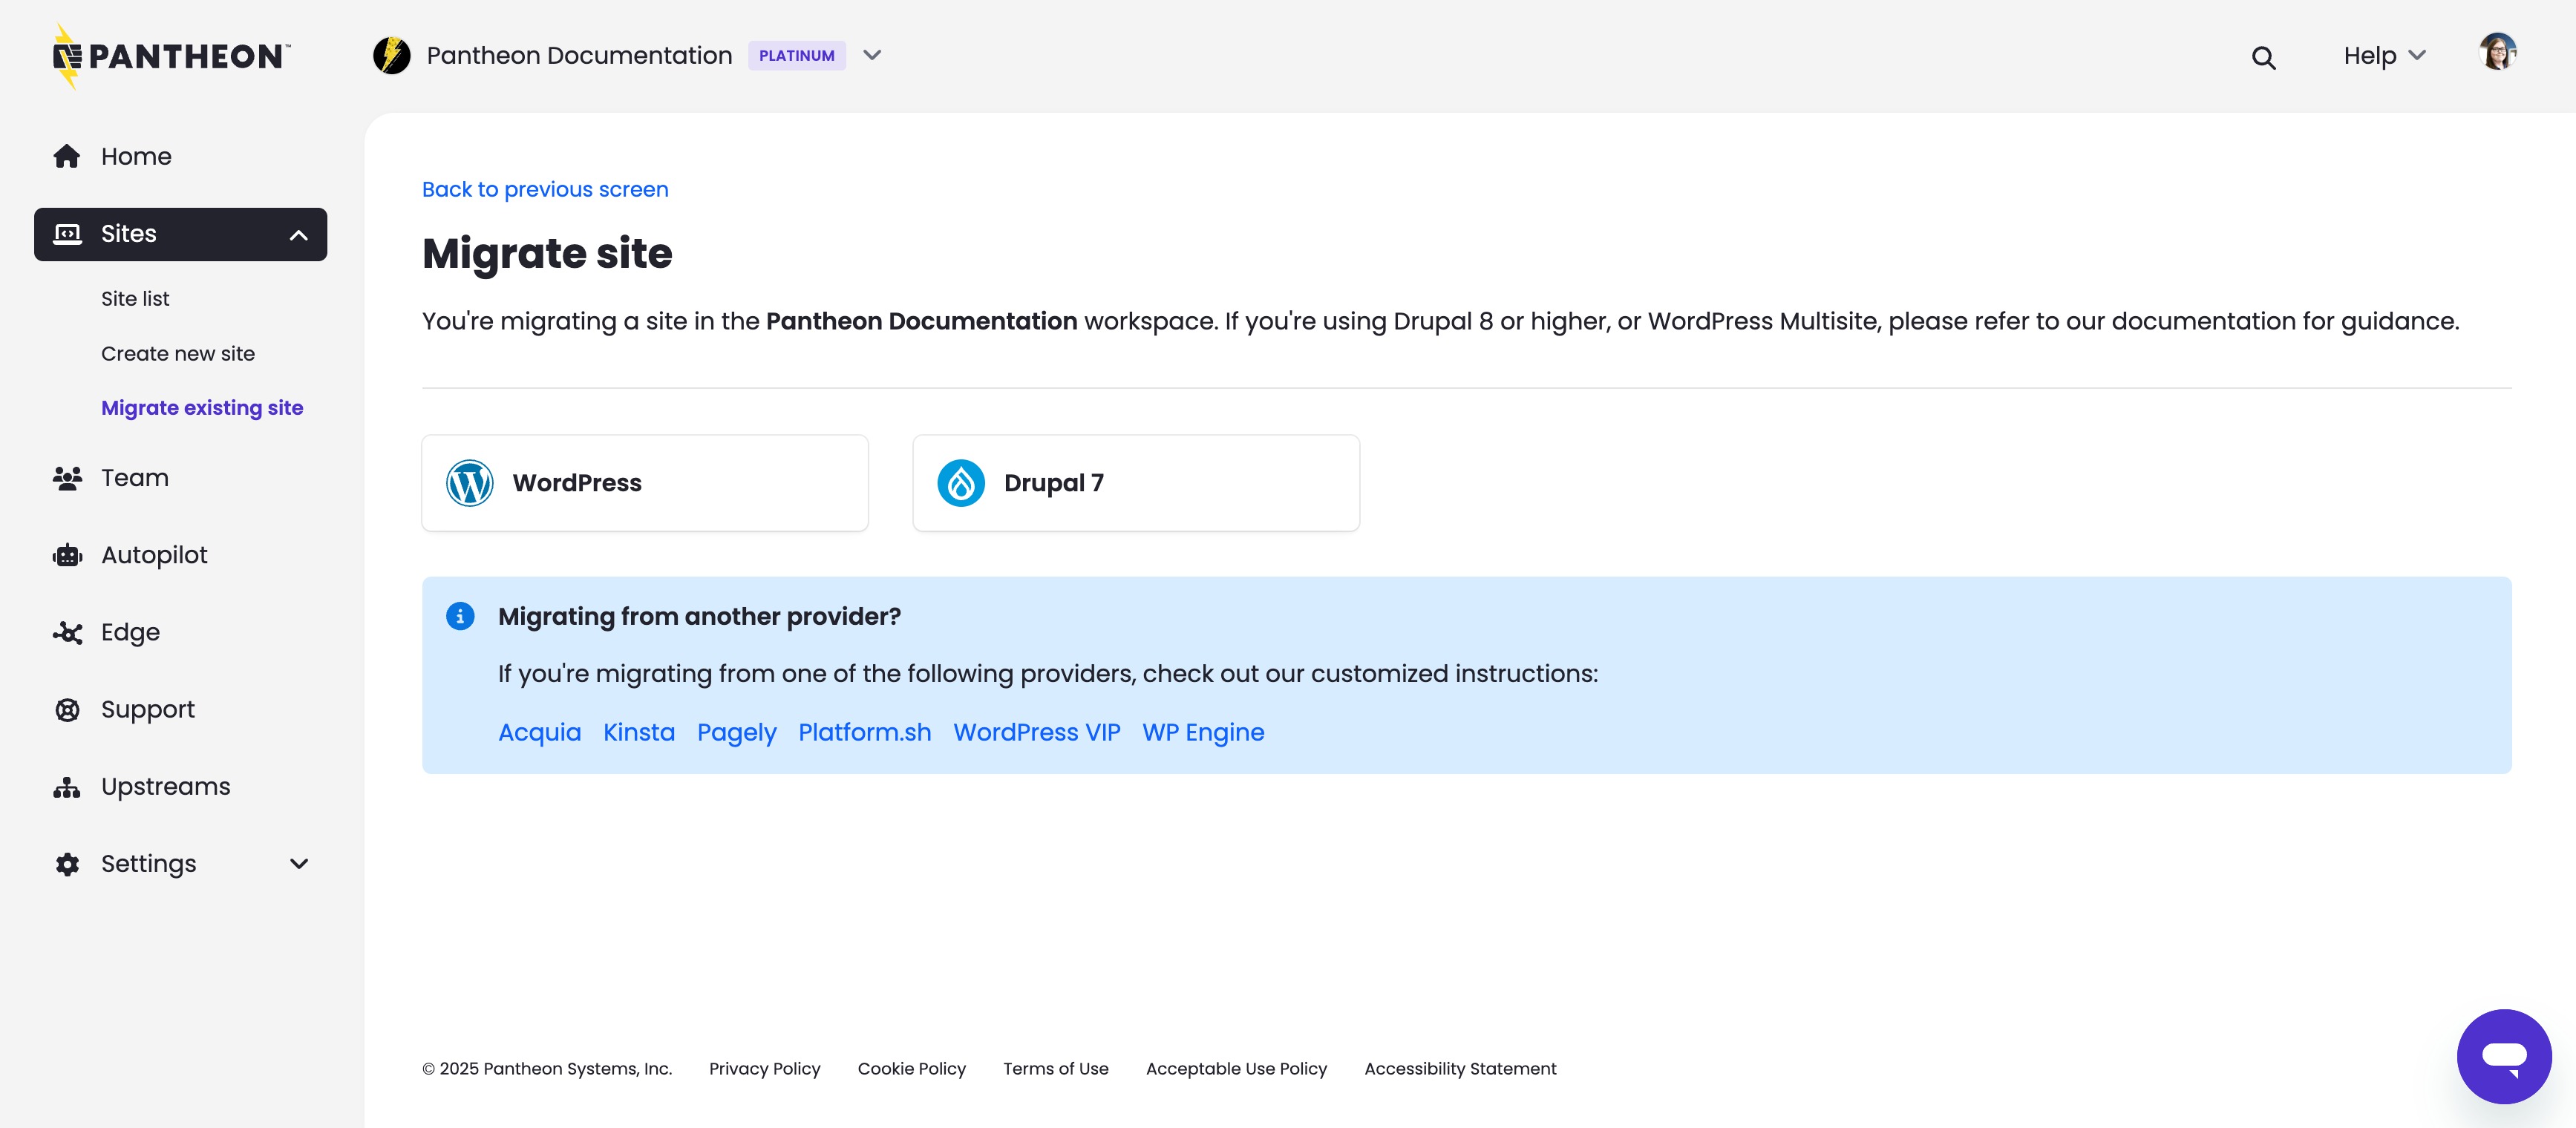
Note: It is possible to upload a site running locally by putting in the local url. For example, (
http://localhost). -
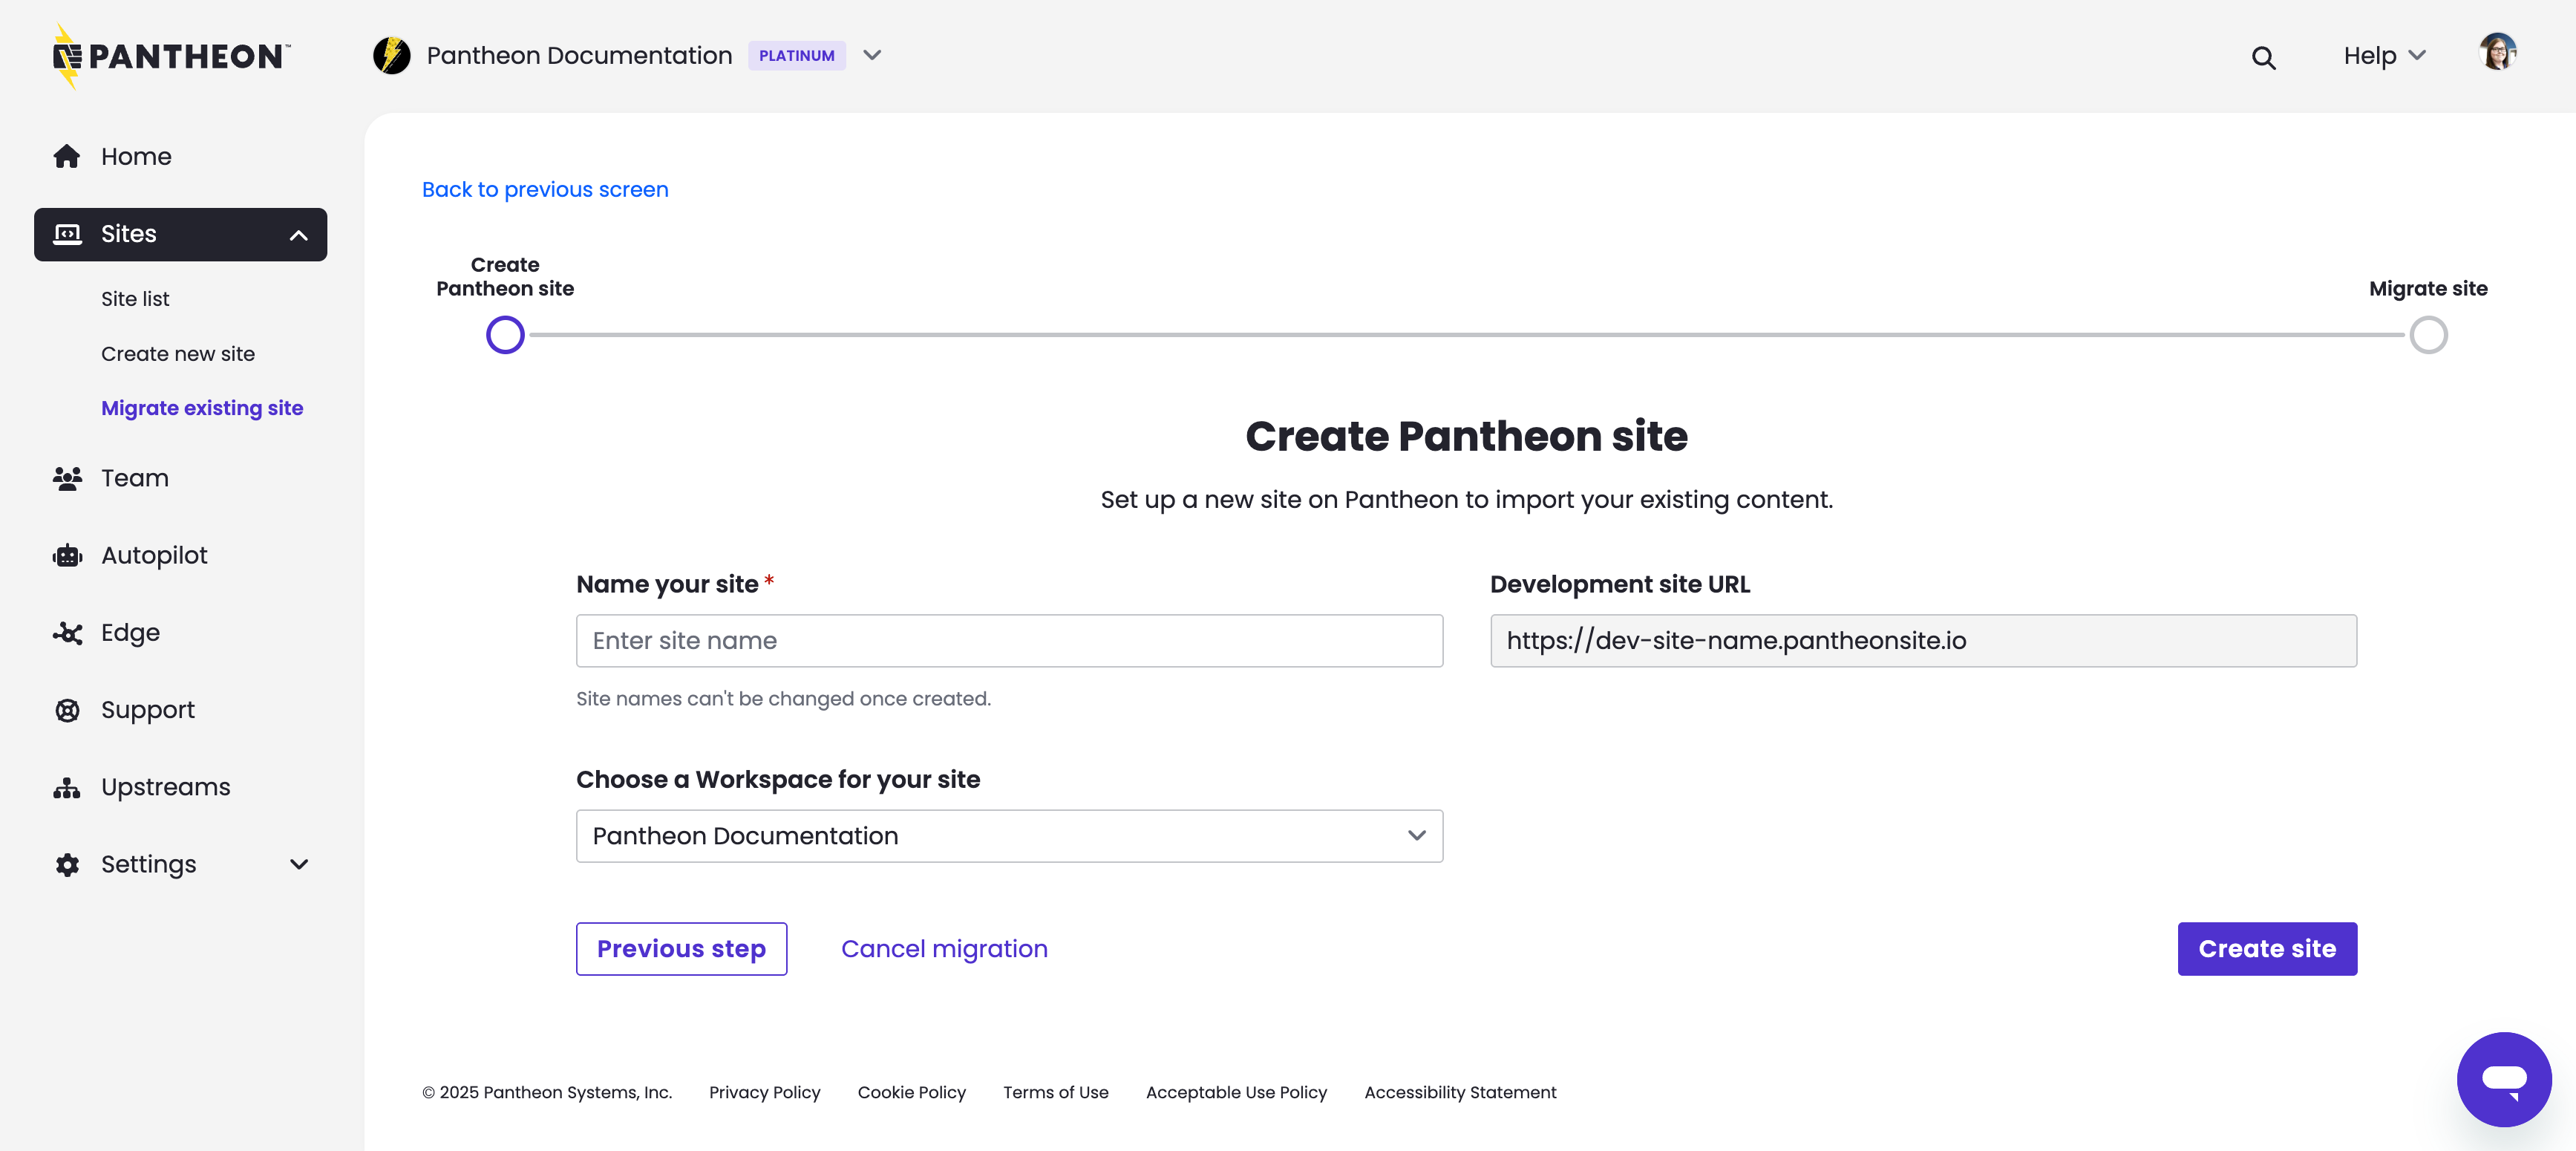
Enter the name of your new Pantheon site, select a workspace for the site (optional), and click Create Site:
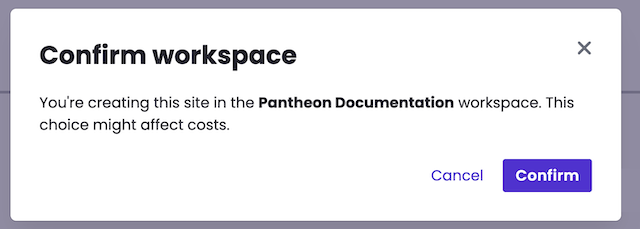
When a workspace is selected, you will be prompted to confirm your selection. Review your selection and when ready click Confirm in the popup to continue:
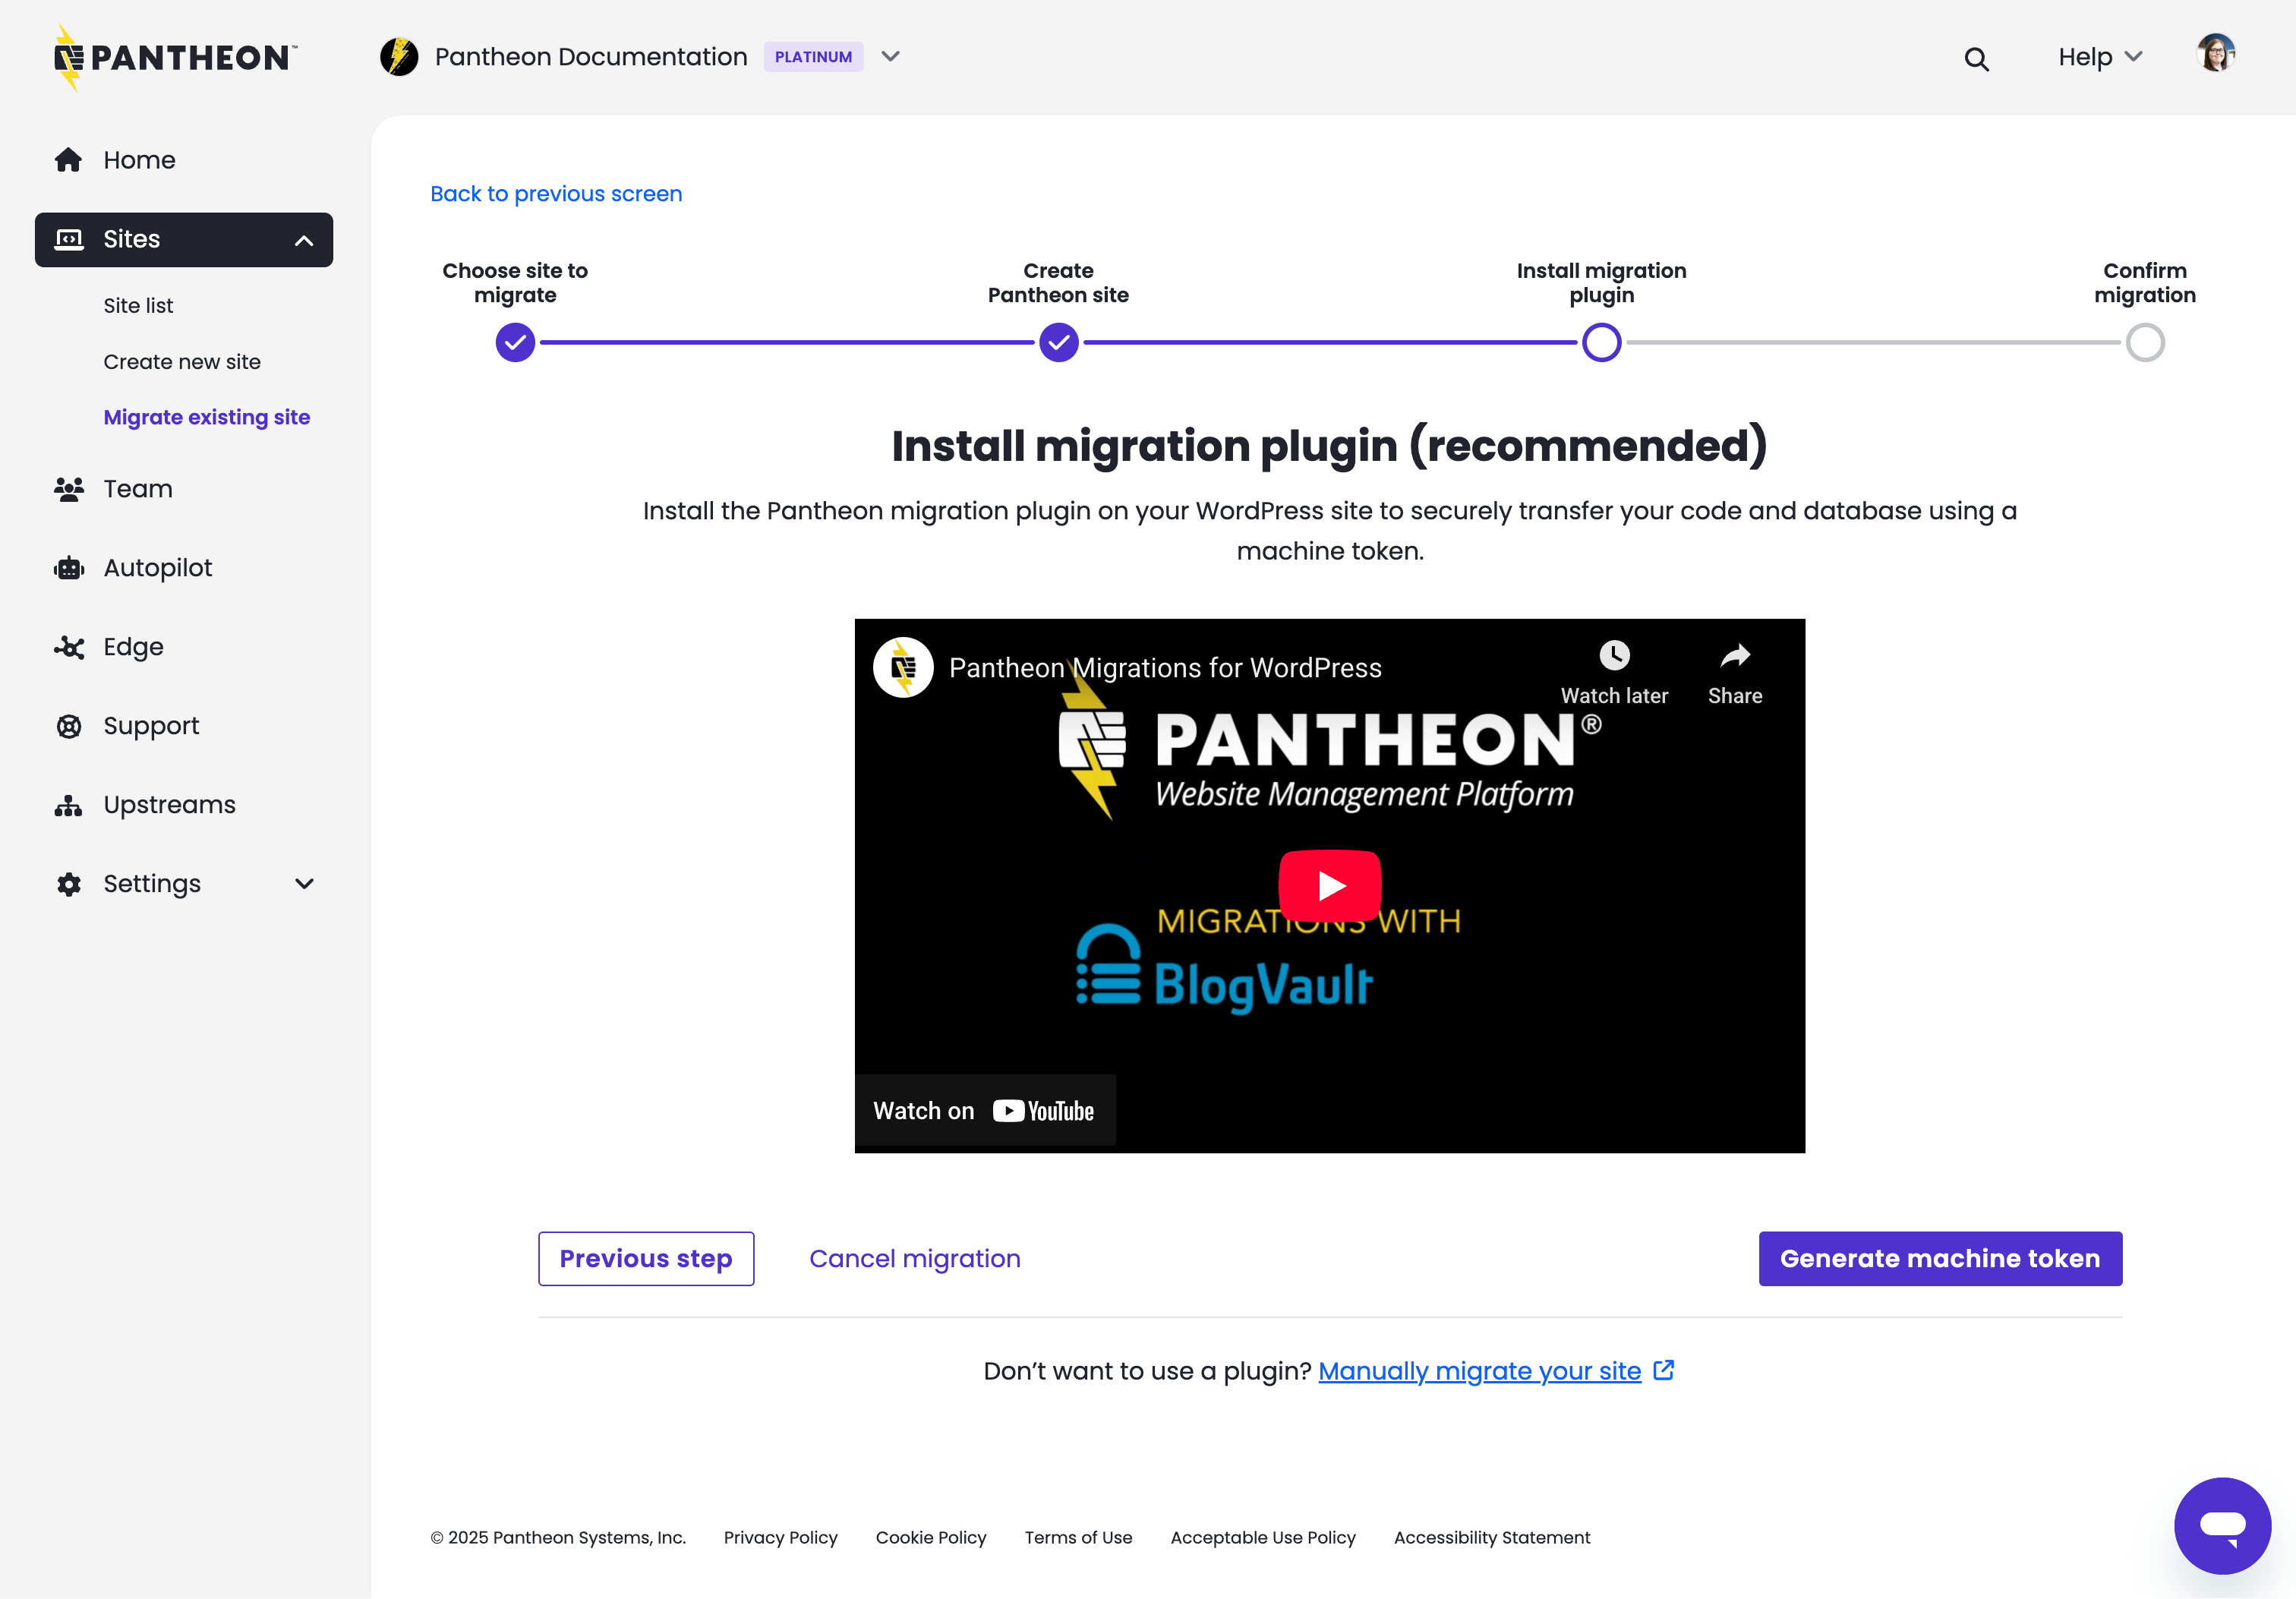
- For WordPress sites, click the link at the bottom to manually migrate your site then select Yes to confirm:
- Click Go to site dashboard:
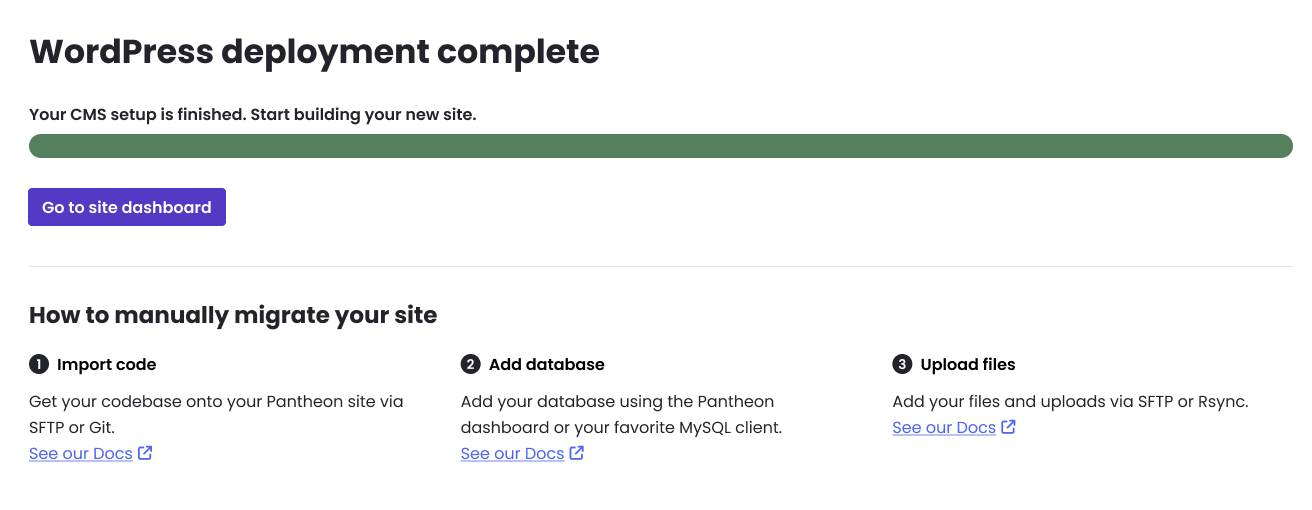
Now that you have a new site on Pantheon, you're ready to add the major components from your existing site: custom code, files, and the database.
Import Your Code
Your code is all custom and contributed modules or plugins, themes, and libraries. The codebase should not include the wp-content/uploads (WordPress) / sites/default/files (Drupal) directory, or any other static assets you do not want tracked by version control.
The codebase for each CMS upstream offered by Pantheon can be found on GitHub:
If your existing site is already version controlled and you would like to preserve the commit history, import the code from the command line with Git using the instructions below. If you prefer to avoid the command line entirely, we suggest importing the codebase using an SFTP Client such as Transmit or Cyberduck.
SFTP Client
-
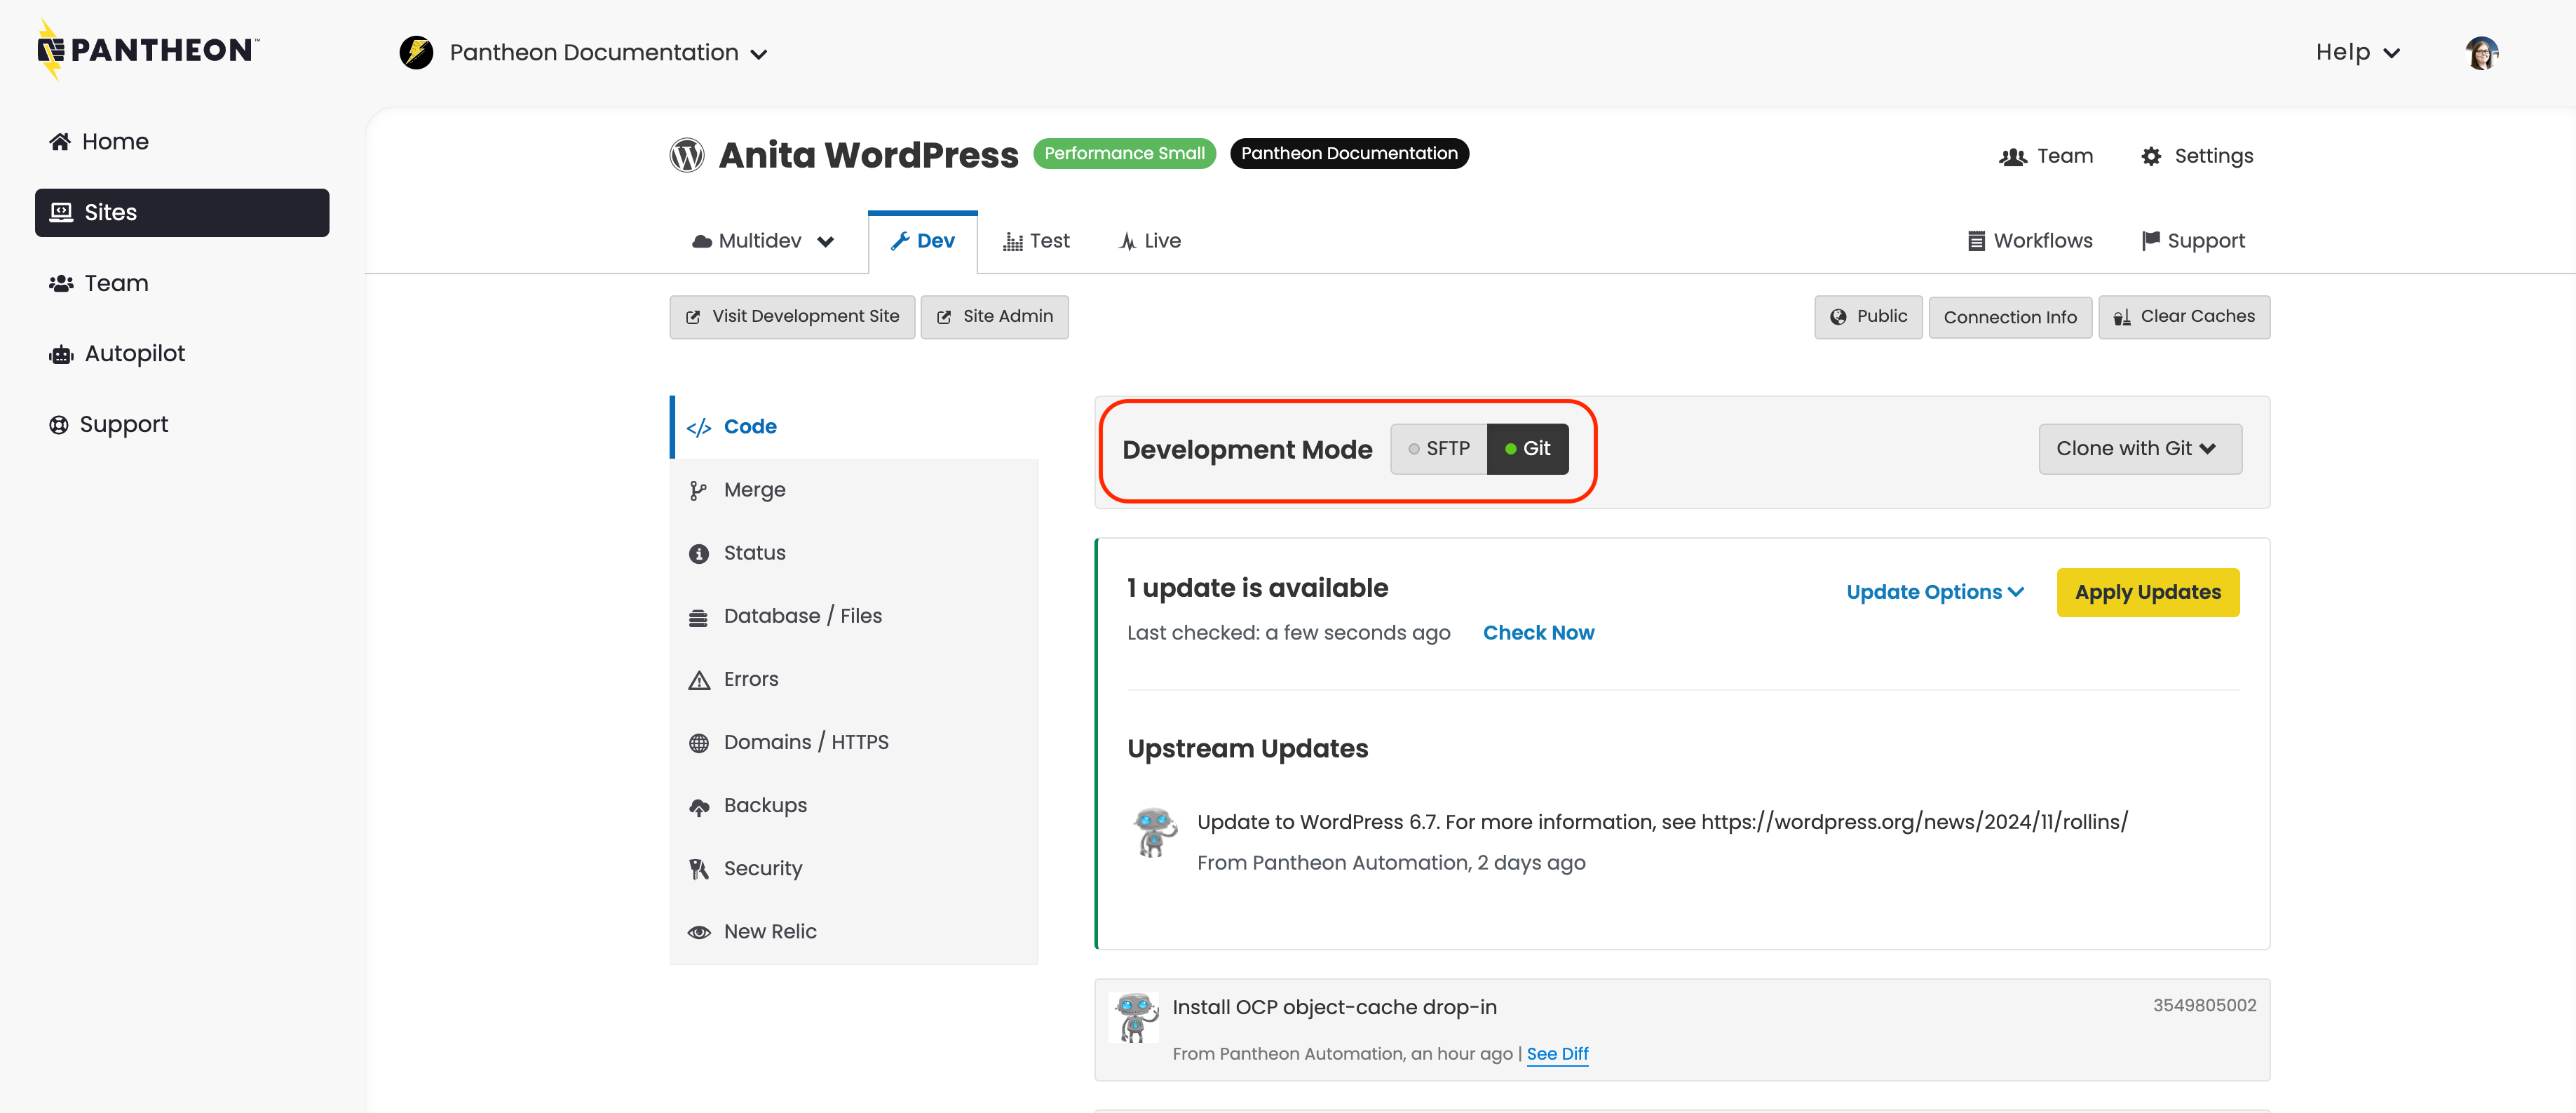
Navigate to Code in the Dev tab of your Site Dashboard. Confirm that Development Mode is set to SFTP.
-
Click Connect with SFTP to access the credentials for connecting to your preferred SFTP client.
-
Click Open SFTP Client to open your default local SFTP client, and enter your password when prompted.
If you run into issues, please refer to Pantheon's SFTP documentation.
- Do not overwrite WordPress or Drupal core files on your Pantheon site. Upload your existing site's themes as well as plugins or modules to their locations within the root directory (
codeorwp-content, as shown below).
- Return to the Site Dashboard on Pantheon, and you should see quite a few files ready to be committed to version control. Write a commit message such as "Import existing codebase" then click Commit.
Git
-
Navigate to your existing site's code directory in a local terminal. If your existing code is not already version controlled with Git, create a repository and add an initial commit:
-
From the Dev environment of the Site Dashboard, set the site's Development Mode to Git:
- Copy the SSH URL for the site repository. Do not copy
git cloneor the site name.
The URL should look similar to the following:
- Add your new Pantheon site as a remote destination for your local code repository (replace
<ssh_url>with the SSH URL copied in the previous step):
- Select the appropriate version of Git running on your local machine (
git --version), then merge the codebase from your new Pantheon site with your existing site's codebase:
The output will resemble:
If you are prompted for authentication, configure an SSH Keys.
- Review your current index using
git status, then commit all changes.
- Align your local branch with its remote counterpart on Pantheon:
- Push your newly merged codebase up to your Pantheon site repository:
- Go to the Code tab of your Dev environment on the Site Dashboard. You should see your site's pre-existing commit history and the most recent commit adding Pantheon's core files.
Add Your Database
The Database import requires a single .sql dump that contains the site's content and configurations.
- Create a
.sqldump using the mysqldump utility. For example:
-
Enter your username and password when prompted to authenticate the command.
- You might want to consider using a terminus credential fetch to avoid entering credentials for future automation steps.
-
Run the command below to load the dump file back into the server:
You can also use the Pantheon Dashboard to add your site's database.
-
Select the Dev environment in the Site Dashboard.
-
Select Database / Files.
-
Click Import and add your archive accordingly (based on file size):
Migrate Your Files
Files refer to anything within sites/default/files for Drupal or wp-content/uploads for WordPress, which typically includes:
- Uploaded images
- Generated stylesheets
- Aggregated scripts
Files are not under Git version control and are stored separately from the site's code. You must create and archive of your files and export it before you can upload it.
Export Your Files
Export a tar.gz or .zip file of your files directory:
Upload Your Files
You can use the Pantheon Dashboard, SFTP, or Rsync to upload your site's files.
Pantheon Dashboard
- Go to the Site Dashboard, select the Dev environment, select Database / Files, and click Import to add your archive accordingly (based on file size):
-
Select the Dev environment in the Site Dashboard.
-
Select Database / Files.
-
Click Import and then add your archive (based on file size) by following the steps below.
SFTP
Follow the SFTP instructions in the Large File Transfers with rsync and SFTP documentation.
rsync
Follow the Transfer Files with rsync instructions in the Large File Transfers with rsync and SFTP documentation.
Final Migration Steps
You should now have all three of the major components of your site imported into Pantheon.
-
Clear your caches on the Pantheon Dashboard.
-
Confirm that everything looks and behaves as expected.
-
Run the terminus site:import:complete <site_name> command to complete the import process.
Troubleshooting
fatal: Not possible to fast-forward, aborting.
This error may occur when trying to merge Pantheon's codebase into your existing repository as described earlier on this page in (step 5 of importing your code from the command line:
Depending on your Git version, you may see the following error instead:
If you see this, it is possible your local Git configuration is disallowing non-fast-forward merges:
In this case, you will want to remove ff = only from your .gitconfig file and try the merge command again.