Build Tools
Create a Custom Theme
In step eight of the Build Tools guide, learn how to create a custom theme as part of the build tools workflow.
Pantheon recently released the final update to the build-tools-ci Docker image. No further updates, bug fixes, or security patches will be provided for Build Tools.
Site(s) still using Build Tools today should move to our newer platform capabilities:
This lesson demonstrates how to create a custom theme from the default Bartik theme using the Terminus Drupal Console plugin.
- Start by creating a new branch based off the tip of master, then push it up to GitHub:
- Export local environment variables to define your site name and Multidev environment to easily copy and paste example commands in the next sections (replace
pantheon-d8-composer-project):
- Wait for CircleCI to build a new Pantheon Multidev environment (
pr-custom-t), then use thegenerate:themecommand as shown below to start the process of creating a subtheme:
- Commit theme files generated in the last command to the Multidev environment, either from the Site Dashboard or from the command line. We don't need this particular commit to be built by CircleCI, so we'll add
[ci skip]to the commit message to skip:
- Pull down your last commit from GitHub to your local:
- Run the following command to copy the
regions:section of Bartik's default info file to your new custom theme's info file:
- Copy the logo from Bartik to your custom theme:
-
Create a new
cssdirectory for your custom theme along with a new file namedmain.cssinside it. To test that your theme is working, add some very obvious styling such as an orange border around the content region: -
Commit changes to your custom theme and push to GitHub:
-
After the build from the last step completes, activate your new theme and rebuild the cache:
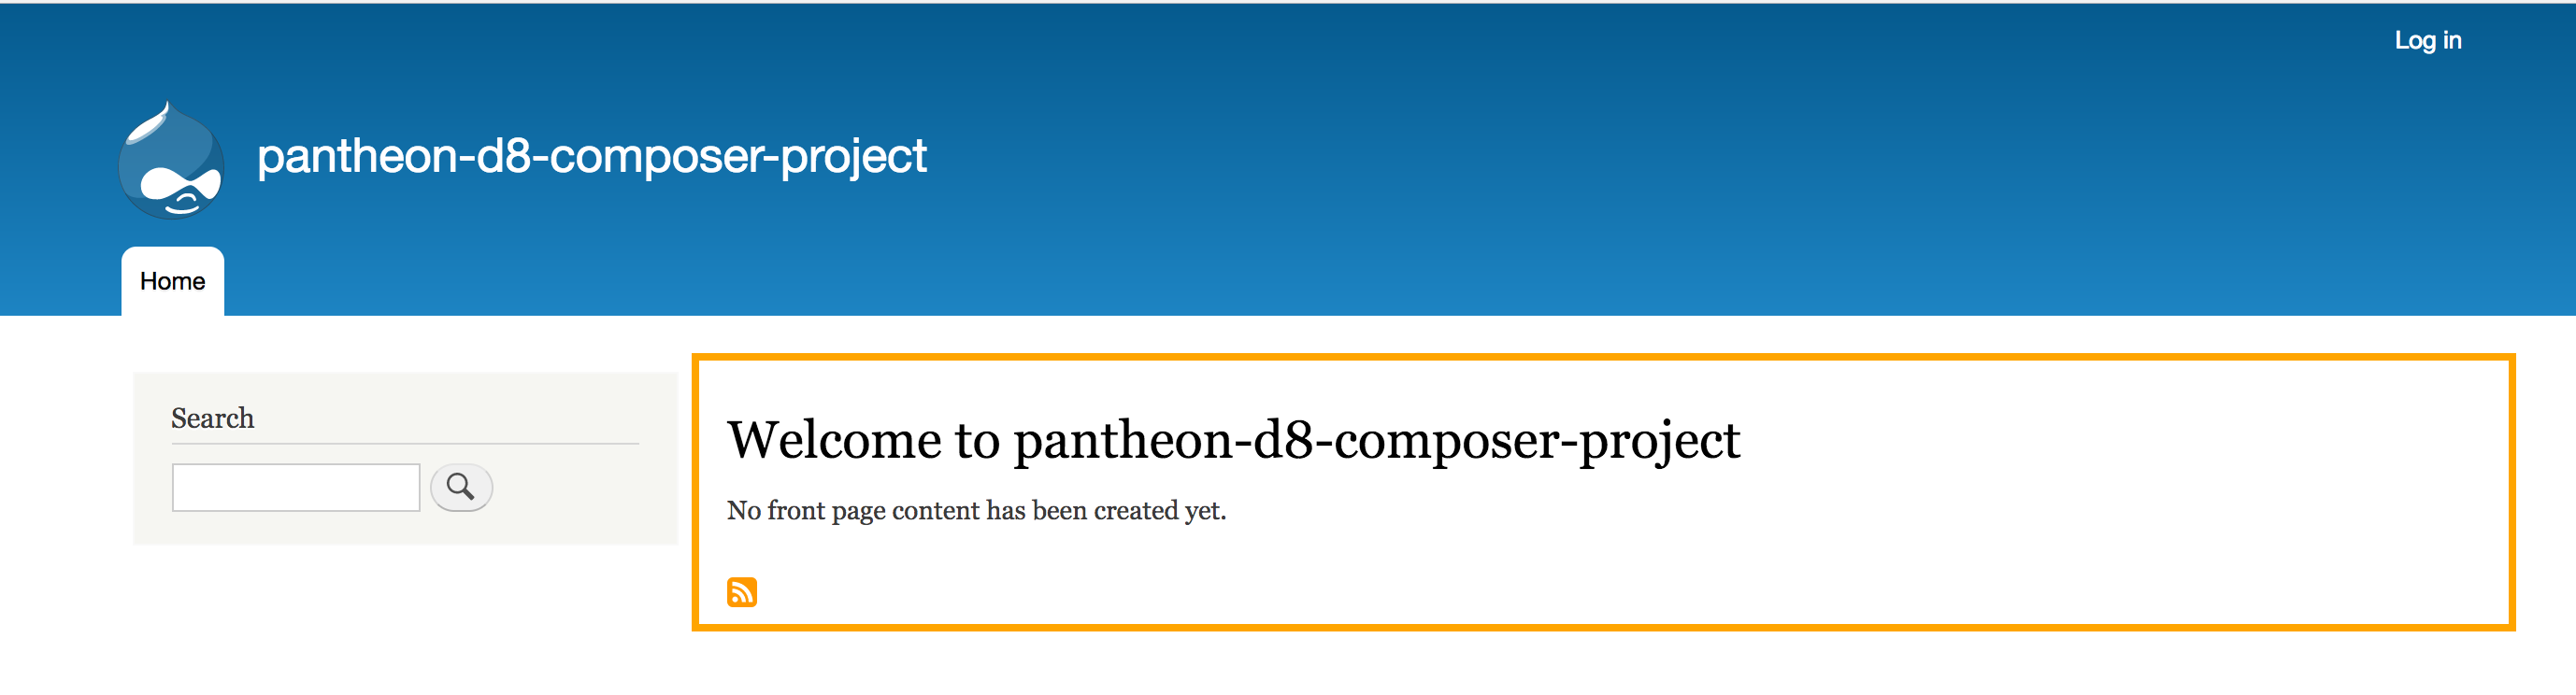
Visit the site in the web browser, it should reflect the change provided by the custom theme:
-
You can use the method described in an earlier lesson to export configuration changes made in the last step or you can do it from the command line using Terminus and Drush:
-
Commit your changes in Pantheon from the command line with Terminus, to sync with GitHub:
-
Return to GitHub and compare the
custom-themebranch againstmaster. You should see a few commits that are able to be merged. Click Create Pull Request and go through your team's standard peer review process.