Git on Pantheon Guide
Install and Configure Git
Use Git version control to deploy code to your Drupal or WordPress site's development environment.
This section provides steps for installing and configuring Git to work with your Pantheon account.
Before You Begin
Confirm that you have:
- Created a site on Pantheon
- Set up SSH Keys on your local computer and Pantheon account
Install Git
Download and install Git for your operating system:
Configure Git
Provide a name and email with which your commits will be associated before you can commit your code in Git.
-
Run the following command to enter your own name and email.
- The
--globaloption sets these values for all projects you manage with Git.
- The
-
Run the command below to set a default editor for commit messages. Replace
nanowith your preferred text editor or IDE. For example,atomorcode(for Visual Studio Code).
Clone Your Site Codebase
You must create a local copy of your codebase using the git clone command. Follow the steps below to ensure that you create the clone correctly.
-
Navigate to the Terminal directory where you keep your projects.
-
Log in to Pantheon and load the Site Dashboard for the site you want to work on.
-
Click the Dev tab > set the Development Mode to Git > click Clone with Git.
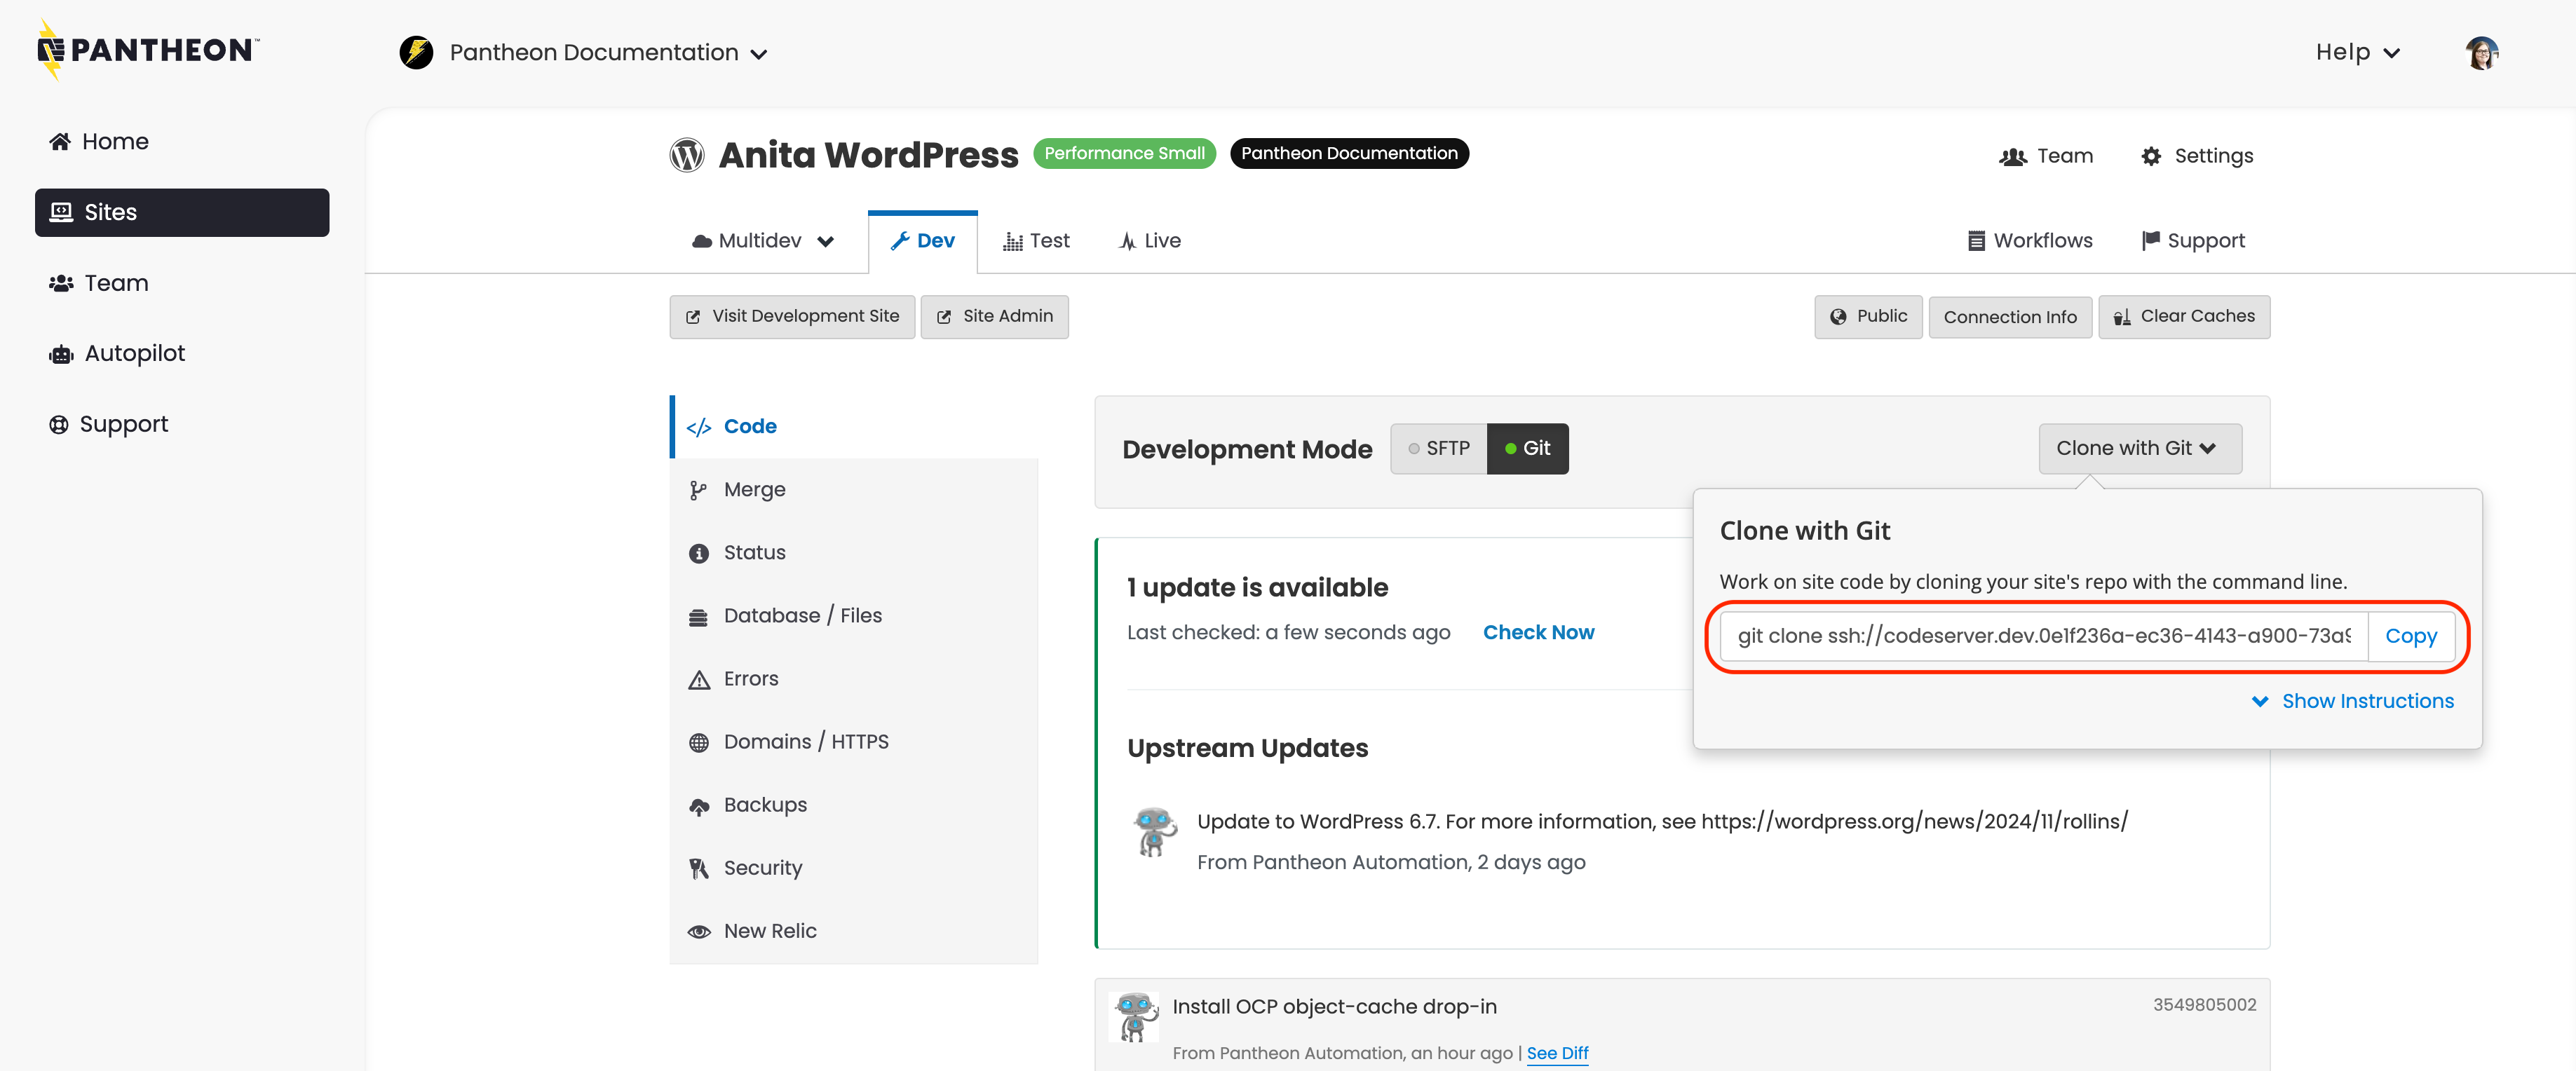
- Copy the
git clonecommand and paste it into Terminal. Git will create a directory as part of the clone, so you don't need to create one:
You should see Git fetching the data:
-
Check your SSH key setup if you run into permission problems.
-
Confirm that you have a current version of Git if the clone starts but can't complete.
Make Changes
You can now edit your site code using your preferred text editor or IDE.
- Run the command below to add a new file to your codebase and have Git track the file.
-
Run the command below to find files in your local clone that Git is not tracking.
- Pending changes and files to be added will be listed like this:
-
Cut and paste the paths to these files when using
git add. This stages the files for the next commit.
Push Changes to Pantheon
Sending code to Pantheon is a two-step process with Git. First, you need to commit the files locally. Then you need to "push" them to the Pantheon cloud.
-
Commit changed files to let Git know that they are ready to be pushed to the remote.
- Every commit includes a brief message so you can later remember why the change was made. It is worthwhile to take a moment and create an accurate commit message to help others understand your changes:
This command uses a combination of options
-am:-ato include all files changed, and-mto include a commit message:Information:NoteAny new (untracked) files not staged with
git addwill not be included by the-aflag. Be sure to review what is and isn't staged withgit statusbefore you commit your work.If you don't specify a message through the command line, Git will open your default text editor and prompt you to create one. If you exit without providing a commit message, Git will abort the commit. You will see something similar to the example below if the commit worked:
-
Run the
pushcommand to send the changes of the committed files from the local to Pantheon.
This executes a push to the origin location, (which is Pantheon since that's where you cloned the code from), on the branch "master", which is what your Dev environment tracks.
If you have a passphrase on your SSH key, you may need to enter it to authorize the push. If everything worked, you will see something like this:
There is a handy list of Git commands (along with a lot of other documentation) on GitHub.
View the Changes on Pantheon
Pantheon instantly deploys the changes to your development server when the push command completes.
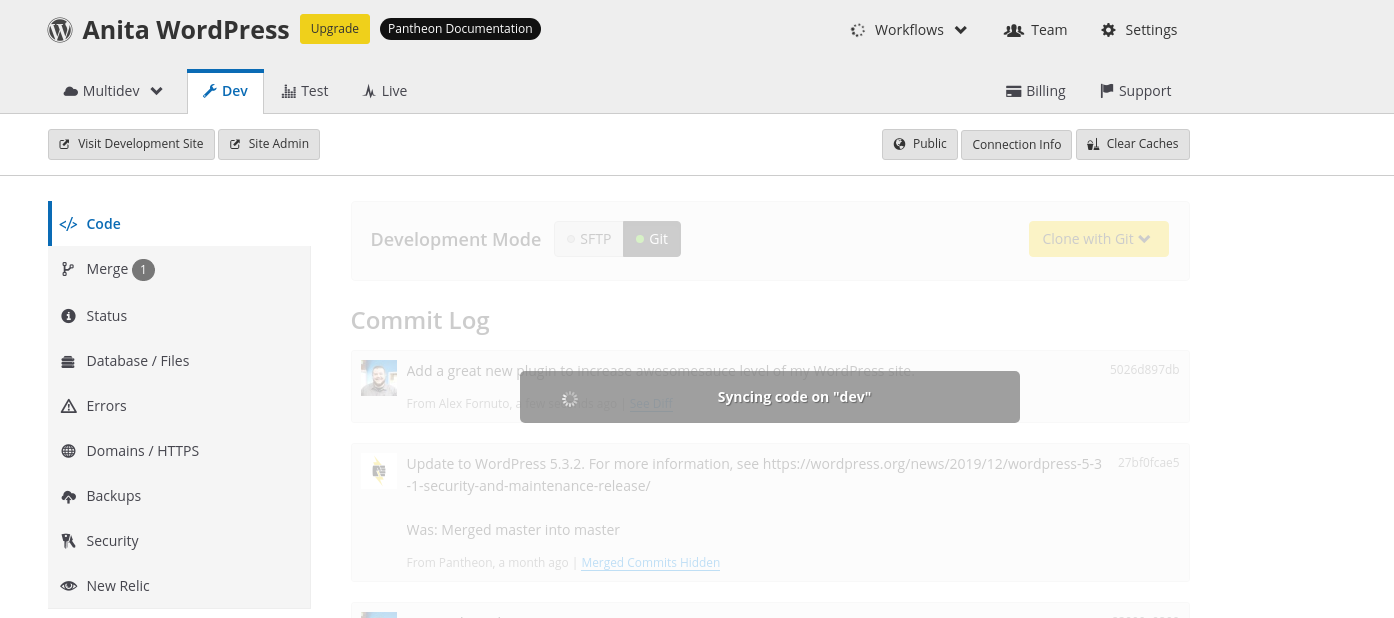
-
Navigate to your site's dashboard > click the Dev tab.
-
Click Visit Development Site to see the changes made by your new code.