Multidev
Make Edits and Merge Code in Your Multidev
Learn how to make edits and merge code in your Multidev.
This section provides steps on how to make edits, merge code in your Multidev environments, and rename a branch.
Edit Code
You can edit your code locally in one of two ways:
SFTP Mode
-
Navigate to the Code tab of the target Multidev environment within the Site Dashboard.
-
Set the connection mode to SFTP if it is not already set.
-
Use the WordPress or Drupal admin interfaces to develop, or connect via SFTP using your preferred client.
-
Type in a commit message for edits made via SFTP and click the Commit button.
Git Mode
-
Navigate to the Code tab of the target Multidev environment within the Site Dashboard.
-
Set the connection mode to Git if it is not already set.
-
Select Clone with Git and copy the provided command.
-
Paste the command in a terminal window to clone a copy of your site's code repository to your local.
-
Navigate to the project's root directory to view existing branches using
git branch -a.
If the target environment's branch is not listed, update the list by running git fetch origin. When your local clone of the repository shows to be tracking the expected remote branch on Pantheon (for example, example-br), switch to that branch:
- Make desired code changes, then stage, commit, and push to the Multidev environment. For example:
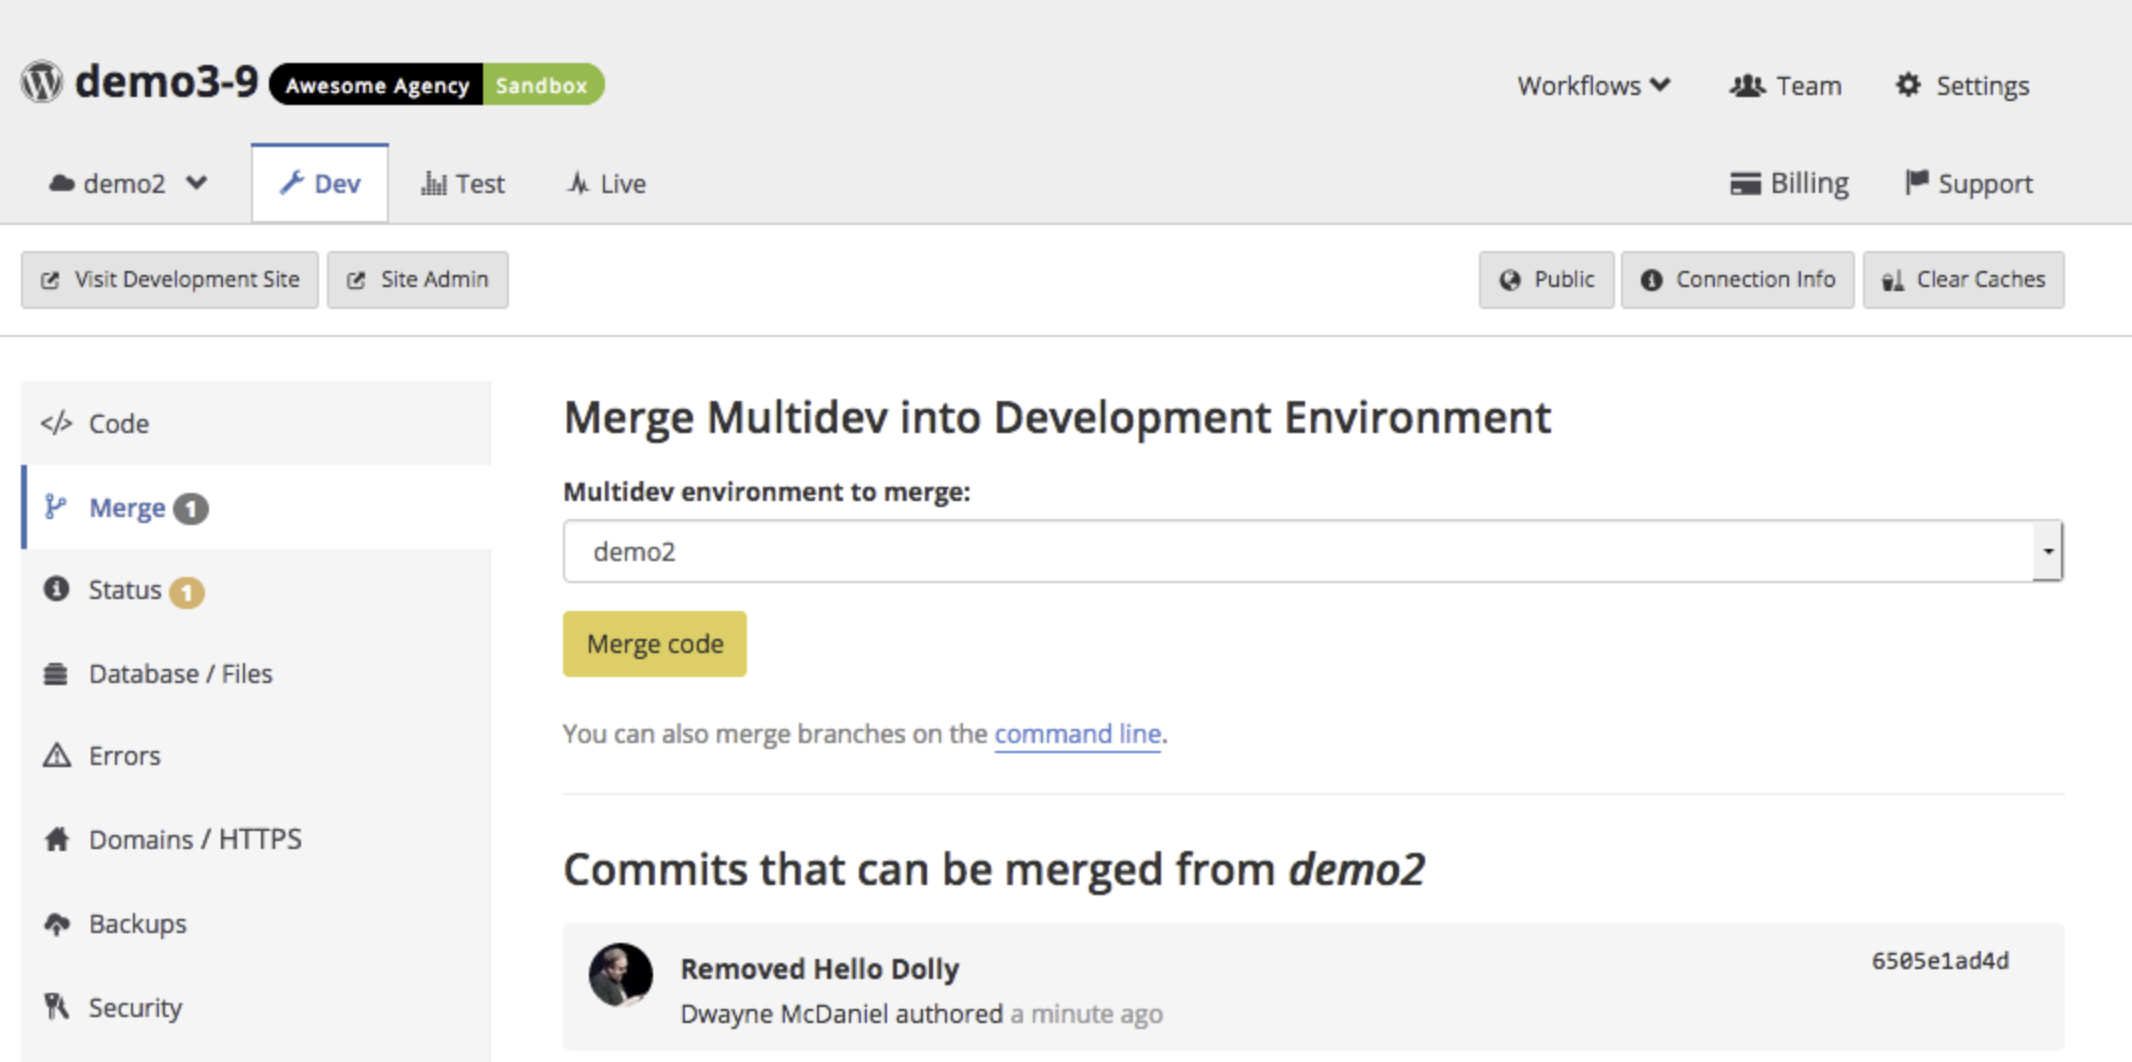
Merge Code
The steps below show you how to merge code from a Multidev into the master branch of your Dev environment.
-
Click the Dev tab.
-
Click Merge.
-
Select the environment with commits that can be merged into the Dev master branch.
Instructions for using the command-line to merge the changes into the target are shown below and can be pasted directly into the terminal without modification.
Rename a Branch
Branch names must be lowercase and no more than 11 characters. If you push a branch to Pantheon that exceeds the character limit or has uppercase letters, it cannot become a Multidev environment. The solution is to rename the branch. This is only recommended if you don't have other users working on this branch, or if you have already coordinated with them.
- Run the command below to rename the branch:
- Push the renamed branch:
This creates a new branch with the commit history intact.
- Navigate to the Multidev Environments page then click Git Branches then delete the original branch. You will now be able to create an environment associated with the renamed Git branch.