Restoring an Environment from a Backup
Detailed information on how to safely restore a Drupal or WordPress site backup to any environment.
This section provides information on how to restore each environment to a backup version.
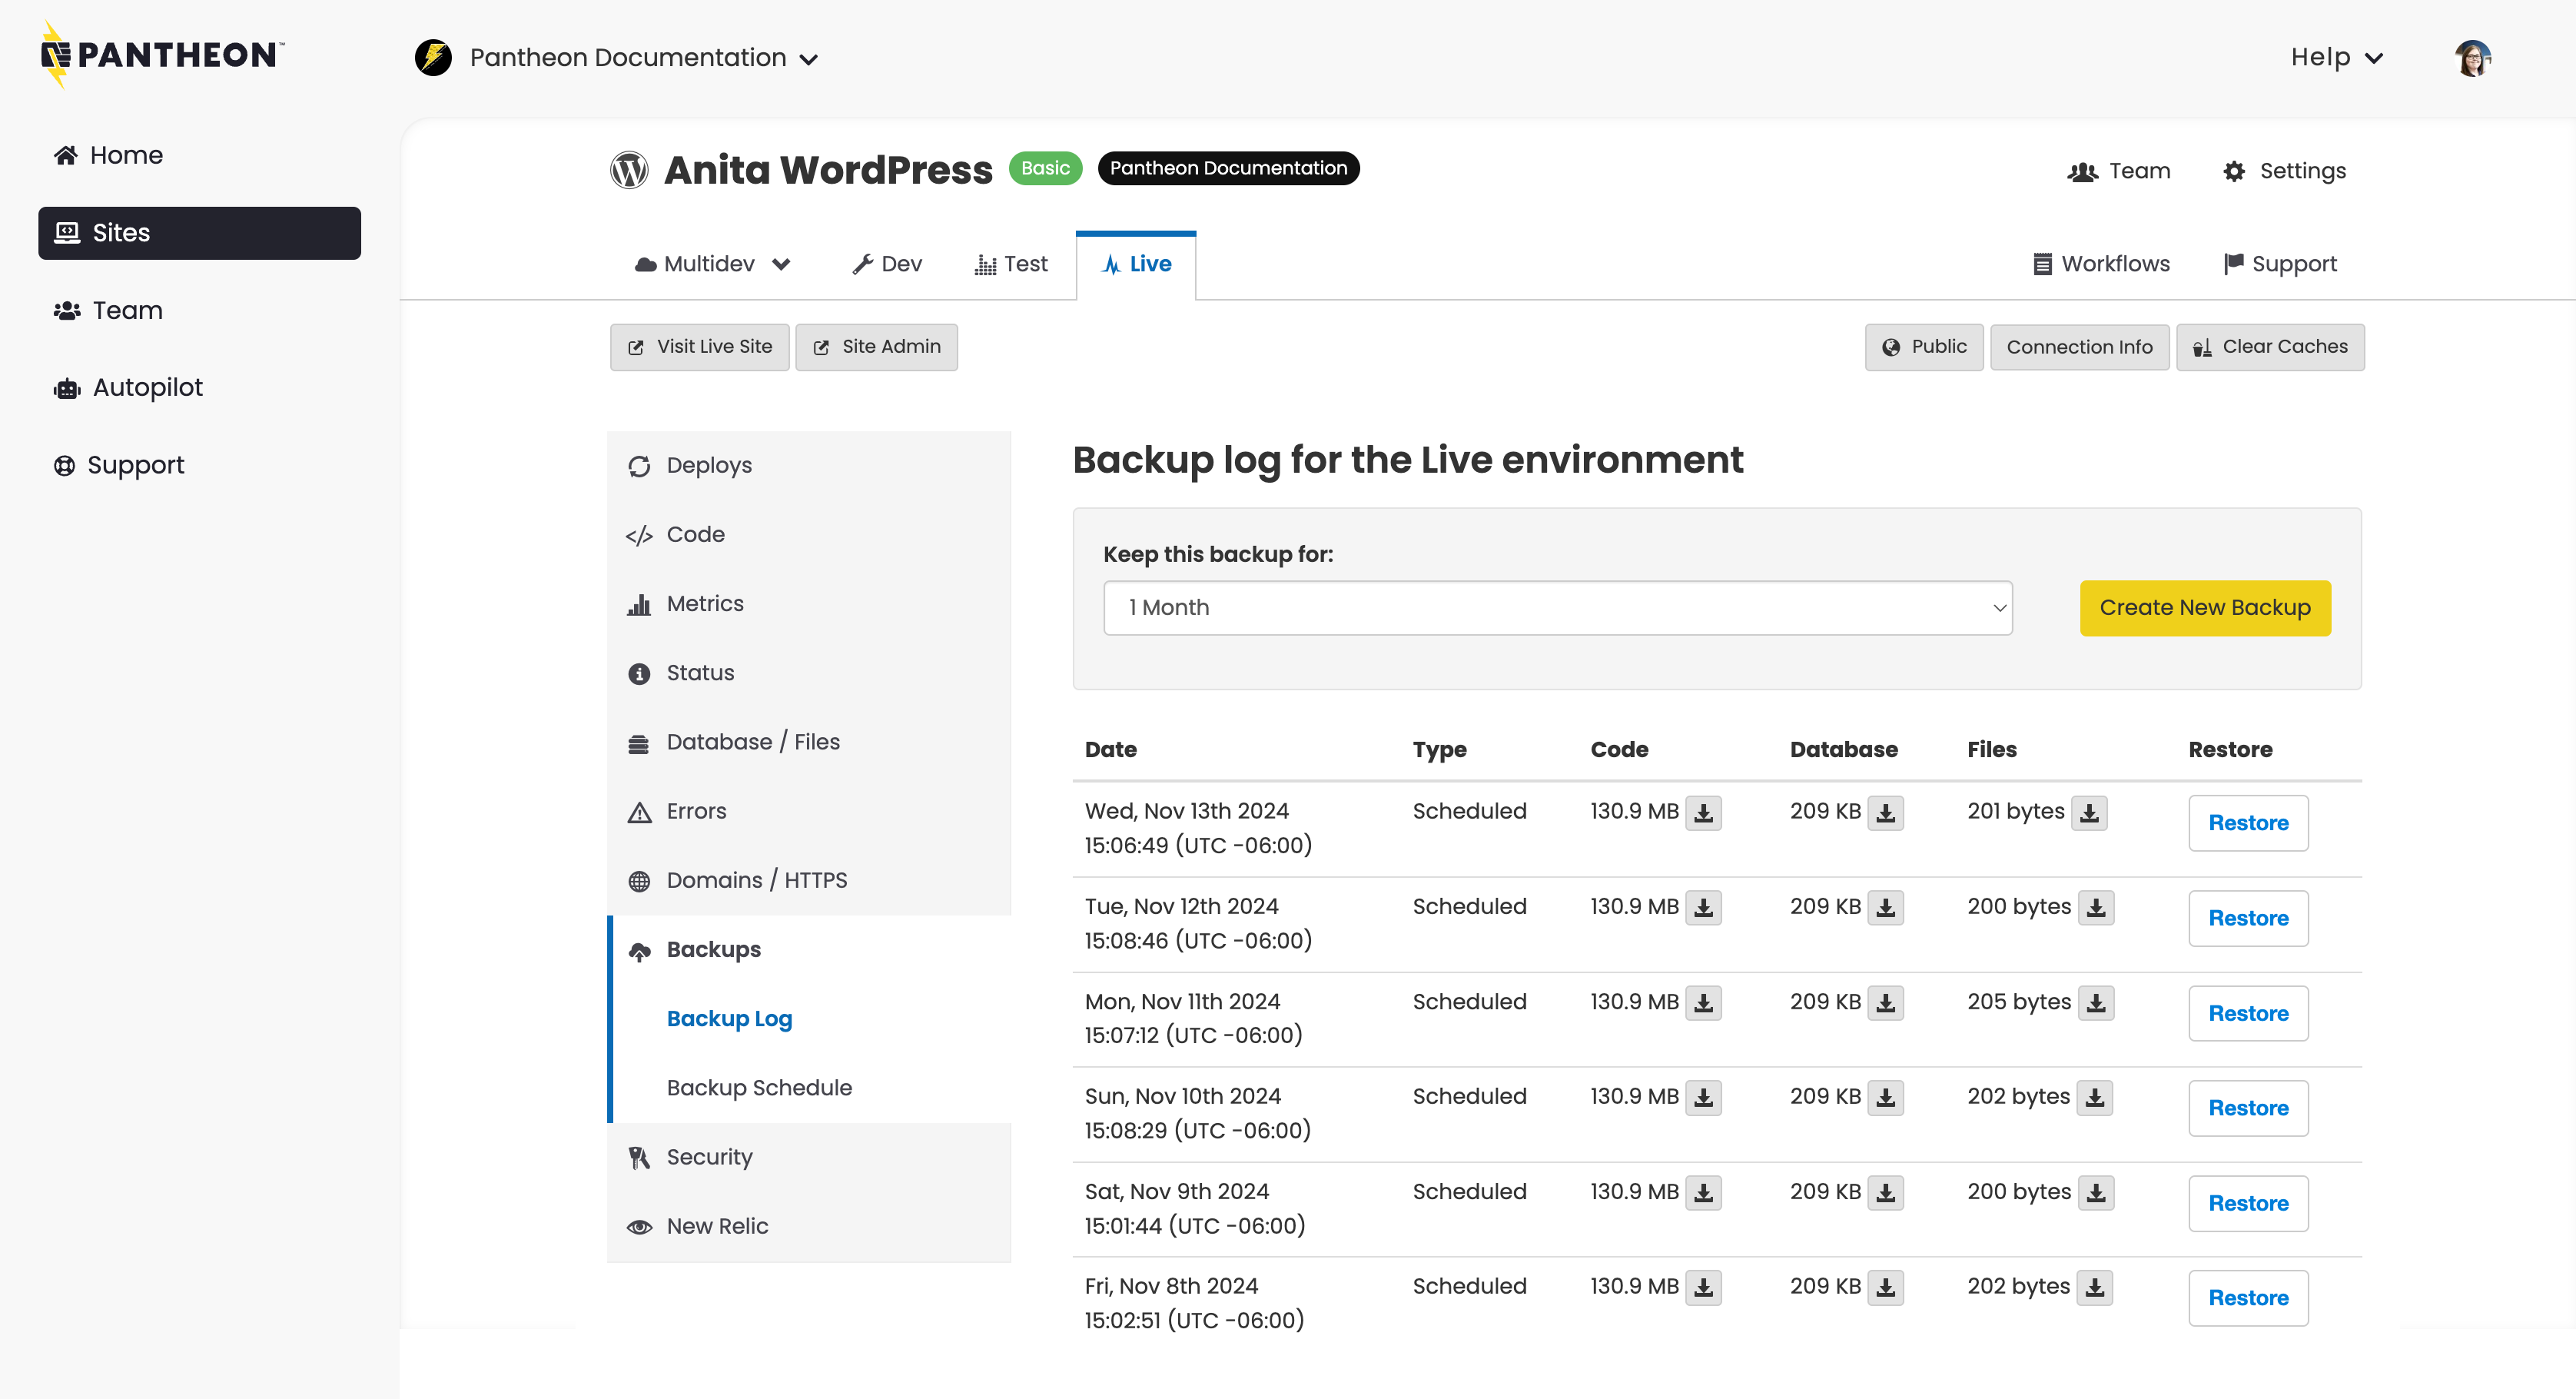
Each site environment has its own backup located on the Backups tab in the Pantheon Dashboard.
We do not recommend directly restoring a Live environment from a backup. It is better to restore to Dev or Test, then pull the code change and clone the content to Live. This will minimize user-facing downtime.
If you need to restore your site to before the latest deployment, we recommend undoing your last commit or deploy before attempting a site restore.
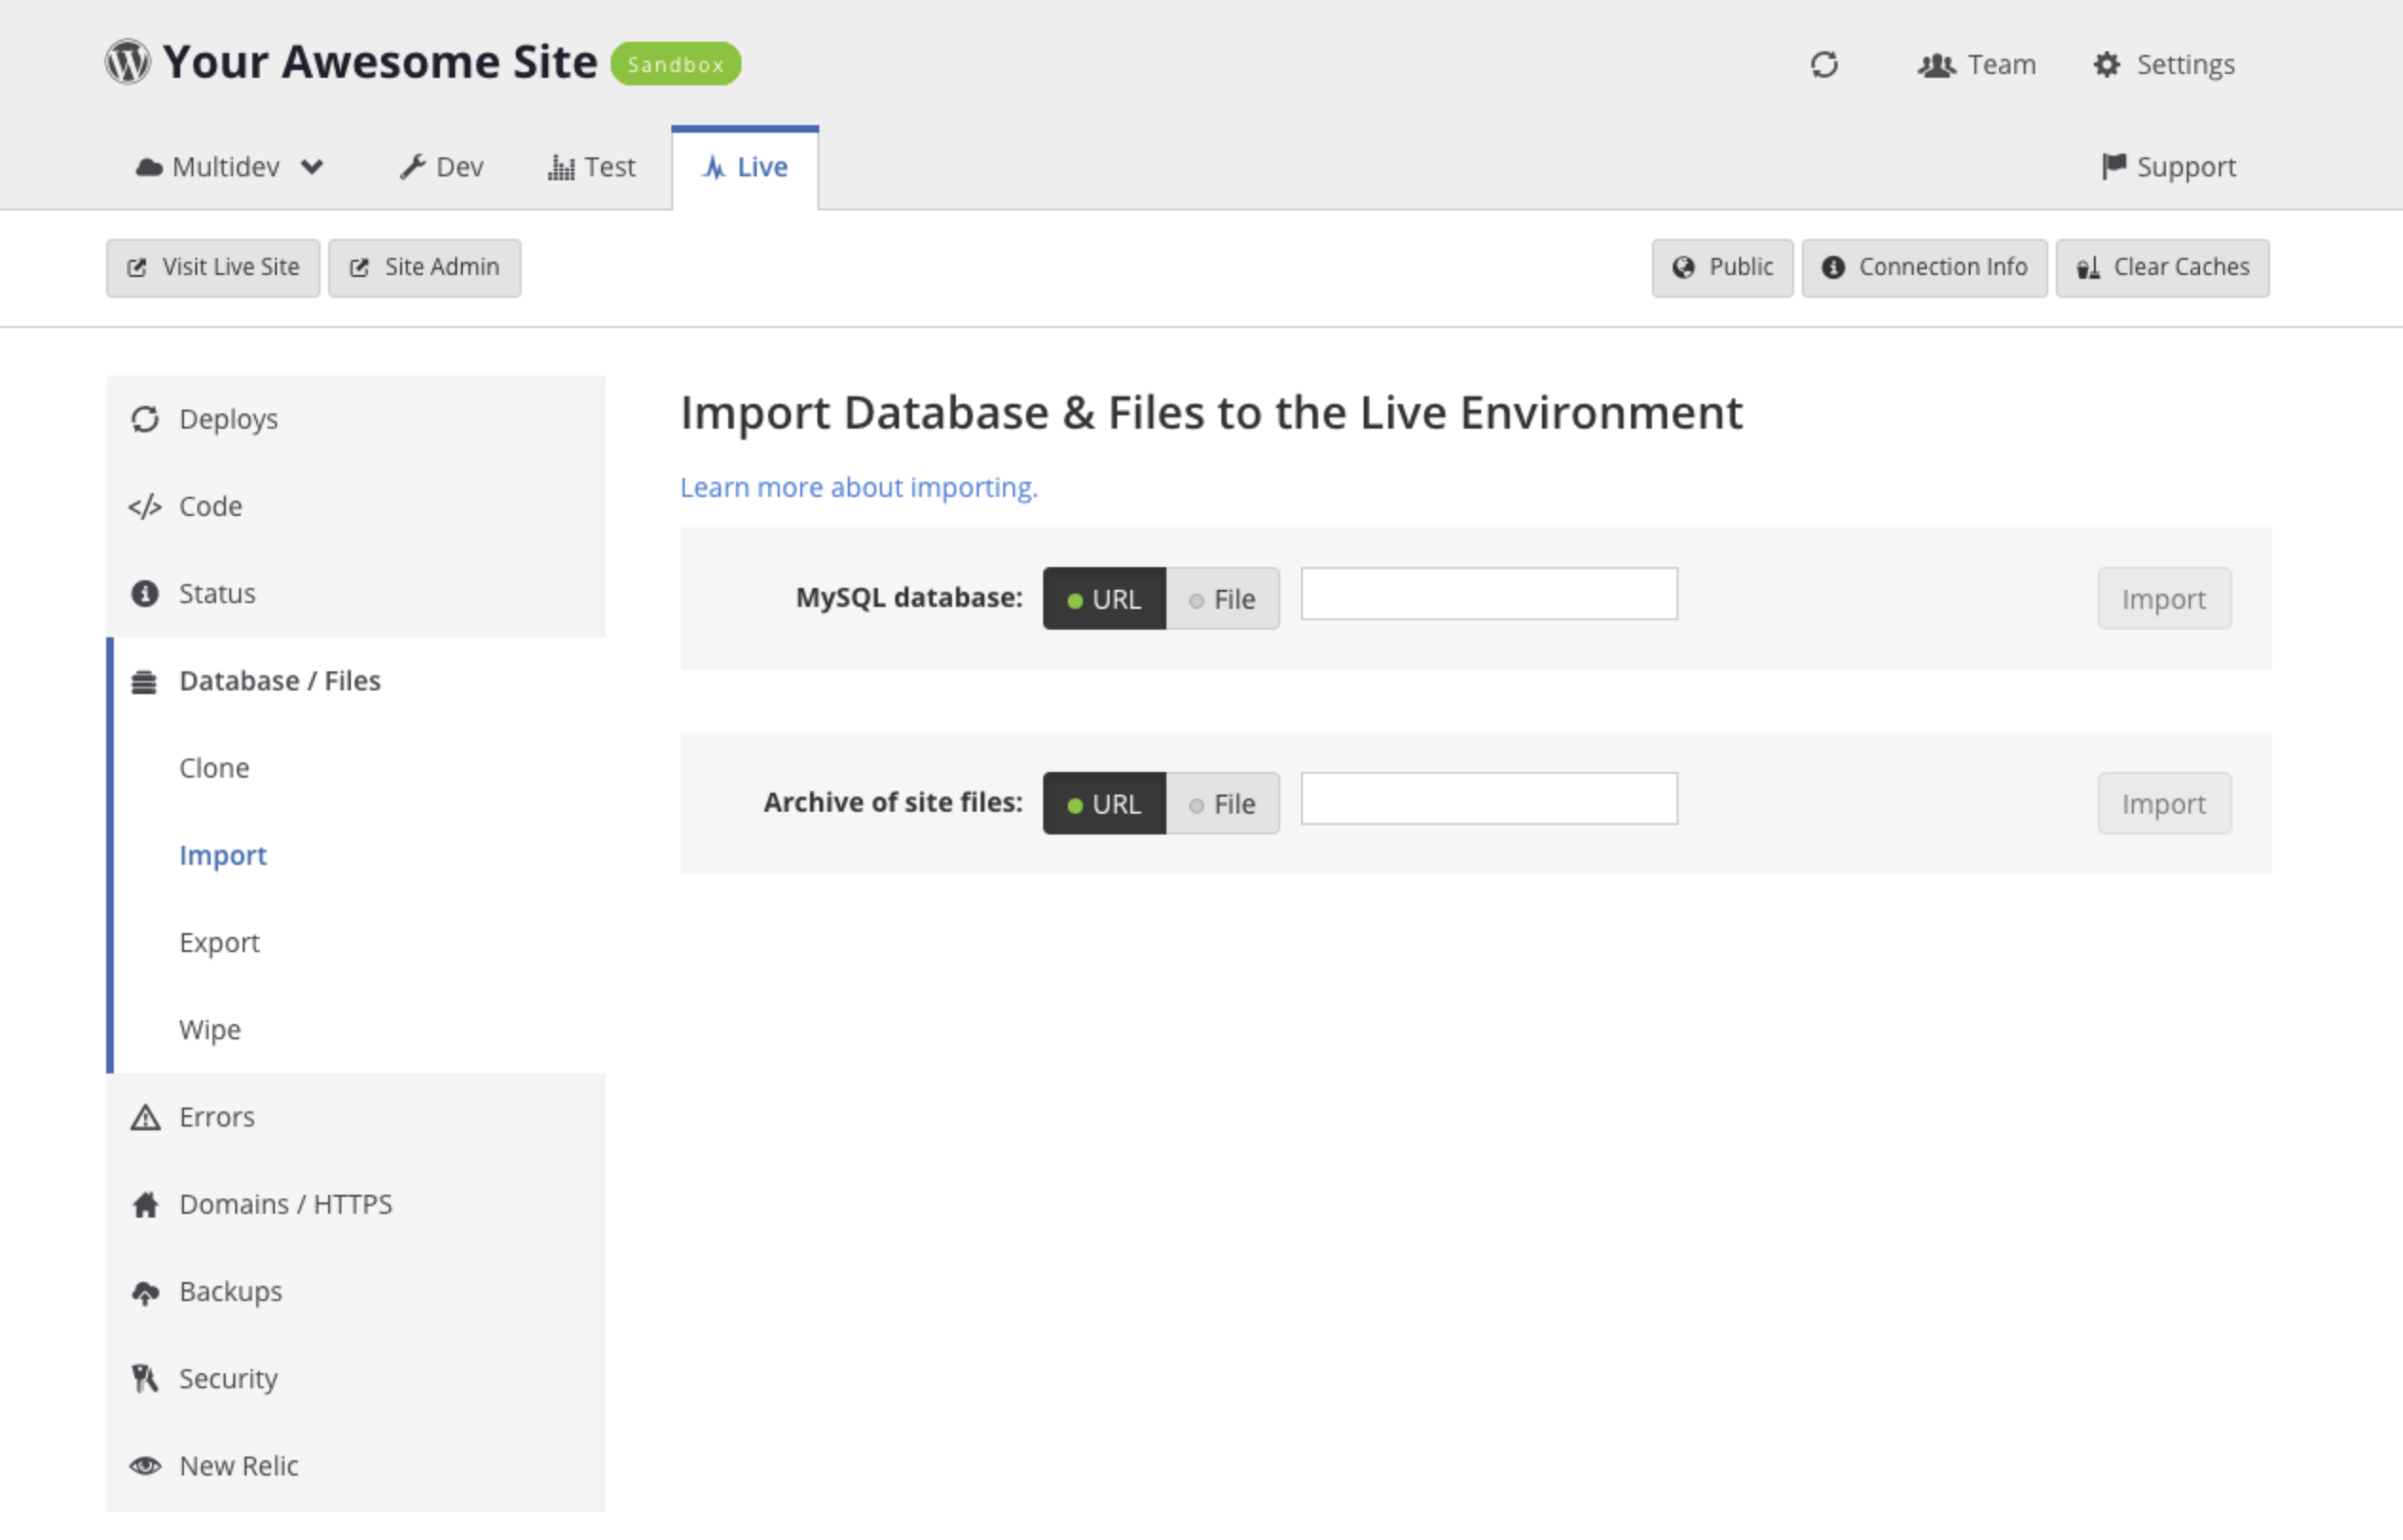
If you need to restore your database or file uploads, we recommend using the Dashboard Import tool, using the URL from the appropriate backup. If your backup files are larger than 500MB, you will need to need to save them locally and manually import the database or sftp/rsync your file uploads.
Before you Begin the Restore Process
It is important that you and your team know that this is a destructive process that will wipe your database and files, and restore them from the backup. It will also restore the codebase to the state the environment was in when backed up.
When a restore starts, it is placed in a queue and executed. Depending on the size of the site, this operation may take some time. Be patient and do not attempt to restart the restore unless you are confident that it completed. During the restore process, files might show as missing and the site as unavailable. When in doubt, contact support.
Restore an Environment From Its Own Backup
Restore a manual or automatic backup (Code, Database, and Files) by clicking the Restore button to the right of a backup. This is the recommended and easiest method.
For development environments (Dev and Multidevs), the Restore button is only available when Development Mode is set to Git mode. This does not apply to production environments (Test and Live). For details, refer to The Site Dashboard.
Restore an Environment From Another Environment's Backup
-
Navigate to the environment (Dev, Multidev, Test, Live) you want to use for the restoration.
-
Click the Backup tab, and then click Backup Log.
-
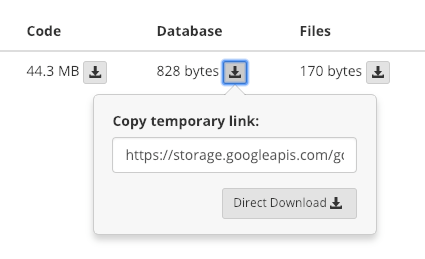
Click the the download link for Database and Files.
-
This provides a temporary private link directly from Google Cloud Storage, the external backup host. These links will expire after a few minutes; if the link is no longer working, return to the Dashboard and get a new link. If you want to directly download the backup part (required for code), click Direct Download. Otherwise, copy the provided URL.
-
If you want to download a backup using wget, put the provided temporary link in double quotes (
") and include the-Ooption to specify the output file and extension based on which backup you are downloading. In the following example, replace both the temporary link andoutput-file:
Restore Database and Files
Follow the steps below to restore Database and Files.
-
Navigate to the target environment and click the Workflow tab.
-
Choose File and upload the backups for Database and Files if you downloaded the archives directly, otherwise provide the temporary URL for each backup.
-
Click Import for each backup part to restore.
If you have an existing database or file archive that you want to import from an external source, you can also upload the content here.
Restore Code
Code archives contain the full remote Git repository and reflect the state of code for the given environment. Backups created on the Test and Live environments automatically checkout the git tag associated with the most recent deployment. However, if you would like to rewind an environment's codebase to a previous state we recommend using git revert or git reset instead of a code archive.
Revert Commits and Preserve History
This method is recommended for distributed teams working collaboratively. To undo commits while preserving the site's Git history:
-
Identify the commit you want to undo using the commit history provided in the Site Dashboard or by reviewing
git loglocally. -
Copy the commit ID:
-
Replace ID with the commit ID and run:
git revert ID --no-edit -
Push the reverted codebase to Pantheon:
git push origin master -
Deploy the change from Dev up to Test and Live.
Refer to git-revert for more information.
Reset Commits and Overwrite History
This is a destructive process. If you're not comfortable with this technique, use git revert instead. To reset the codebase and overwrite history:
-
Identify the last commit you want included using the commit history provided within the Site Dashboard or by reviewing
git loglocally. -
Copy the commit ID:
-
Replace ID with the commit ID you want to reset and run:
git reset ID --hard -
Push the reset codebase to Pantheon:
git push origin master --forceThe--forceoption should be used sparingly, especially in distributed team environments. For more information, refer to git push. -
Deploy the change from Dev up to Test and Live.
Refer to git reset for more information.
Restore the Live Environment
As mentioned at the top of this page, we do not recommend restoring backups directly to the Live environment. This method increases the chance and possible duration of downtime to your public-facing site.
The restore process removes any recent content or changes applied to your site since the date the backup was created. Restoring directly to Live means you will lose code or content updates forever with no way to recover them.
If you still want to restore a backup to the Live environment, we recommend the following steps:
-
Run a backup of LIVE, in order to have a copy of files and the database that will be overwritten.
-
Run the restore while the site is still locked.
These steps allow you to recreate any new content manually after the process is complete. It also restricts access while the restore process is still running, which is a good practice to avoid conflicts or data corruption.
Restoring Large Sites
Large sites that have more than 100GB files can take too long to restore and are likely to fail. We recommend the same steps as restoring to the Live environment for a safer process.
Alternately, consider restoring only the code and database from backups, and move the content back up over rsync, as documented below:
Restore Large Site with Terminus and Rsync
You can use Terminus to restore all or part of a site from the command line. This is useful if you need to only restore one part of the site (code, database, files), or want to script a restoration process.
The commands below assume environment variables for SITE which is equal to your Site ID, and ENV for the environment you're working with (dev|test|live). You can determine your site's Site ID with the terminus site:info command.
Replace instances of $SITE and $ENV with your Site ID and environment, or define environment variables:
- Download the Files backups using the link provided in the Site Dashboard Backups Tab:
- Restore Code and/or Database backups:
- Expand the
file-backup.tar.gzfile:
cdto thefiles_envdirectory and use rsync to copy your content back to the environment you're restoring. For example:
Refer to rsync and SFTP for more information on constructing your rsync command.
Frequently Asked Questions
How long does the restore process take?
When the Restore button is pressed, three separate workflow process are triggered in the dashboard. One each for code, database, and assets (media files like images or other attachments). One workflow may complete ahead of the others.
There is no way to determine specifically how long any one restore job will take, as it varies per site. The usual factor that extends the restore process is the count, or number of files in the codebase or files backup. We've seen sites take more than one hour to restore when they have 10,000 files or above, though this is not a strict ratio as individual file sizes also affect the time.
One way to estimate time to restore is to check the last backup duration. The Terminus workflow:list command will show workflow durations in the Time Elapsed field, in seconds.


