Automatically Test and Deploy GitHub Changes to Pantheon from an Existing Jenkins Server
Configure an existing Jenkins server to automatically test and deploy code changes to Pantheon when pushed to GitHub.
Jenkins is an open source Continuous Integration (CI) server which can be used to build, test, and deploy code on any Drupal and WordPress website on Pantheon. Unlike hosted services such as CircleCI, it is a Java application installed and run on a server, and requires regular upkeep and maintenance. However, it is very customizable and can even run non-CI related tasks, such as calling periodic cron jobs.
In this guide, we'll configure your existing Jenkins server to automatically test and deploy Drupal to a Multidev environment on Pantheon following a code push to your GitHub repository. Jenkins will run tests against both the pull request and Pantheon's master branch and display the results.
While this guide demonstrates Continuous Integration for Drupal sites, the same workflow can be applied to WordPress with a few modifications:
Before You Begin
You will need:
-
Root access to a server running Jenkins.
-
Install the following applications, both locally and on the Jenkins server. Verify the default Jenkins user has the ability to run them on the Jenkins server from the command line.
-
Verify you can run Terminus, Drush and Composer commands as the Jenkins user. Note that Terminus and Drush will need to be accessible from standard
PATHdirectories.
-
Be sure the default Jenkins user has a private key in its
$HOME/.sshdirectory, and a user with the matching public key installed on Pantheon. Clone a Pantheon site to the Jenkins user's home directory to test. -
The Jenkins user's git user name and email mail should be set in Manage Jenkins, Configure System
-
In the Jenkins user's $HOME/.ssh/config (if this file doesn't exist, create it), add these two lines:
-
The following Jenkins plugins should be enabled:
-
We recommended using matrix-based security when using Jenkins. Anonymous users should have read access to Jenkins projects.
-
Ability to create a Drupal site on Pantheon, with Multidev enabled.
-
A GitHub account.
Create A New Site
Local Project Instantiation
-
From your local terminal, use Composer to make a new local project based on our example, which contains Drupal, Behat, and other configuration settings:
Information:NoteIn this example our project is call called
my-site, so we begin by setting a local environment variable to this value. Adjust this any other variables to match your site settings. -
Initialize a local Git repository within your project.
Create and configure a GitHub Repository
-
From the GitHub dashboard, create a new repository, without creating a
READMEor.gitignorefile.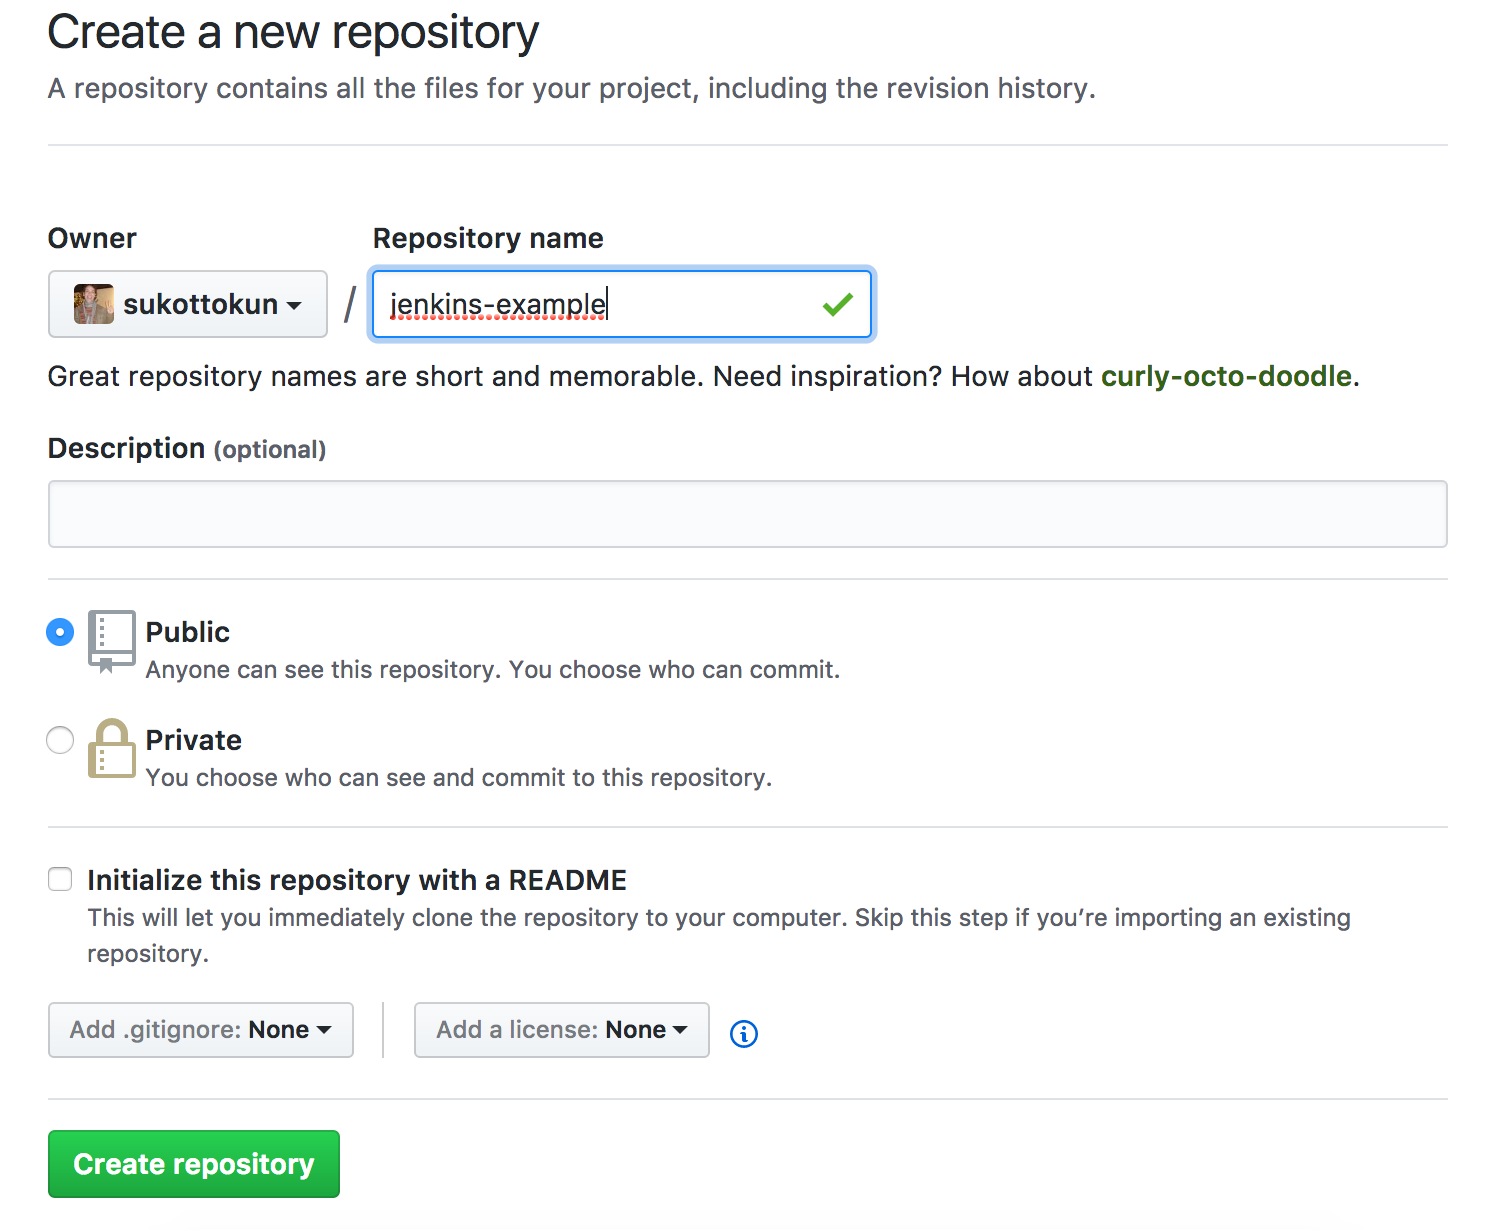
-
From your local command line, connect your local project to this repository as
origin, and push the code to the master branch. Remember to replace the URL path:
At this point, you should be able to create a local branch, commit a change, and push to GitHub. On GitHub, you should then be able to open a pull request successfully.
Create a Pantheon Site
Now we will spin up a Drupal site on Pantheon with Terminus, then overwrite the default install with the code from our GitHub repository. In the commands below, replace the value for --org= with your Workspace's name.
-
From your local terminal, use terminus to create a site on Pantheon:
-
Add the Pantheon remote repository address and push the code to it:
-
Complete the Drupal site configuration on Pantheon, replacing the values for
--site-mail,--account-mail, and--account-name: -
Verify the site is installed and working:
Now the master branch of GitHub, your local, and Pantheon are in sync.
Configure Jenkins
GitHub/Jenkins Integration
-
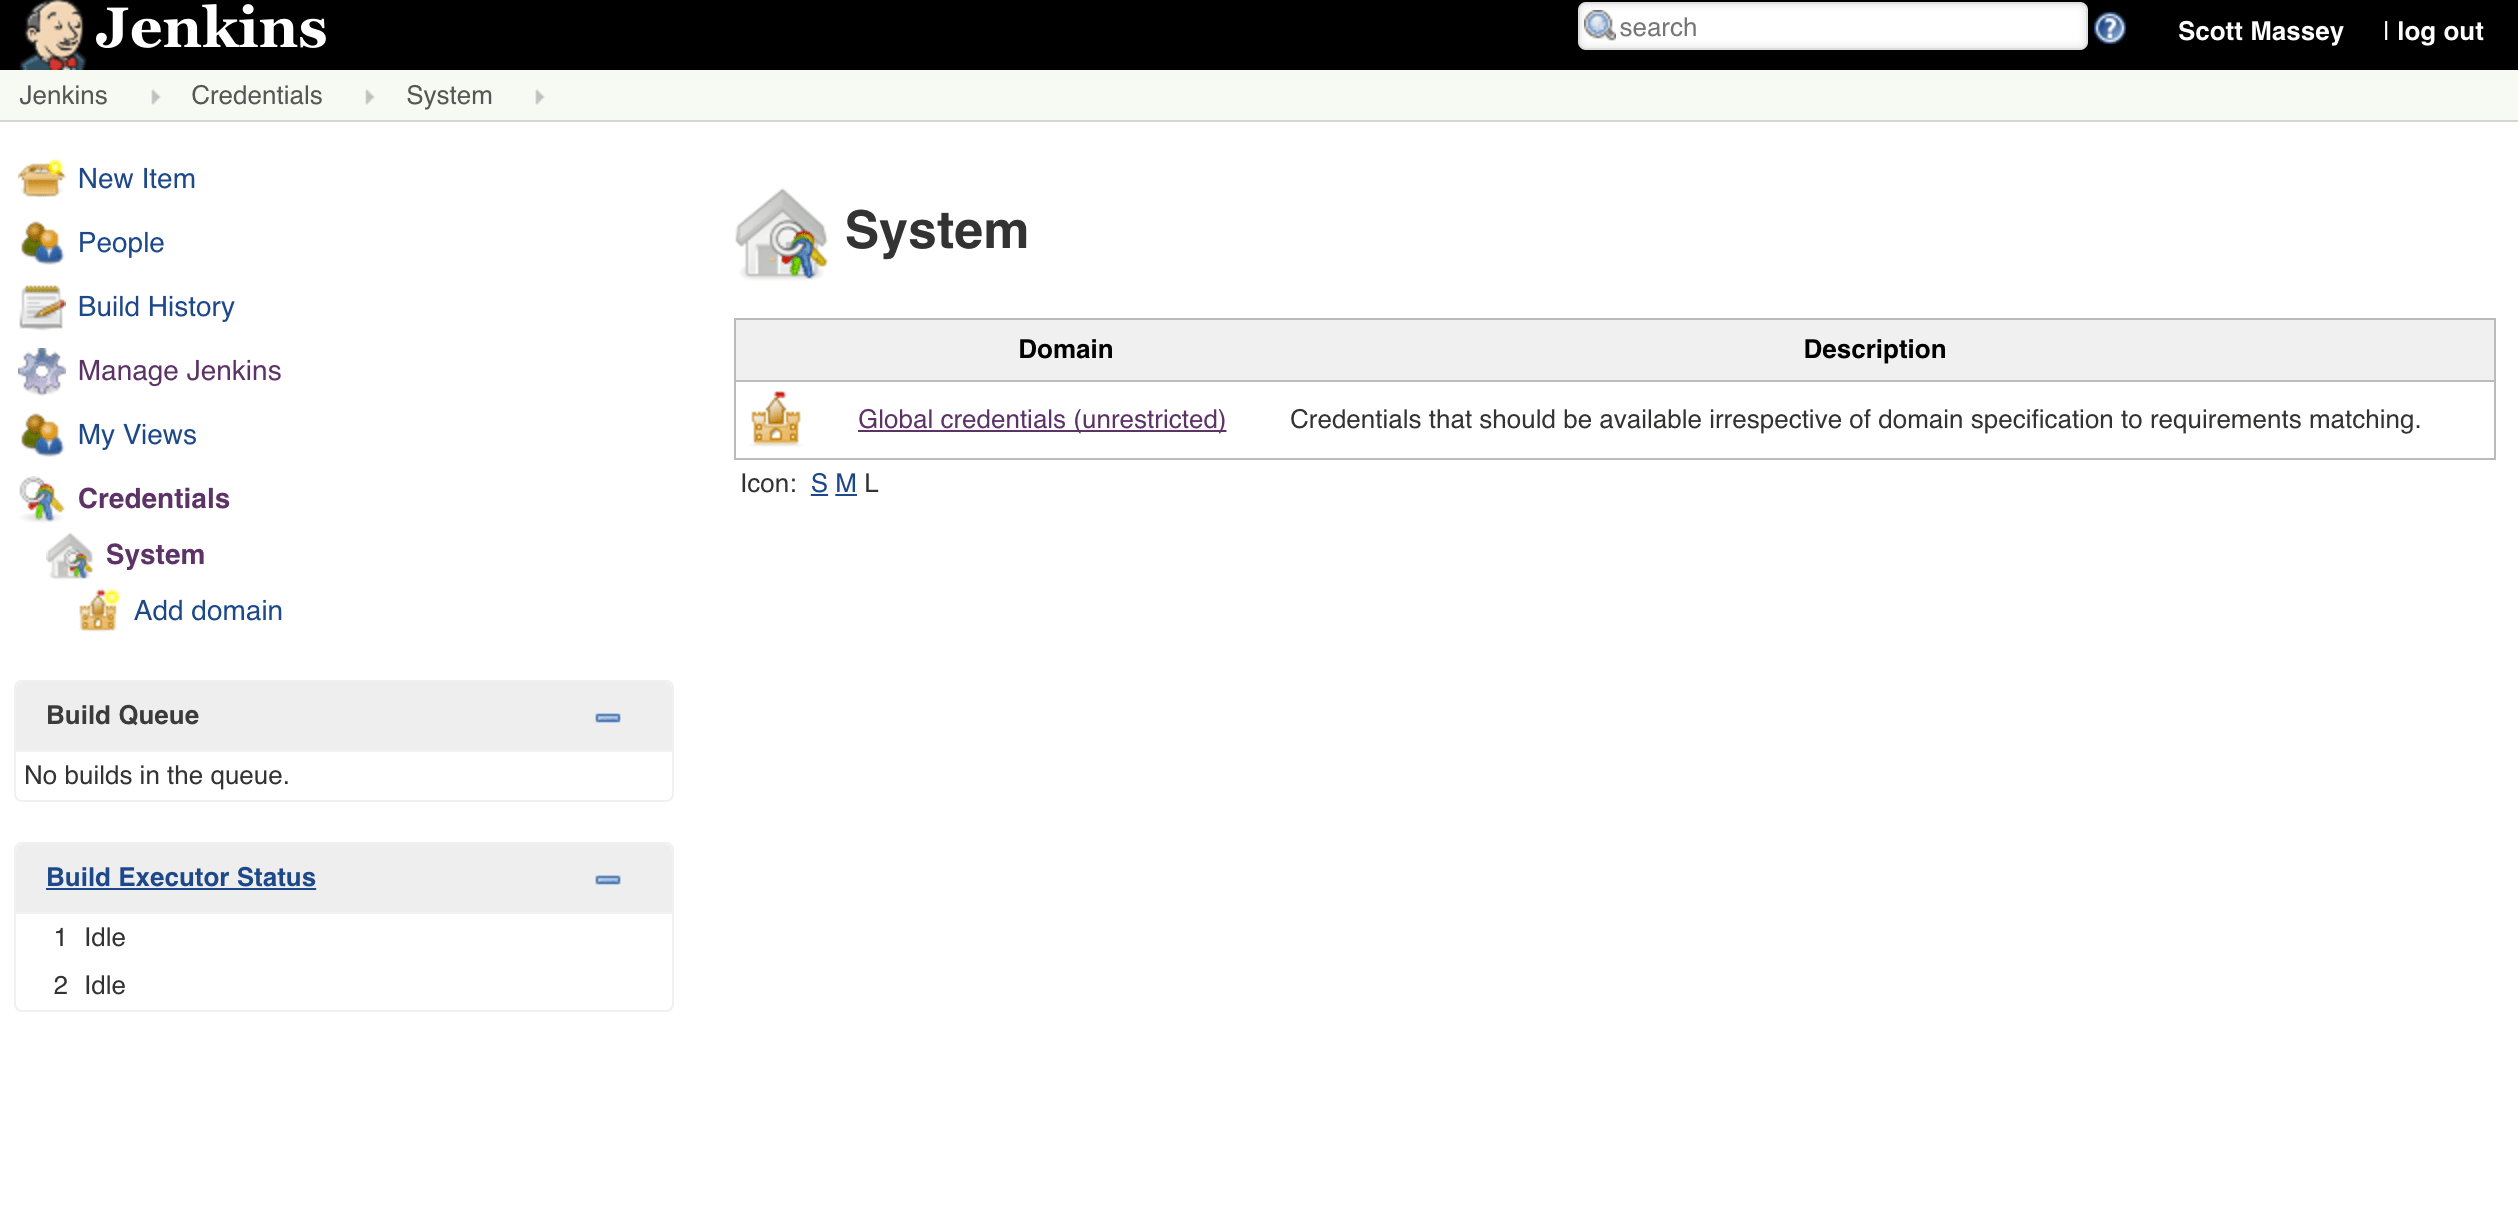
From the main Jenkins menu on the left side, select Credentials, then System. Click on Global credentials, then Add Credentials. Here we will add our GitHub and Terminus tokens.
-
In a new browser tab, go to your GitHub account. Go to Settings. Under Developer Settings click on Personal access tokens and generate a new token. This should have all repo and admin:repo-hook options:
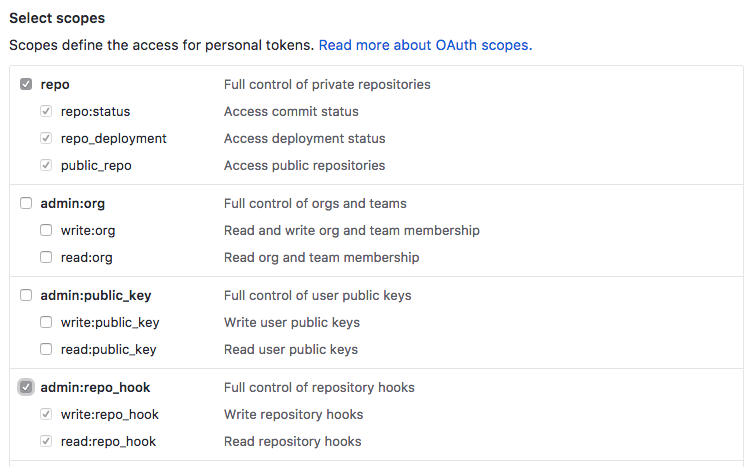
Copy the generated token. Be careful, as you will not be able to view it again.
-
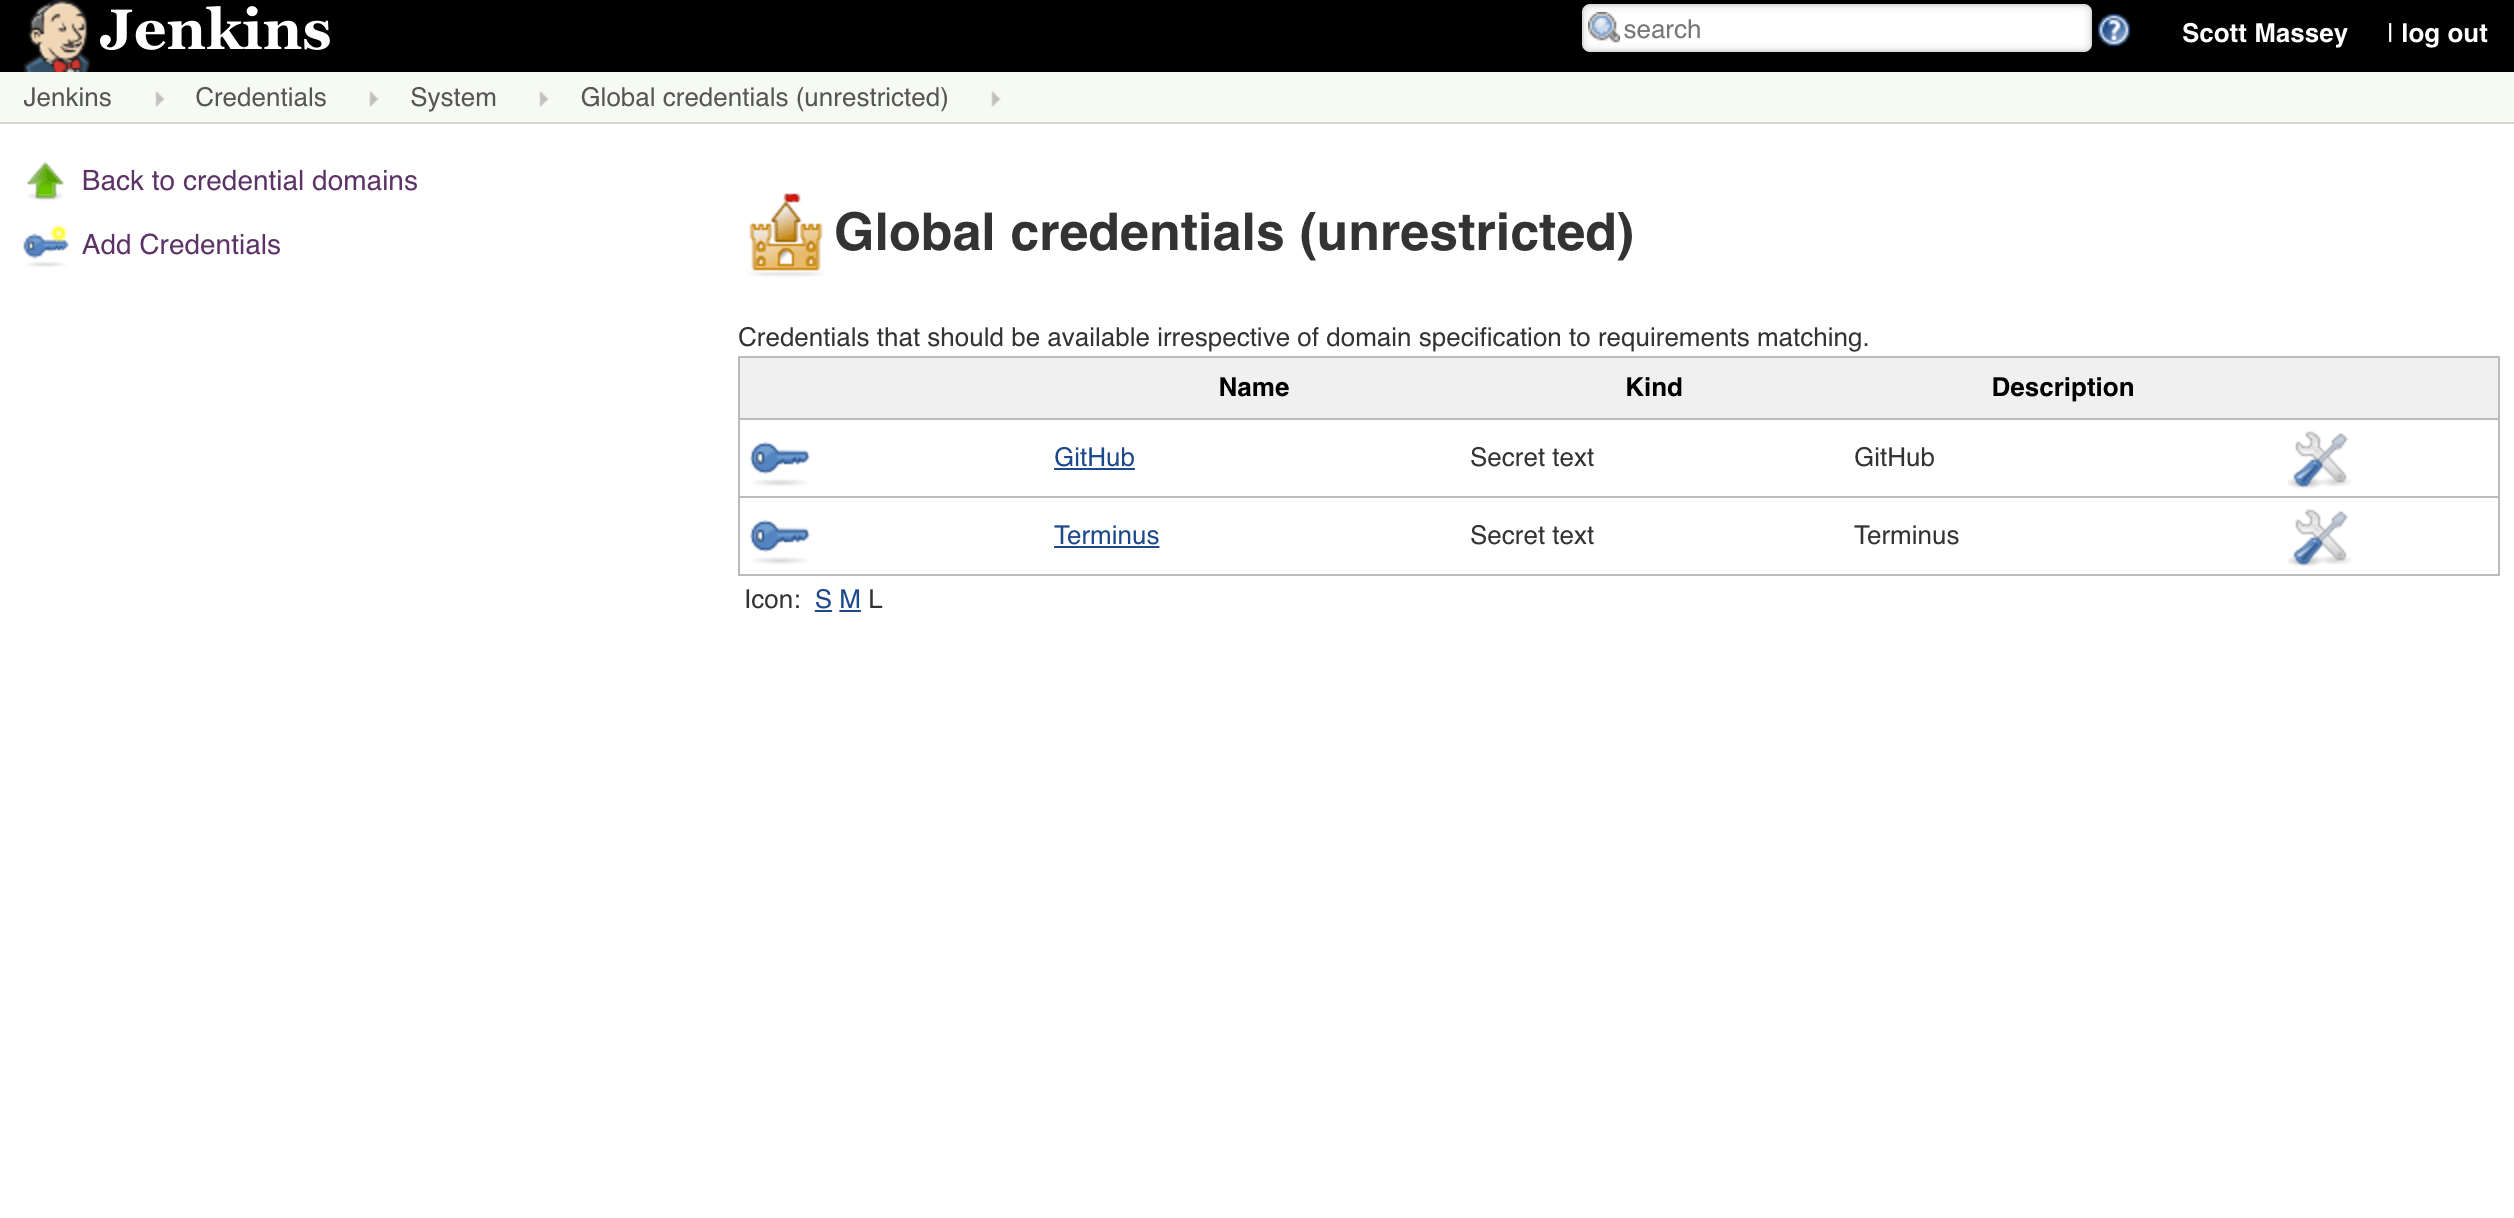
Back in Jenkins, create your new credential with the following options:
- Kind: Secret Text
- Scope: Global
- Secret: Paste the GitHub token you created.
- ID: blank
- Description: GitHub
Press OK to add the new credential to the system.
-
Create another credential for a Terminus Token, using either an existing token or create a new token from your Jenkins user dashboard:
- Kind: Secret Text
- Scope: Global
- Secret: Paste the Terminus token you created.
- ID: blank
- Description: Terminus
After saving both, your credentials will be accessible for secure use.
 Information:NoteKeep your Terminus token handy, you'll need to enter it again later.
 -
Return to the main Jenkins dashboard and select Manage Jenkins, then Configure System.
-
Scroll to the GitHub Servers section and click on Add GitHub Server.
-
Leave the API URL as
https://api.github.com. For Credentials, click the drown-down menu and select your GitHub credentials. -
Click Test Connection and you should see the GitHub username which created the token.
-
Click Save.
Create the Jenkins Project
-
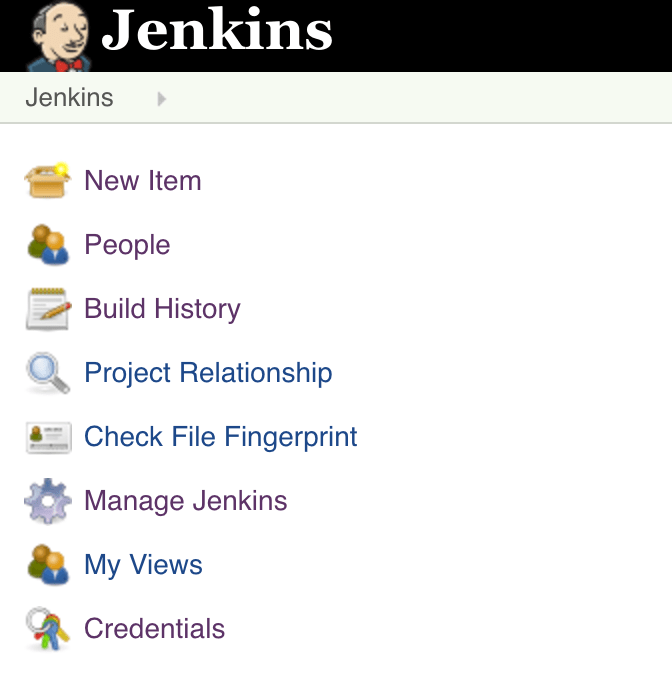
Log into the Jenkins dashboard as an admin user. Click on New Item.
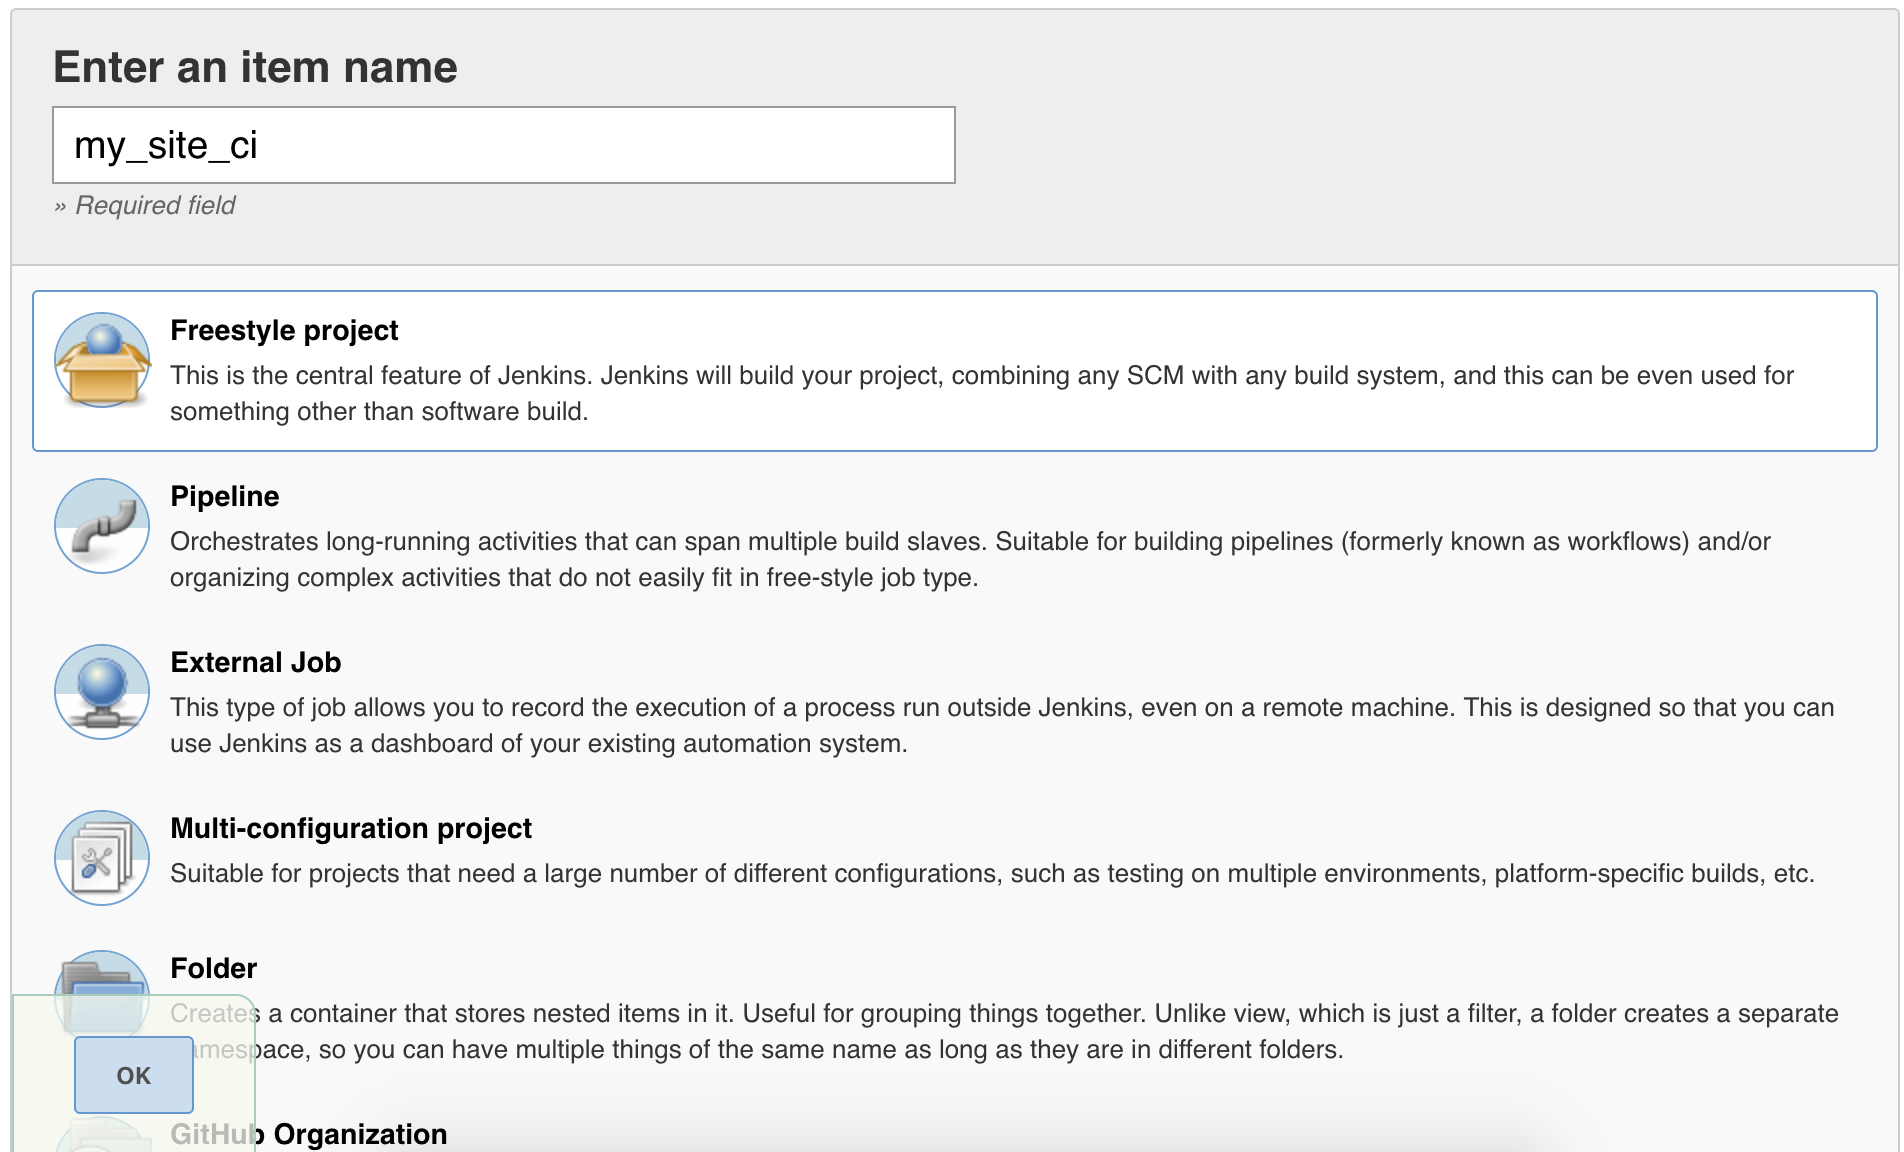
-
Give the project a name with no spaces. Select Freestyle Project and click OK to save.
-
The next page lets you configure options for this project. In the General tab, select "GitHub project" and enter the repository URL (e.g.
https://github.com/YOUR-ORG/YOUR-PROJECT). -
In the Source Code Management tab select Git, then Advanced. Add the following information:
- Repository URL: The path to the .git file of your repository, e.g.
https://github.com/YOUR-ORG/YOUR-PROJECT.git - Name:
origin - Refspec: blank
- Branch specifier:
origin/* - Additional Behaviours: Add Prune stale remote-tracking branches:
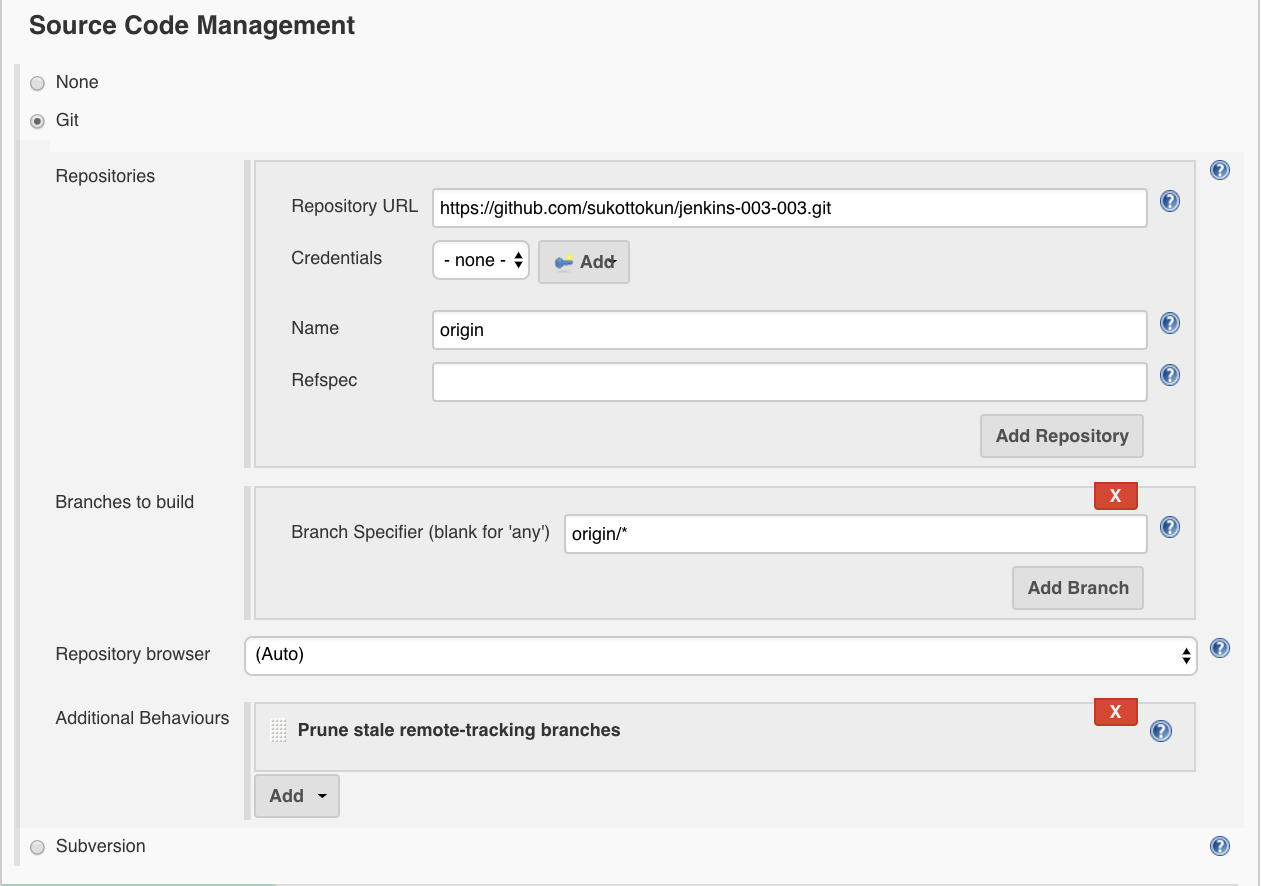
- Repository URL: The path to the .git file of your repository, e.g.
-
We want code changes to trigger our build (as opposed to setting up a periodic build, for example). Under Build Triggers, Check the box labelled, "GitHub hook trigger for GITScm polling".
-
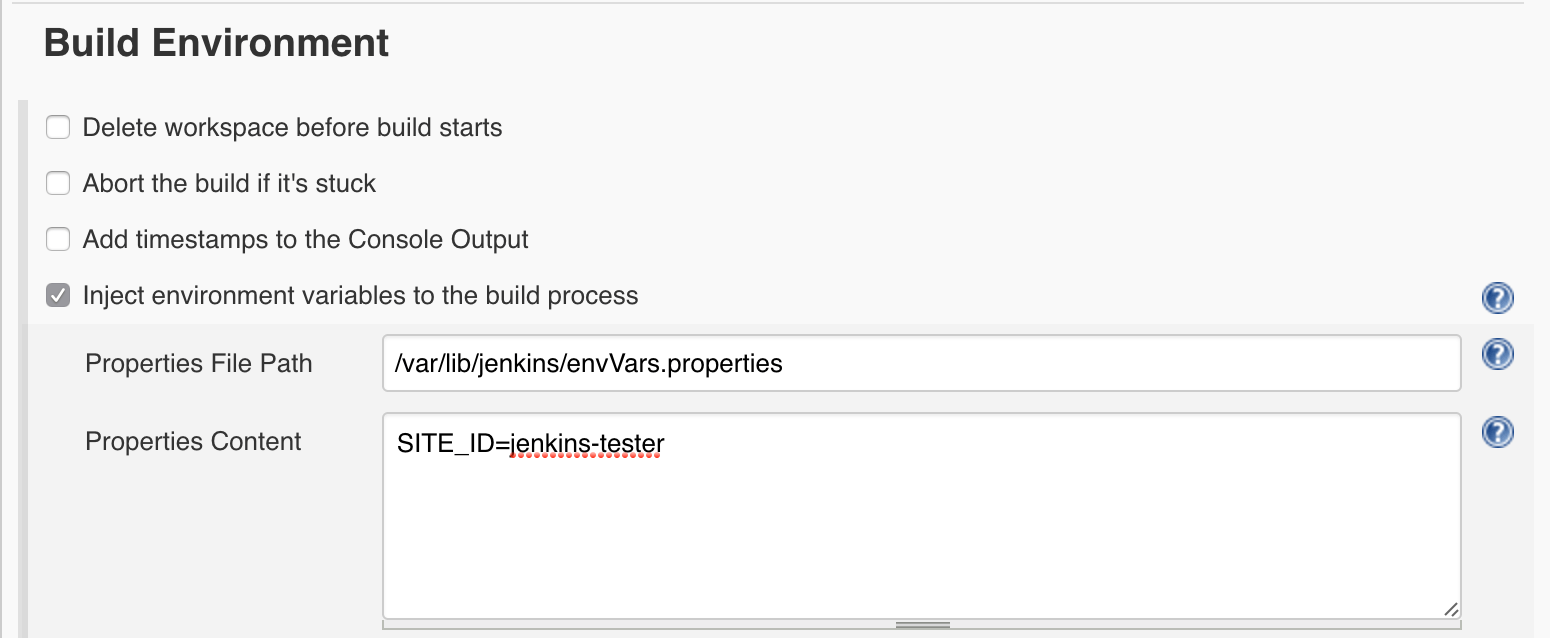
Under Build Environment, check the box labelled "Inject environment variables to the build process."
-
In the Properties File Path field, enter the path to your Jenkins environment variables file. On Debian-based systems, it's usually
/var/lib/jenkins/envVars.properties. If it doesn't already exist, create an empty file. -
In the Properties Content field, add the following variable one per line, with no quotation marks:
- **SITE_ID=**your-site-name
-
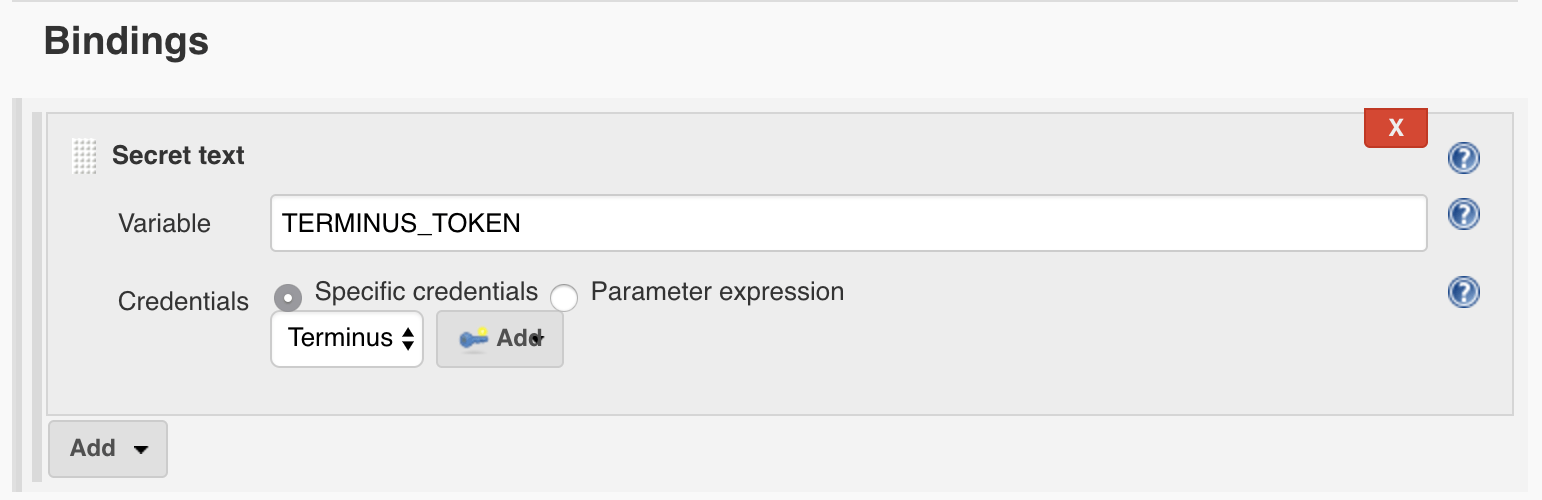
Check "Use secret text(s) or file(s)" option. A new button called Bindings will appear. add a secret text binding. Name it TERMINUS_TOKEN and select the Terminus secret text credential from the dropdown:
Add Build Steps
Under the Build tab is a button labeled Add build step. These tasks will execute in sequence, and the job will quit if any fail. Add these in separate build steps, selecting Execute shell for all but steps 1 and 6.
-
Set build status to "pending" on GitHub commit
-
Jenkins logs into Pantheon:
-
Verifies the dev site is awake and in git mode. Note that these are separate build steps:
-
Jenkins creates a Multidev and pushes the new code to this environment
-
Then the test suite we include with the example is run.
-
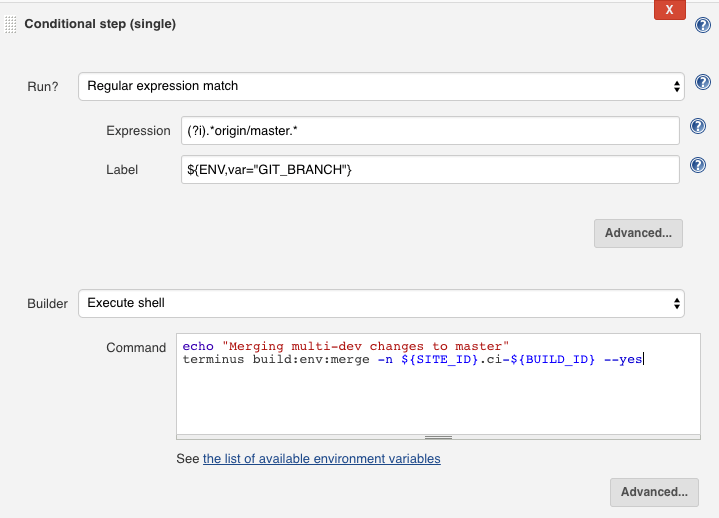
Add one Conditional step (single) build task, to merge the code from the Pantheon Multidev to the pantheon/master, i.e. your dev site on Pantheon. This will only happen when changing the master branch.
-
Under Run? select Regular expression match.
-
Expression:
(?i).*origin/master.* -
Label:
${ENV,var="GIT_BRANCH"}
-
-
Under Builder select Execute Shell
- Command:
Your conditional step should look like this:
-
-
Finally, a cleanup task:
Add Post-build Actions
Under Post-build Actions is another button labelled Add post-build action. Click on it and select the option "Set GitHub commit status (universal)". In the fields that appear, choose the following options:
-
Commit SHA: "Latest build revision".
-
Repositories: "Any defined in job repository".
-
Commit context: "From GitHub property with fallback to job name".
-
Status Result: "One of default messages and statuses".
-
Status backref: "Backref to the build"
Finally, hit Save to complete the configuration of your Jenkins build process.
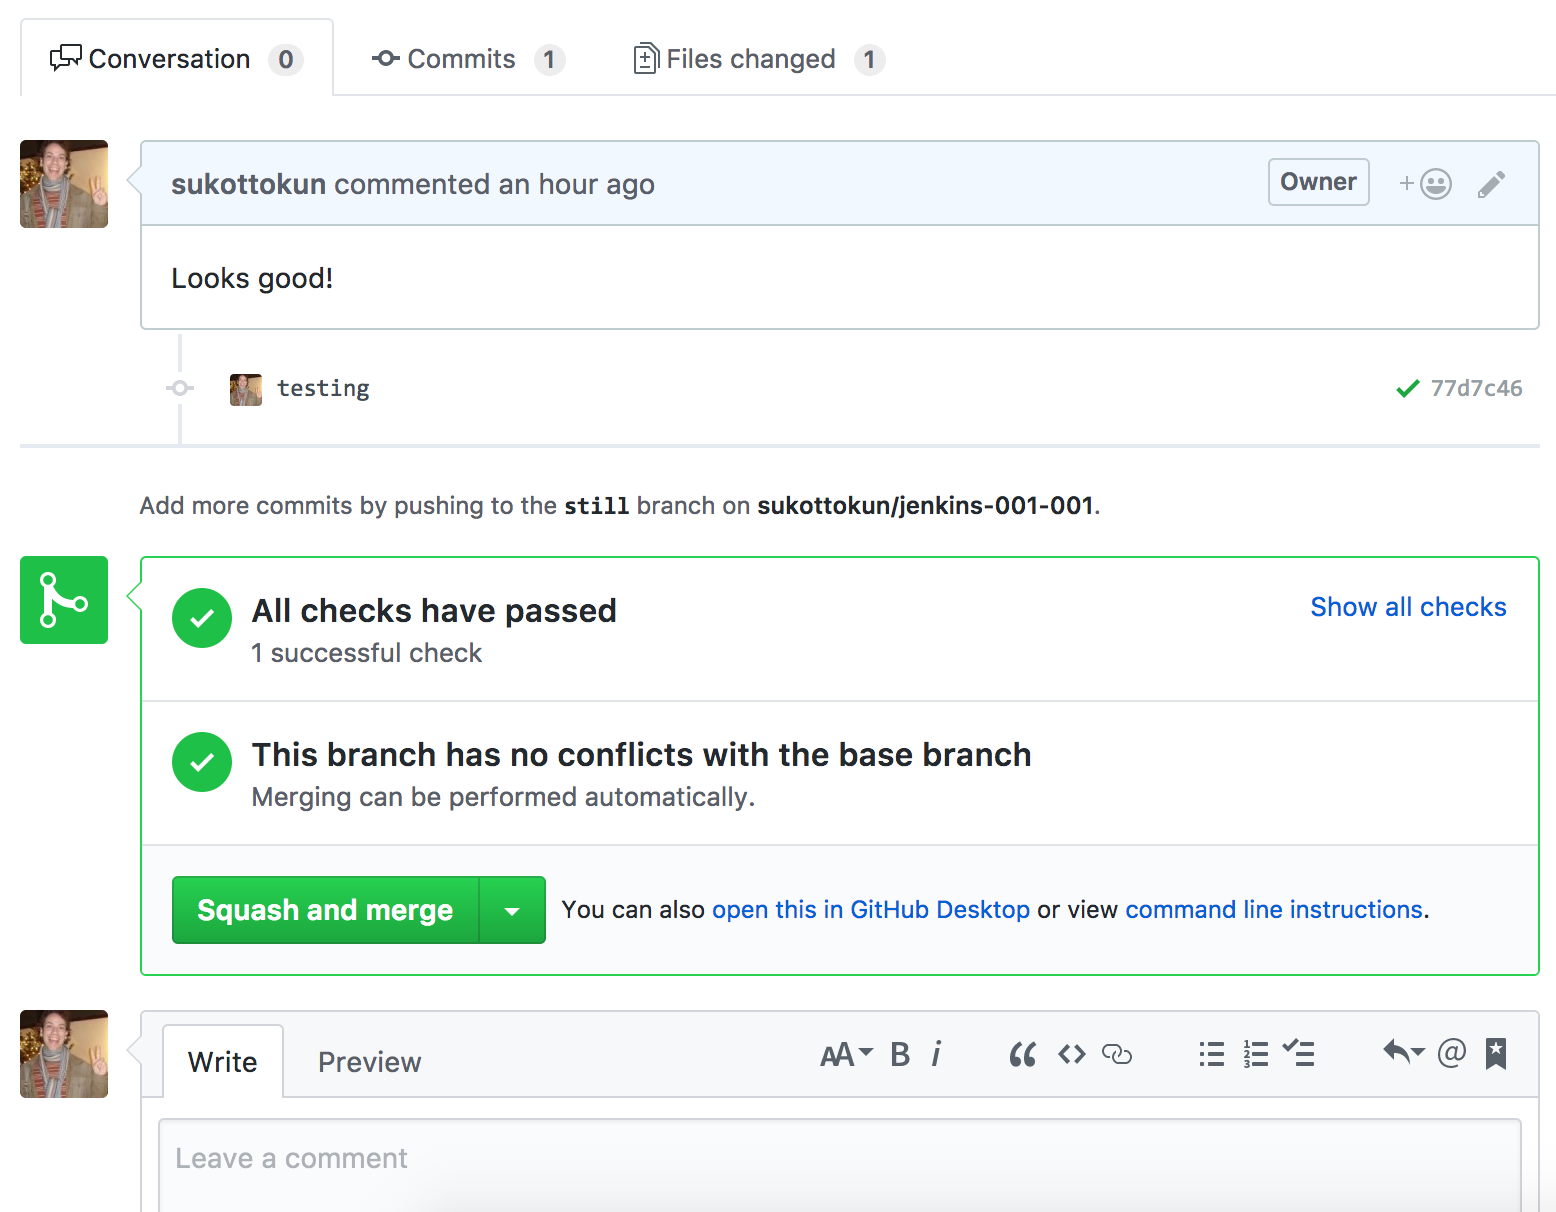
Now on your local computer, create a new branch and makes a change to it. When you commit and push to GitHub, a build should initiate. You should see the results of the test, which link to the Jenkins job:
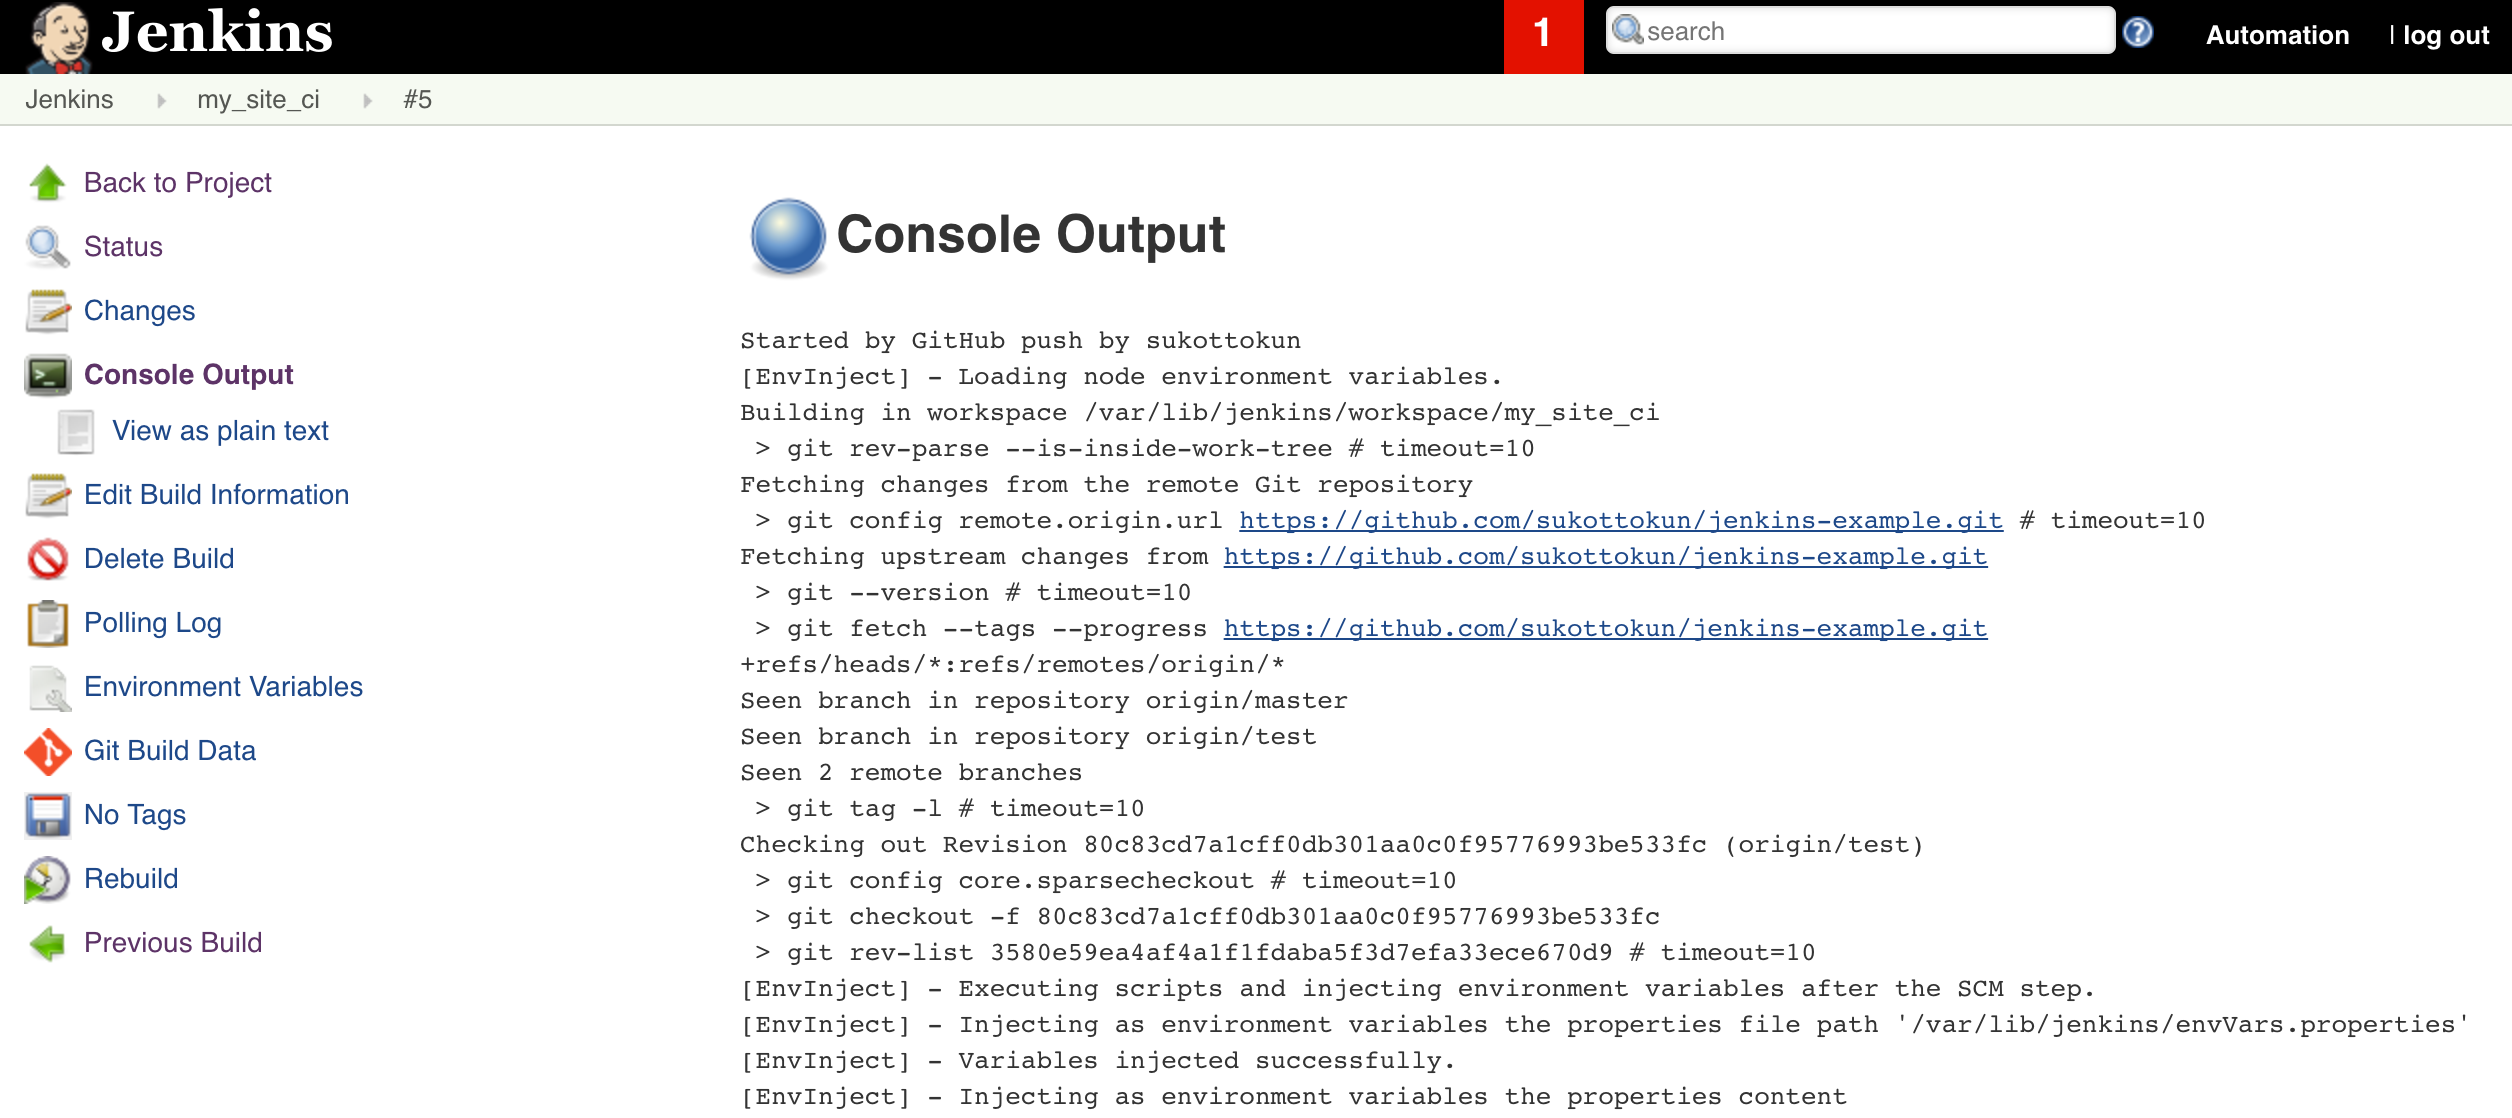
If a test fails, you can see the details by clicking the job, then "Console Output"
Conclusion
If you usually use only the Pantheon repository, be sure to now push to your new origin repo on GitHub. You can still add the Pantheon repo as a remote to take advantage of Multidev and work on your own environment. As you add new features, continue to add new tests.