WordPress on Pantheon Quick Start Guide
Create a New WordPress Site
Create a WordPress site on Pantheon.
This page provides steps on creating a new WordPress site on Pantheon.
-
Create an account with Pantheon if you do not already have one.
-
Login to your Pantheon account.
My Dashboard opens by default unless you are registered as an agency and this is your first time logging in. In that case, you’ll land on your Workspace. Go to My Dashboard by selecting your name in the menu bar, then My Dashboard.
-
Select Create New Site.
-
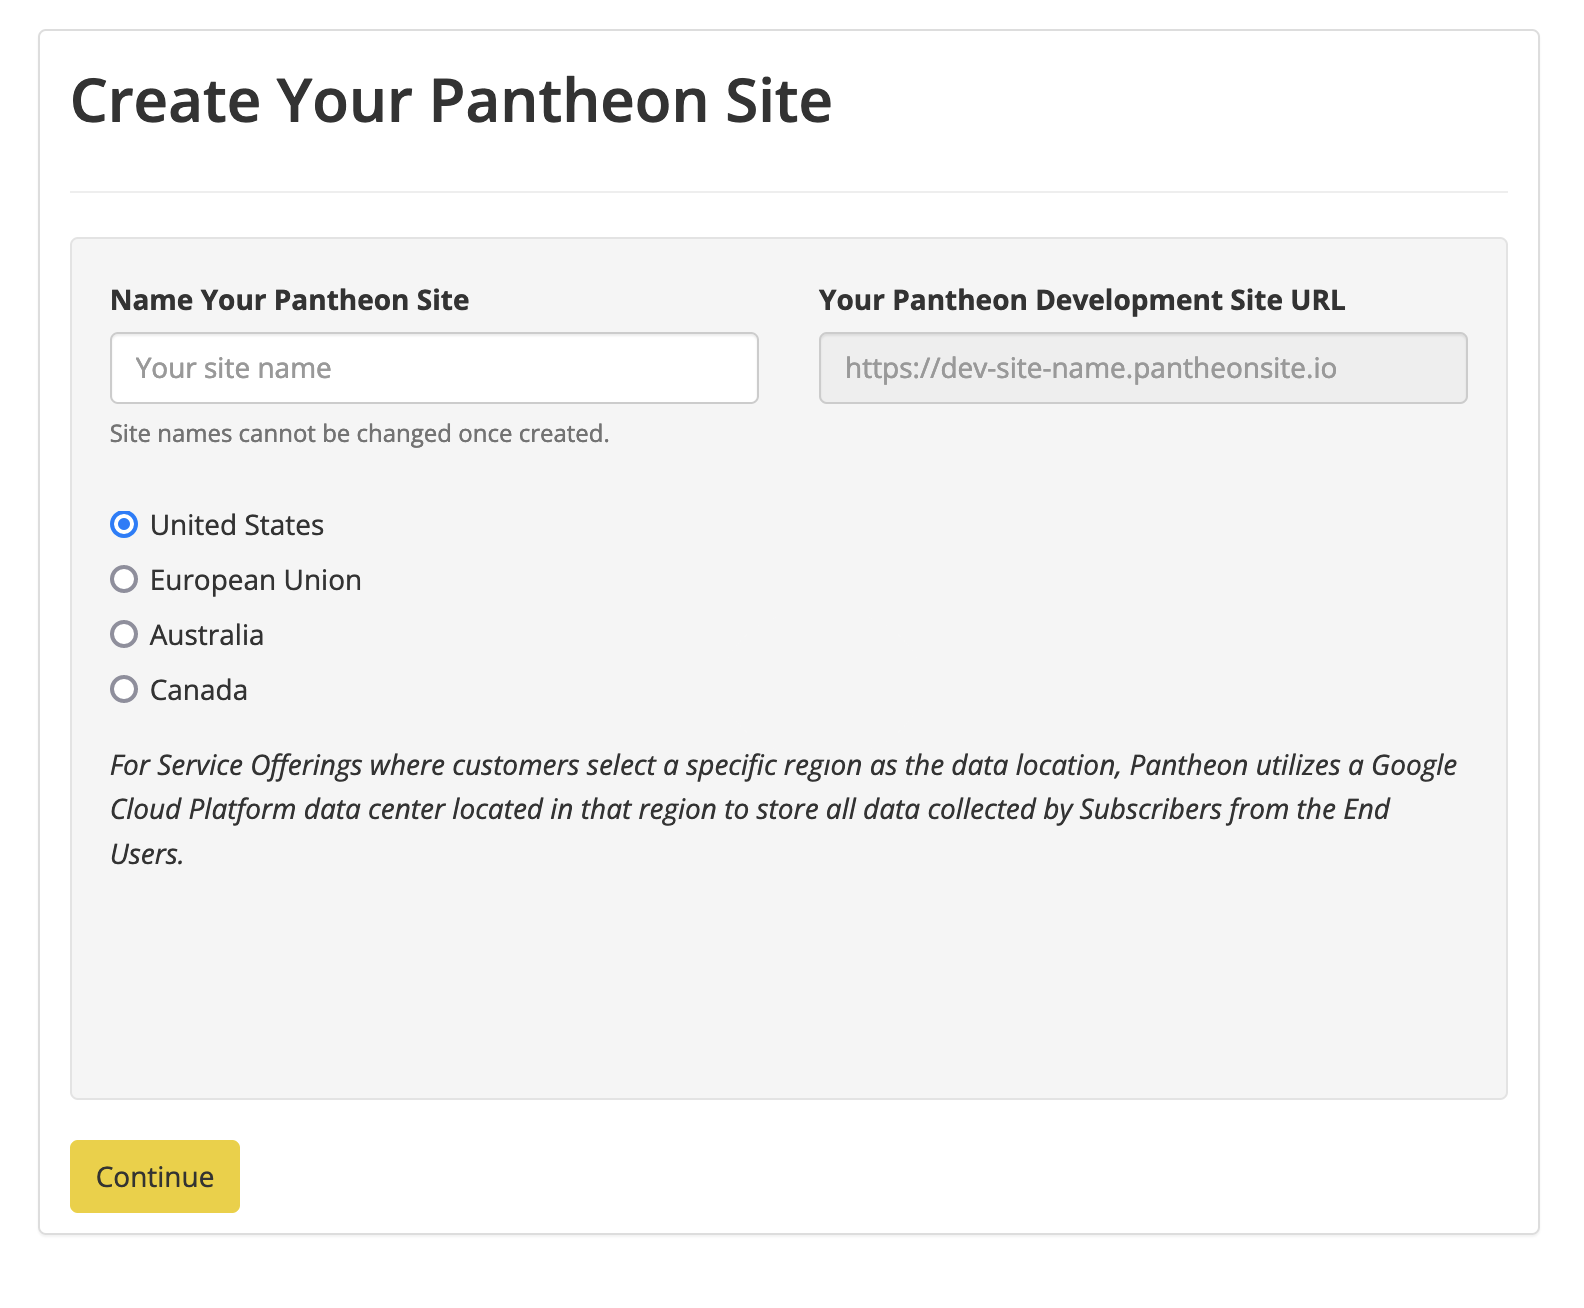
Enter a name for your site and select the check box to make the site part of your Workspace (only if you are part of an agency).
-
Click Continue.
-
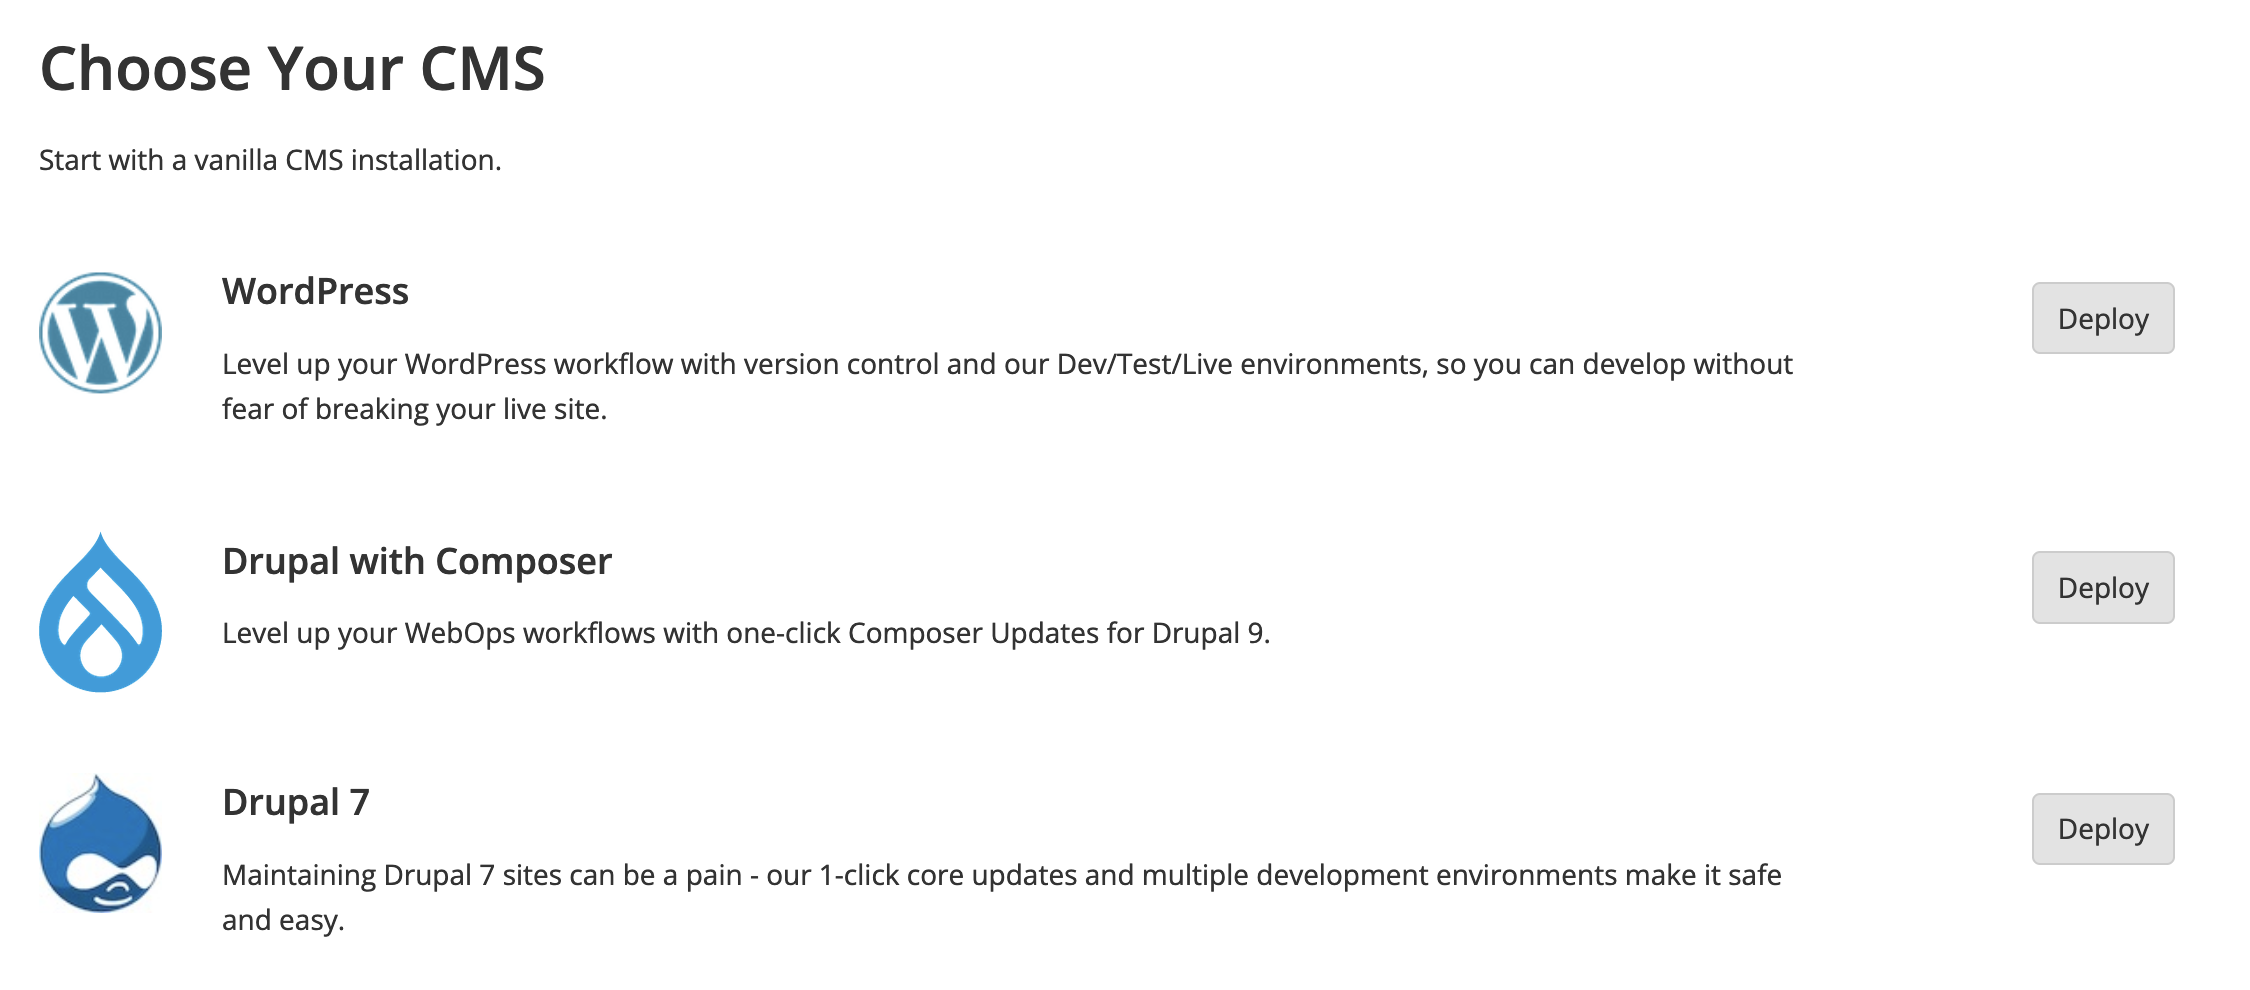
Select the WordPress Deploy button to create your WordPress site.
-
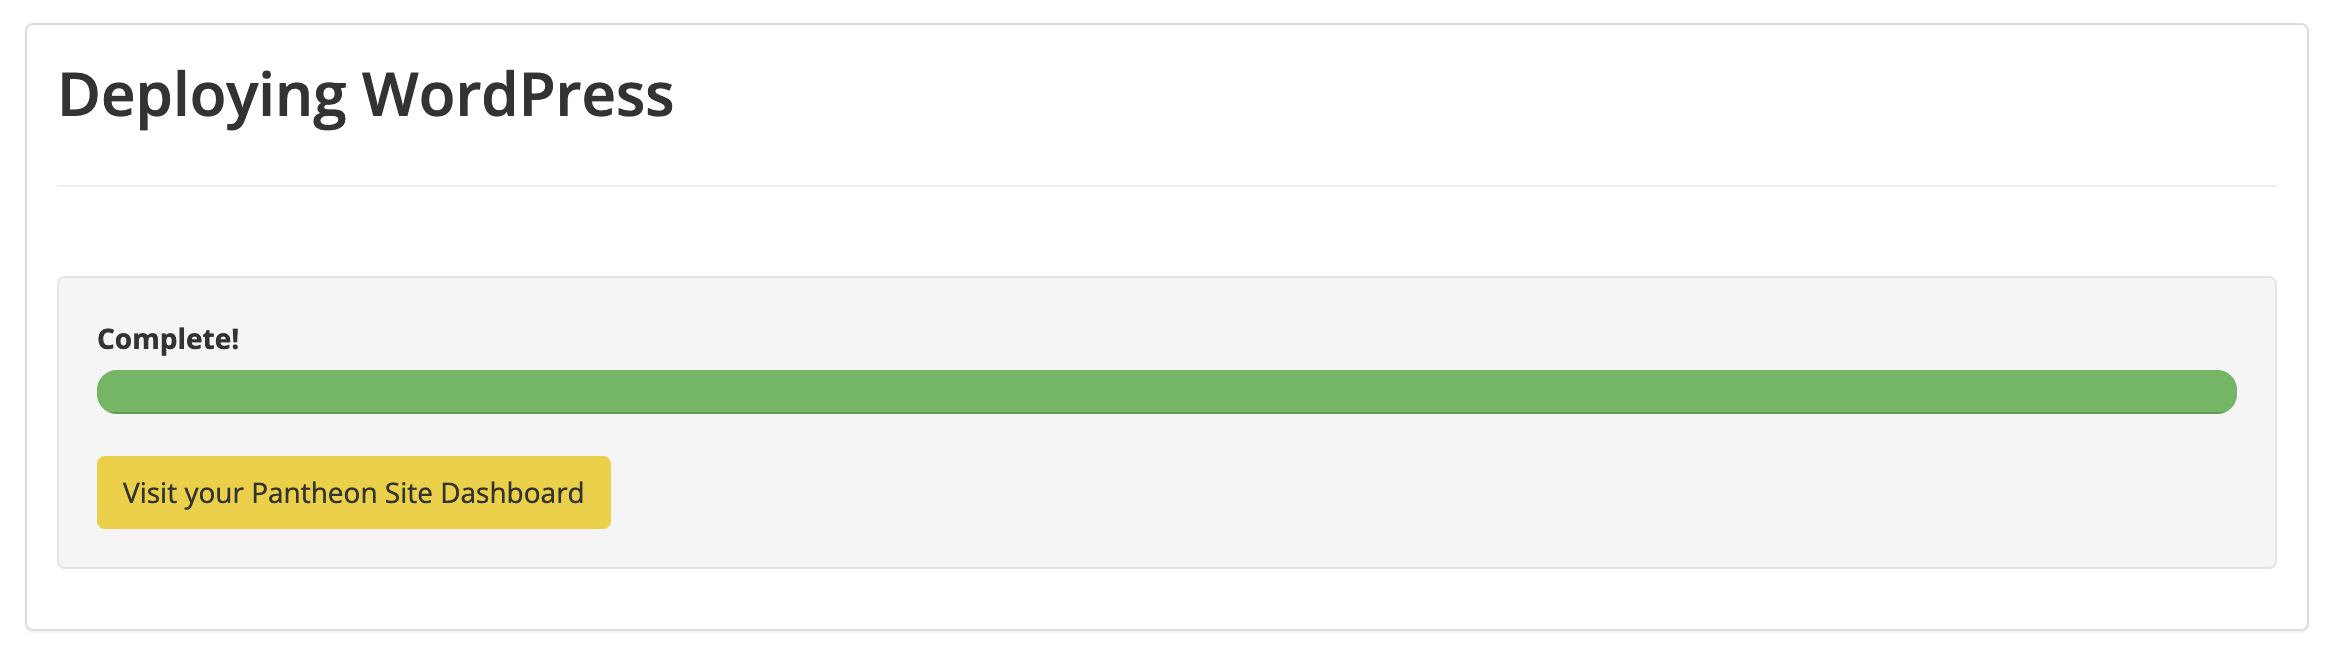
Wait for your site to finish deploying (this can take a couple of minutes) and then visit your Pantheon Site Dashboard.
Initialize Your Test and Live Environments
-
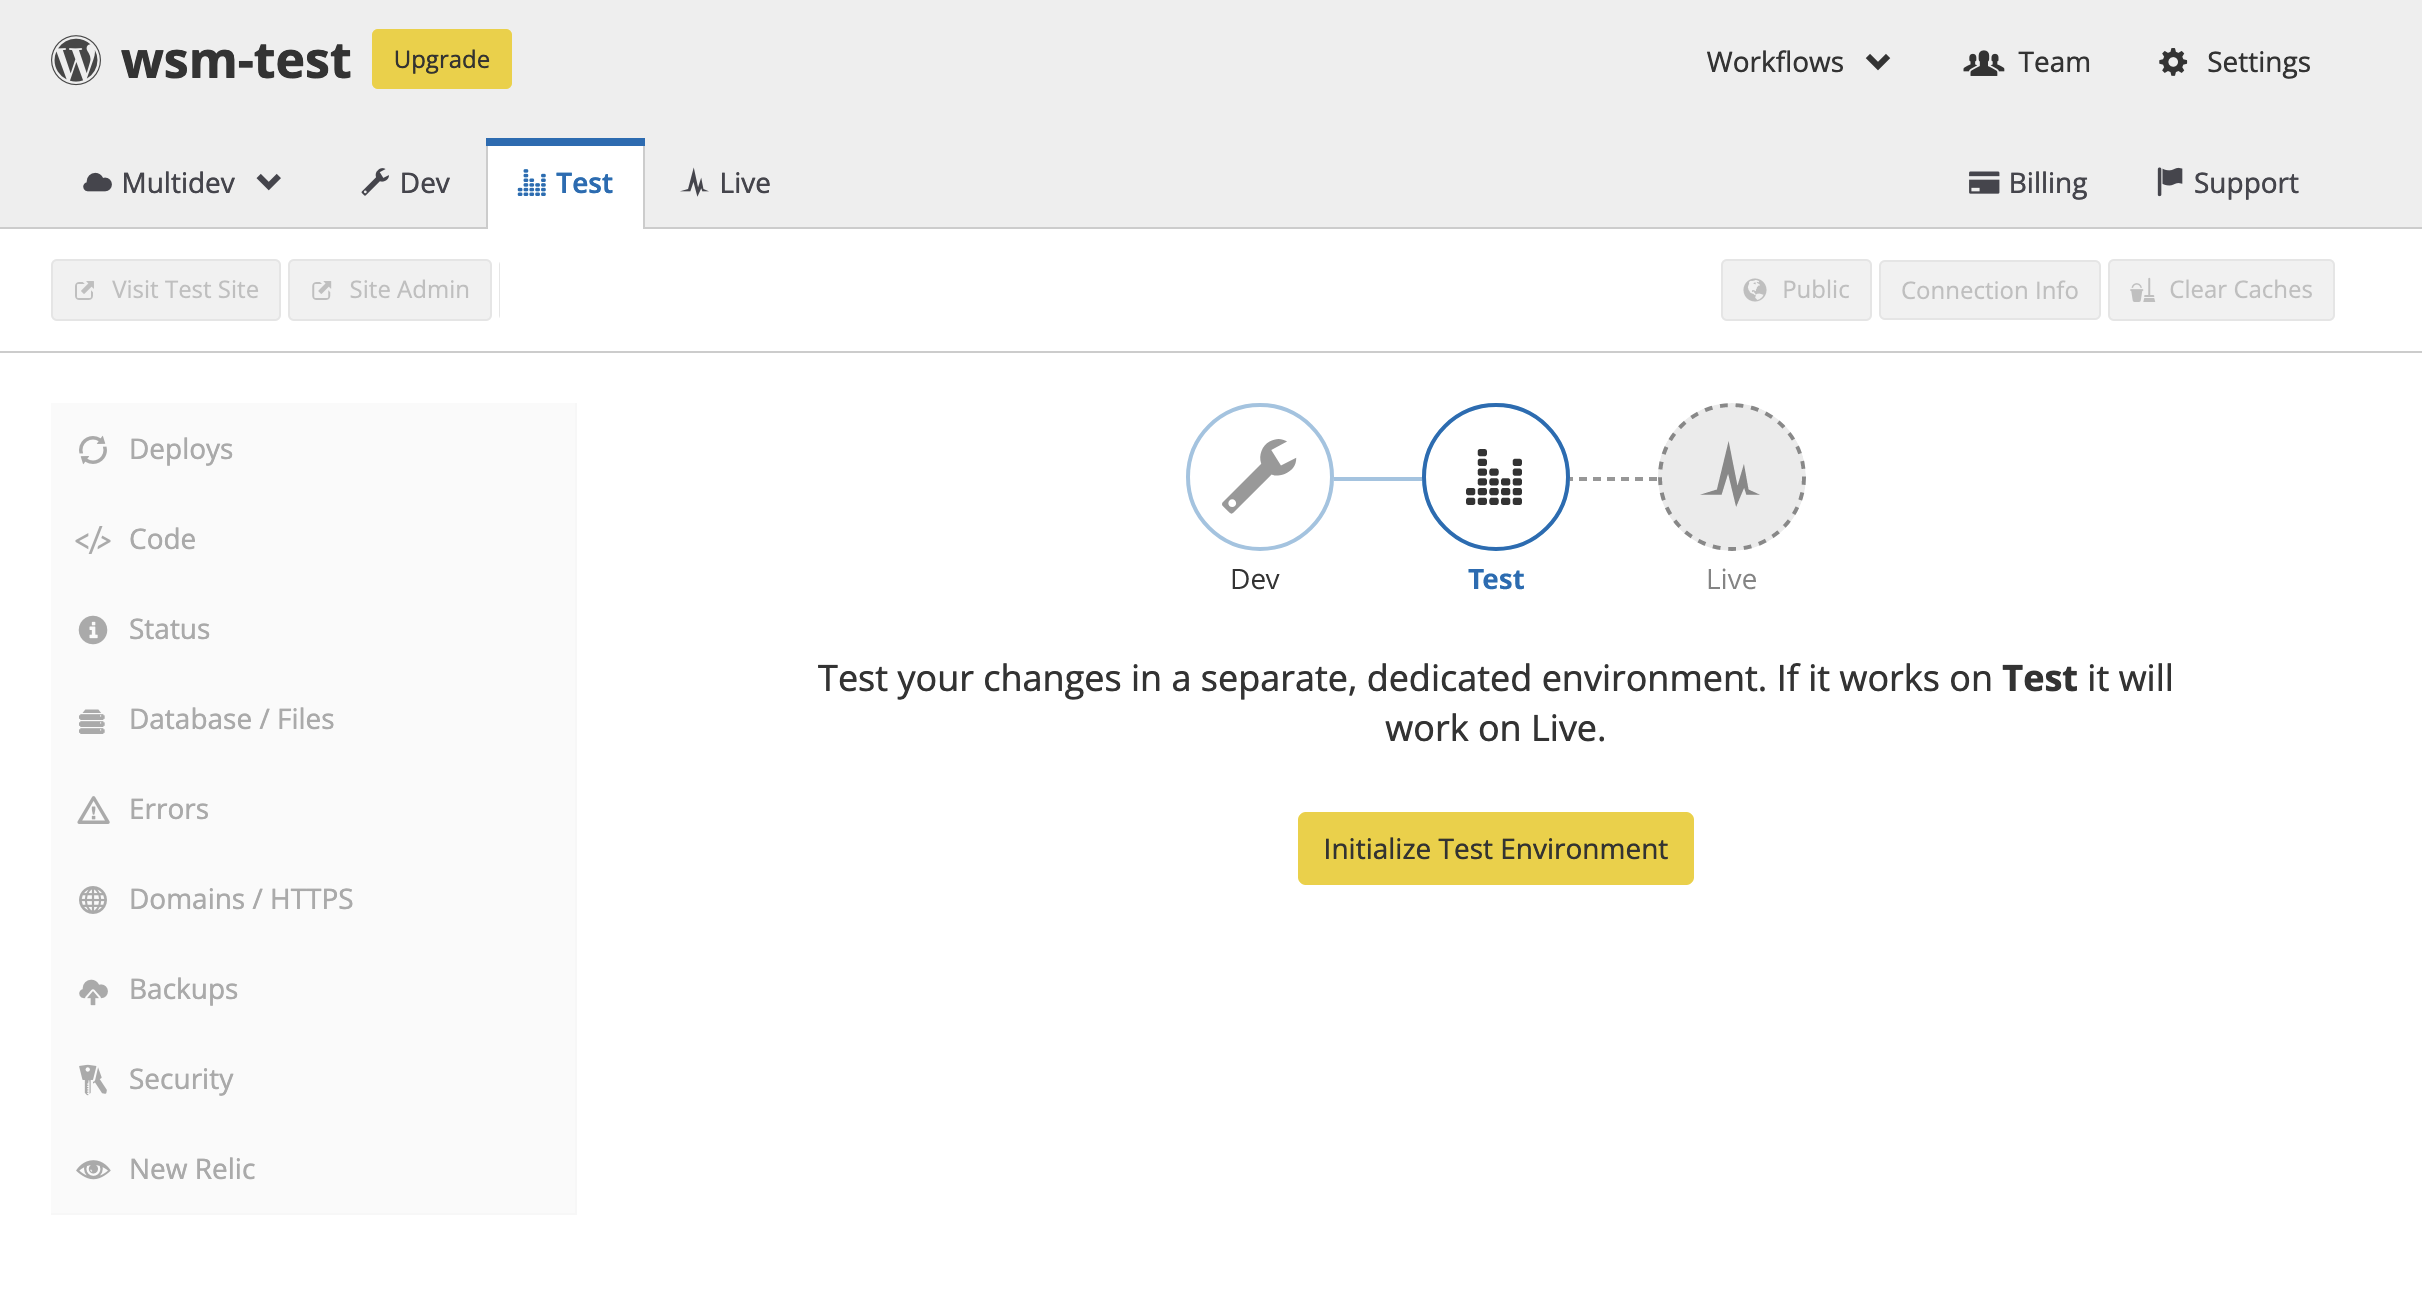
Click the Test tab in the Site Dashboard > click Create Test Environment.
This can take a couple of minutes. Note that you must create your Test environment before you can create your Live environment.
-
Click Visit Test Site to open your Test site in a new browser tab with the URL
test-YOURSITE.pantheonsite.io. -
Click the Live tab in your Site Dashboard > click Create Live Environment to create your live environment.
This can take a couple of minutes. You will have Dev, Test, and Live copies of your site running in three separate environments when it finishes.
-
Clone your Live environment to your Dev environment (optional).
-
Navigate to the Dev environment in your Site Dashboard > click Code.
Configure Your Development Mode
-
Select SFTP or Git as as your Development Mode.
You can develop in Git mode, or you can develop with SFTP mode, or even switch between both modes depending on your task and workflow.

-
Review and follow the steps in the Using Git with SFTP & WordPress Guide to ensure that you understand the best ways to:
- Install plugins
- Manage themes
- Upload media
- Edit your site configuration
WordPress Multisite
This section is optional, and is only intended for customers who would like to create a network of sites using a single copy of the WordPress codebase and a common database.
-
Review the WordPress Multisite Guide to ensure that you understand Multisite considerations and Multisite governance.
-
Request a WordPress Multisite upstream.
-
Complete the configuration steps in WordPress Multisite Guide to install and configure the WordPress Multisite created for you in step 2.