Last Reviewed: August 17, 2023

Enable WP-Redis [Deprecated]

How to install and configure WP Redis for WordPress.


Warning:
Warning

This page is considered deprecated.

WP Redis, while still actively maintained, is no longer the preferred method for enabling object cache for WordPress on Pantheon.

Performance and Elite WordPress site(s) that are currently running WP Redis are eligible for an upgraded solution: Enable Object Cache Pro for WordPress.

  1. Navigate to your Pantheon Site Dashboard, select Settings, select Add Ons, then select Add. It might take a couple of minutes for the Object Cache server to come online.

  2. Install the WP Redis plugin via SFTP or Git. You can also install the plugin via Terminus if you set the connection mode to SFTP and run:

    terminus wp <site>.<env> -- plugin install wp-redis

    If you use WordPress Multisite, you must add the site URL by adding to the command:

    terminus wp <site>.<env> -- plugin install wp-redis --url=<url>
  3. Create a new file named wp-content/object-cache.php that contains the following:

    "object-cache.php"
    <?php
    # This is a Windows-friendly symlink
    $objectCacheFile = WP_CONTENT_DIR . '/plugins/wp-redis/object-cache.php';
    if (!empty($_ENV['PANTHEON_ENVIRONMENT']) && !empty($_ENV['CACHE_HOST']) && file_exists($objectCacheFile)) {
        require_once $objectCacheFile;
    }

    This file is a symlink to the /plugins/wp-redis/object-cache.php file. Use SFTP or Git to commit the new file to the Dev environment.

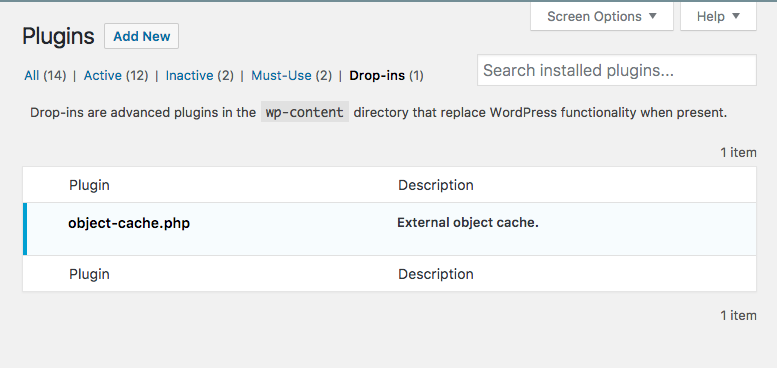
  4. Navigate to the Dev environment's WordPress Dashboard, and verify the installation by selecting Drop-ins from the Plugins section:

    The object-cache Drop-In Plugin

    You can upgrade by the normal Plugin update mechanism in WordPress or via Terminus when a new version of the WP Redis plugin is released:

    terminus wp <site>.<env> -- plugin update wp-redis
Info:
Note

WP Redis is loaded via a drop-in file, so there's no need to activate it on your WordPress sites.

Explore Advanced Install Methods (Optional)

Install via Composer

  1. Set the Dev environment's connection mode to Git from within the Site Dashboard or via Terminus:

    terminus connection:set <site>.<env> git
  2. Clone the site's codebase if you have not done so already.

  3. Use the following within composer.json to install the WP Redis plugin as a drop-in via Composer using koodimonni/composer-dropin-installer:

    composer.json
    "repositories": {
      "wpackagist": {
        "type": "composer",
        "url": "https://wpackagist.org"
      }
    },
    "require": {
      "composer/installers": "^1.0.21",
      "koodimonni/composer-dropin-installer": "*",
      "wpackagist-plugin/wp-redis": "0.6.0"
      },
      "extra": {
        "installer-paths": {
          "wp-content/plugins/{$name}/": ["type:wordpress-plugin"]
          },
        "dropin-paths": {
            "wp-content": [
            "package:wpackagist-plugin/wp-redis:object-cache.php"
          ]
        }
      }
  4. Run composer install to install WP Redis into the wp-content directory.

  5. Use git status to verify your local state, then commit and push your code to Pantheon:

    git status
    git commit --all -m "Initiate composer, require custom code"
    git push origin master

More Resources

How-to Guides

References