Drupal Backend Starter for Front-End Sites
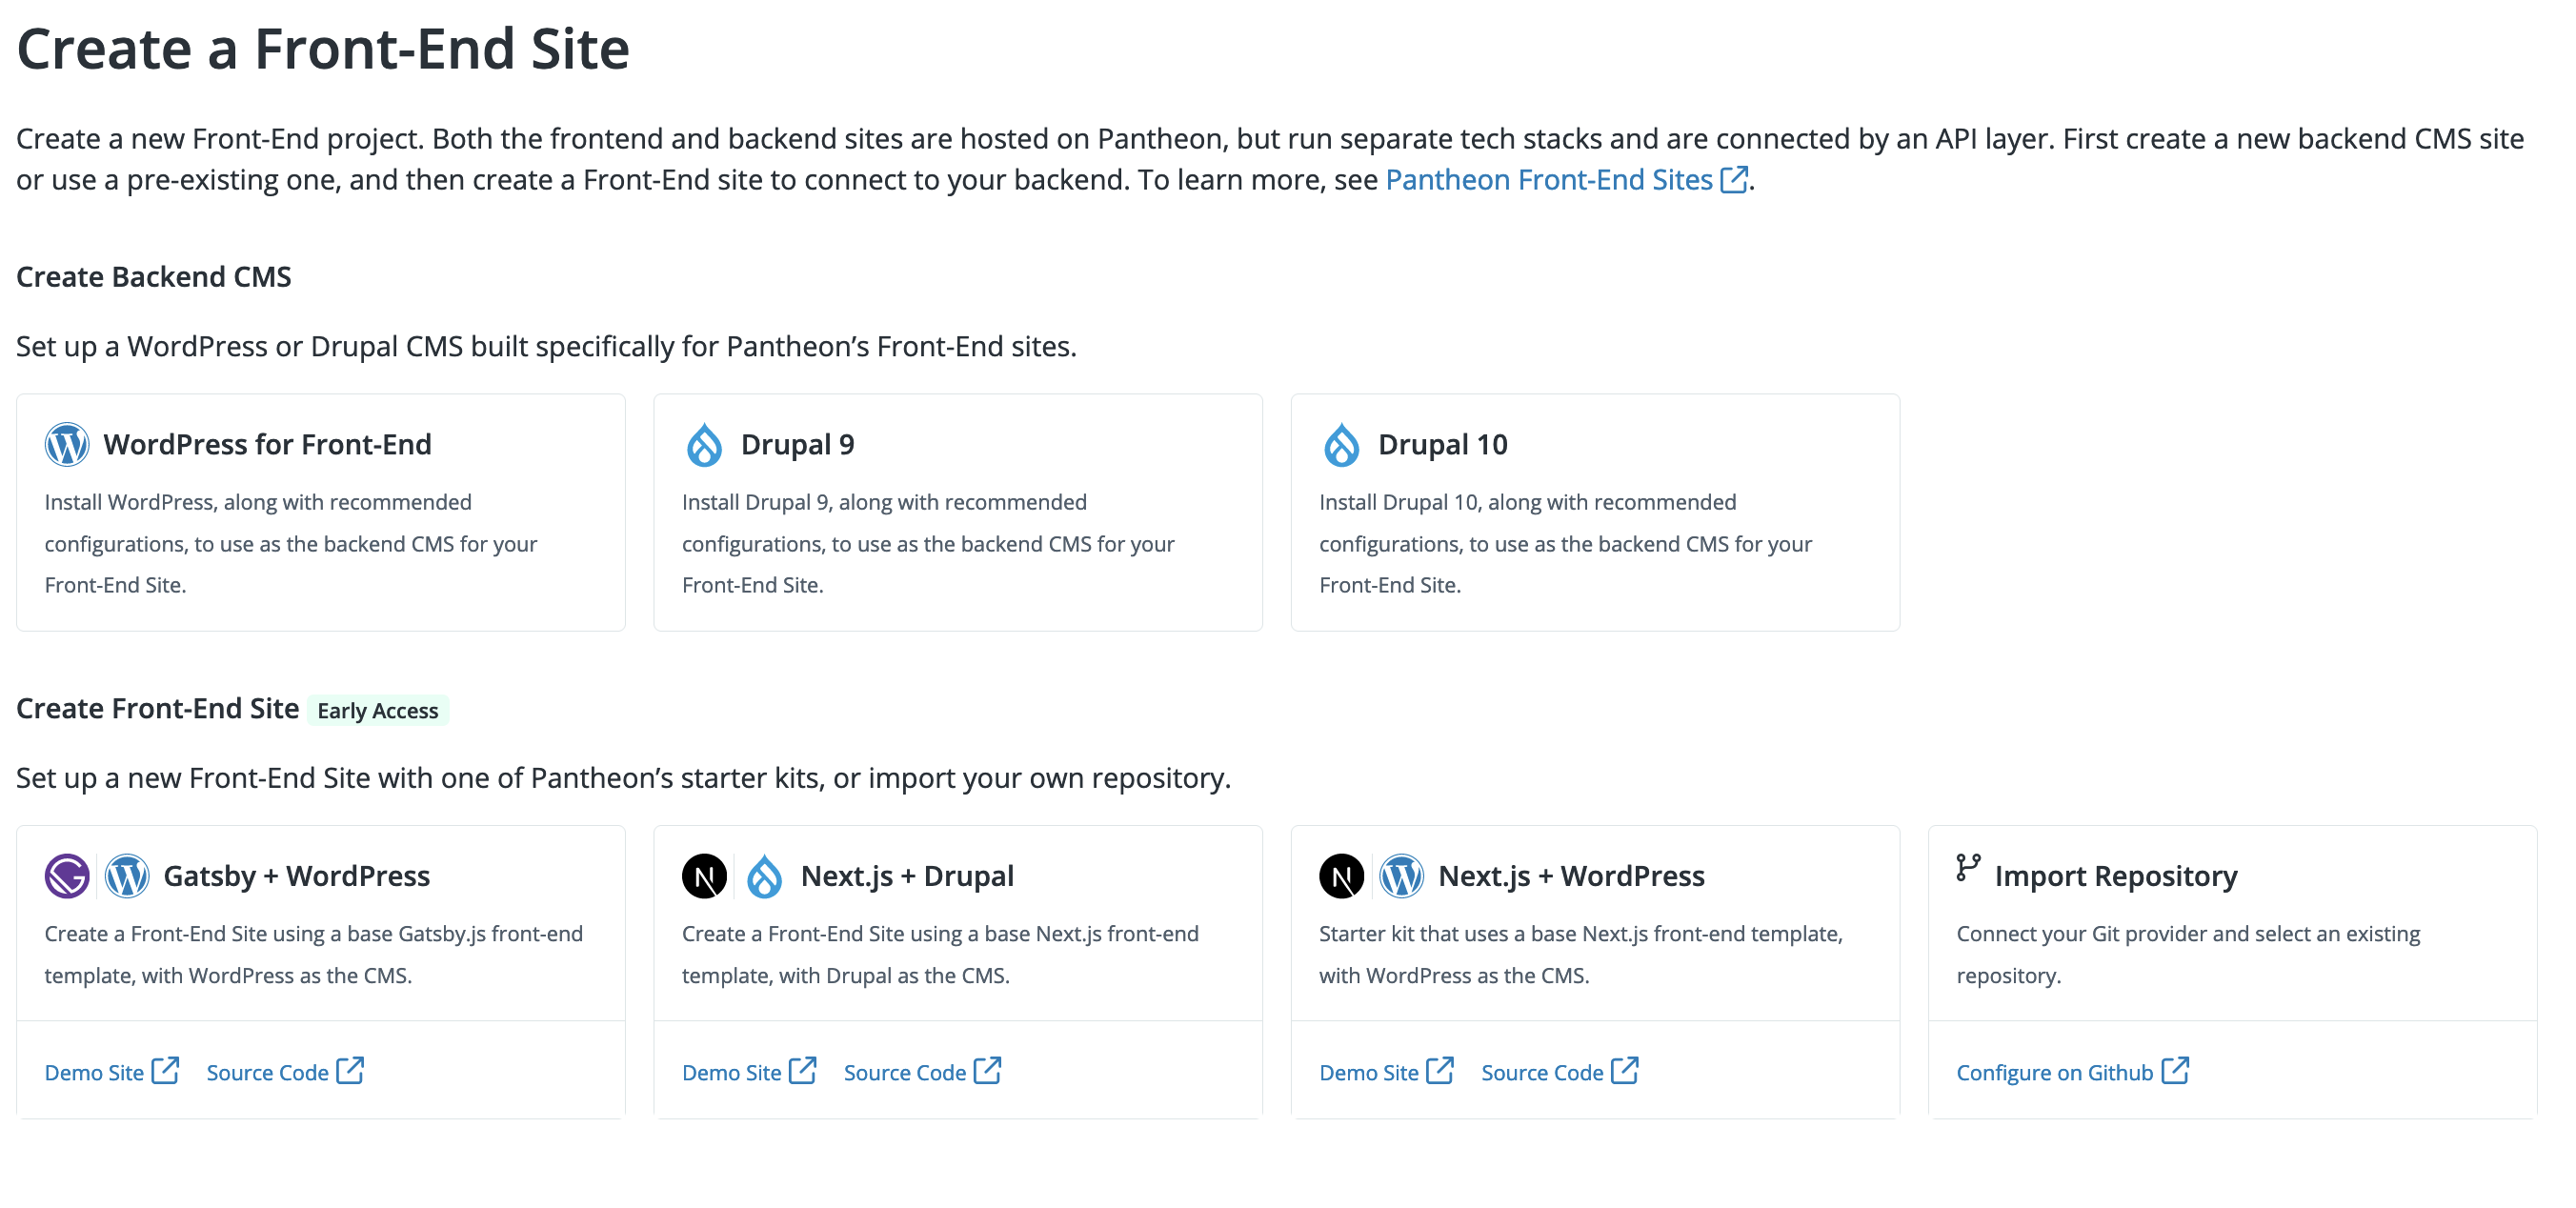
Create a New Project
Learn how to create a new project.
This documentation is considered deprecated. If you use Front-End Sites today, we encourage you to migrate.
This section provides information on how to use the Drupal Backend Starter for Front-End Sites.
Choose How to Create the Project
You can create your backend starter kit project with the Dashboard Upstream, the Terminus Decoupled Kit Plugin, or with Build Tools.
Review the following sections to select the right option for your setup.
Use the Dashboard Upstream if:
- You require a simpler setup.
- The Pantheon repository is your source of truth.
Use the Terminus Plugin if:
- You want to create a related backend and frontend codebase in a single process.
- You prefer to use the CLI.
Use Build Tools if:
- Testing is an important part of your workflow.
- You don’t want to manually push changes to your code repository.
Create with Dashboard Upstream
-
Go to the workspace, that the new site should be a part of, then select the Sites page.
-
Click +Create New Site.
-
Select Front-End Site when prompted.
-
Select Drupal for Front-End under Create Backend CMS.
- You can also follow the Decoupled Drupal Composer Managed link to create your site in the Site Dashboard.
-
Name your site, select your decoupled environment from the Choose a Workspace for the Site drop-down menu, and then click Continue.
Site and Multidev names cannot contain a
.(period) or_(underscore).-
To do this step through Terminus, replace
my-new-site, the site description, and the org (if available) inMy Team Namein the following command:Note that
c76c0e51-ad85-41d7-b095-a98a75869760is theupstream_idfor Decoupled Drupal Composer Managed.
-
-
Confirm your organization selection when prompted in Confirm Organization Selection. The Deploying Decoupled Drupal Composer Managed progress indicator displays while your site is being created.
-
Click Visit your Pantheon Dashboard when the site creation completes.
-
Click the Visit Development Site button to install Drupal.
-
Select the
Pantheon Decoupled Profileinstall profile. The same can be done viaterminus remote:drush.
To instead install Drupal using a demo data set, select the Demo: Umami Food Magazine install profile. After installing, enable the Pantheon Decoupled module.
Your backend starter is ready to develop!
Create with Terminus Plugin
Terminus is a command line interface that provides advanced interaction with Pantheon. You can create your project with the Terminus Decoupled Kit Plugin if you prefer to work in the terminal.
The Terminus Decoupled Kit plugin provides commands useful for creating decoupled projects on Pantheon using pre-configured starter kits.
Note that the Terminus plugin creates your frontend codebase, but does not automatically deploy it to Pantheon. Deploy your frontend codebase to Pantheon using the import repository workflow.
The steps in this section show how to use the Front-End Sites Terminus plugin to:
- Create a new site on Pantheon for the CMS backend of your choice.
- Optionally install your CMS.
- Create a frontend codebase that sources data from your newly created CMS project. This codebase will be automatically configured for local development, and can later be deployed to Pantheon using the import repository workflow.
Before you continue, make sure you have:
- Installed Terminus
- Installed Node.js
- Created a Machine Token
-
Open your terminal and run the command below to install the Terminus Decoupled Kit plugin.
- You should see a message, such as
Installed pantheon-systems/terminus-decoupled-kit-plugin
- You should see a message, such as
-
Run
terminus decoupled-kit:create, updating$SITE-NAMEand$LABELwith your own information, to create your project:-
Additional optional commands:
--org[=ORG]: Organization name, label, or ID.--region[=REGION]: The region in which you want to create your site. Refer to the Pantheon regions documentation for more information.--cms[=CMS]: This selects the CMS you want to use. Current supported CMS options are:drupalandwordpress.--install-cms[=INSTALL-CMS]: This instructs the plugin to install your CMS or not. The default value istrue. You can set this value tofalseif you do not want to install a CMS for your project.
-
-
When prompted, select the CMS you want to use. This option does not appear if you used the optional
--cms[=CMS]command. The options should look similar to:-
CMS installation will take several minutes. You should see a message similar to the following example to let you know your project is deploying:
-
-
Enter your password when prompted and enter
yto proceed: -
Select the framework generator you want to use:
-
Enter a name for your project:
-
Enter the location where you want your output to go. For example,
/Users/anitapantheon/anita-site/anita-portfolio: -
Select if you want to include additional frameworks, such as Tailwind CSS:
-
Select if you want to continue with your selected changes. You will see a list of the changes you selected.
If you select
yes to all, you'll receive a message similar to:- You can see this backend project in your Pantheon account. Go to your Pantheon dashboard and select Sites. You will see your backend project listed with the label name you entered in the steps above.
-
Import your repository to create the frontend of your Pantheon Front-End Site.
Create with Build Tools
Prerequisites
-
Composer (required for CMS backends): Install Composer
-
Install Terminus (3.0.0 or above required)
-
Install and confirm Terminus plugins:
- Install the Terminus Build Tools and Secrets plugins:
- Reload the Terminus plugins, clear Composer cache, and validate that the plugins are installed:
Build Tools Installation
-
For all steps below:
-
Replace
PROJECT_NAMEwith your project name. For example,decoupled-drupal. -
Replace
My Team Namewith your team name. For example,My Agency.Use
terminus org:listto list which orgs are available.This can also be omitted if the site is not part of an org.
-
Build Tools should prompt you for the credentials required to create these assets. While GitHub and CircleCI are the defaults, other providers are supported as well. Refer to available services for more information.
-
-
Create your project using the
build:project:createcommand as shown below:-
This command will create:
- A Pantheon site
- A GitHub repository
- A CircleCI test configuration
-
-
Refer to Commands available as part of the Build Tools pluginfor additional options for repository or CI providers.
Known Issues with Build Tools
If you encounter errors during the installation process, please check if you have the terminus-power-tools plugin installed. If you do, run the following command to remove it and go through installation again:
Additional Options
Use Other Git Hosts or CI Services
Terminus Build Tools supports other Git hosts and CI services.
For example, to use GitHub actions as your CI service, you can add the --ci=githubactions flag to your terminus build:project:create command.
Other possible values are:
circlecigitlab-pipelinesbitbucket-pipelines
Your token should have the workflow scope if using GitHub Actions.
Refer to the available services section of the build tools documentation for more information.
Use a GitHub Organization
--org="{My Organization Name}"
If you would like the repo created to be under a GitHub organization instead of the authenticated user's namespace, you can use the --org option.
For information on additional options, consult the command options section of the build tools documentation.
Update to Drupal 10
Follow the following steps to update a Decoupled Drupal Composer Managed site to Drupal 10.
-
Clone the backend site repository.
-
Update to PHP 8.1 or greater if you have not already done so. Edit
pantheon.ymland add the following with your chosen version of PHP: -
Update packages in your
composer.jsonto the appropriate new versions: -
Push the changes up to Pantheon:
-
Run database updates if you are updating an existing Drupal install. This can be done with Terminus or via the Drupal web UI.
With Terminus:
Via the Drupal web UI: Visit
/update.phpon your Drupal backend site. This would look something likehttps://dev-my-decoupled-backend.pantheonsite.io/update.php.