Enable Object Cache Pro for WordPress
How to install and configure Object Cache Pro for WordPress.
Before You Begin
Before you can install and activate Object Cache Pro, verify that you have:
-
A working site on Pantheon
- A Performance or Elite site plan is required
- Redis is enabled for the site
- The site is running PHP 7.4 or higher
-
Terminus installed and authenticated with a machine token to your local machine.
Activate Redis
You can activate Redis either from the Pantheon dashboard or with Terminus.
On the Dashboard
-
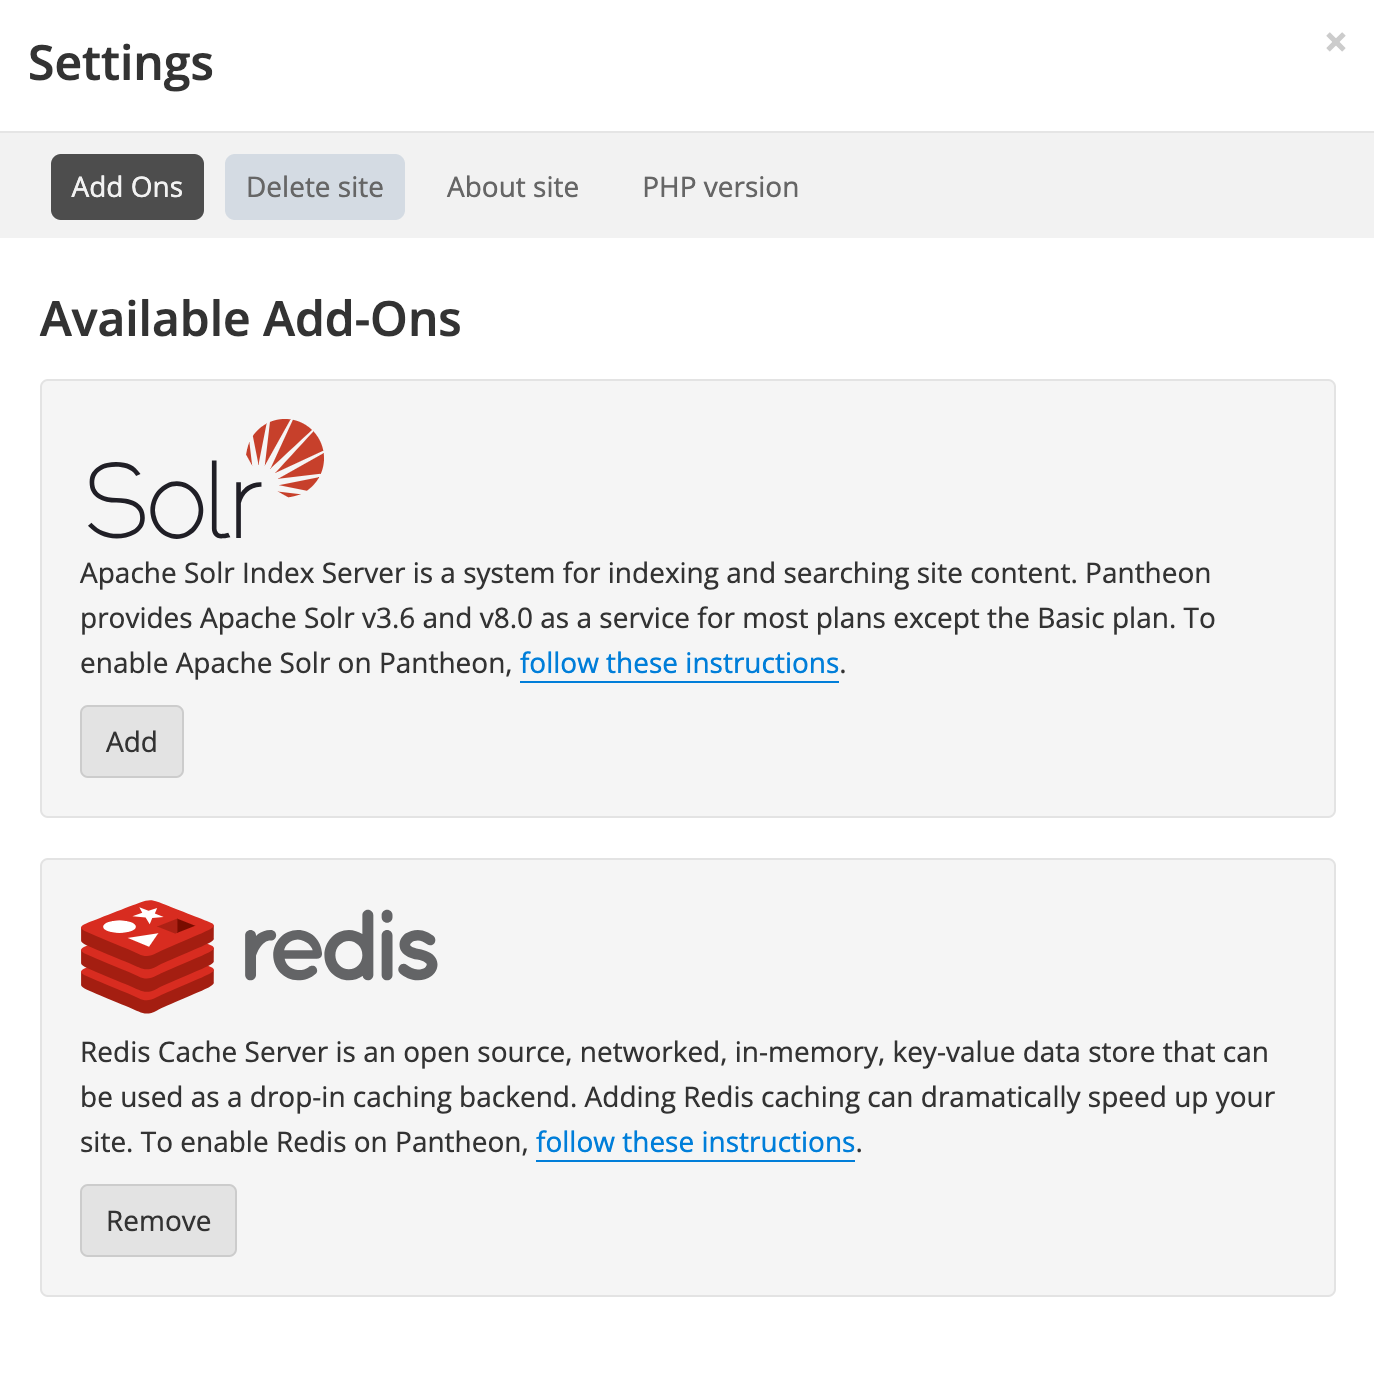
Navigate to your Pantheon Site Dashboard, select Settings, and then select Add Ons.
-
Click the Add button under Redis. It might take a couple of minutes for the Object Cache server to come online. You will see a success message in a green box stating that Redis has been enabled.
With Terminus
Run the command below to enable Redis via the command line with Terminus:
Installation and Configuration
Database Cleanup (Required)
By default, when Redis is not available on a WordPress site, WordPress stores transient data in the database. Transients are bits of data that are intended to be stored temporarily and then cleared automatically. When object caching like Redis is available, WordPress automatically stores transients into the object cache. However, after enabling Redis, any transients that previously existed in the database will not necessarily be cleared automatically, even when the cache is cleared. For sites that were live for awhile before Redis was enabled, there could be significant amounts of data in these tables. Removing this data could increase the speed of cloning, exporting, and backing up the database.
Use the following script to cleanup cache tables in the database:
Local configuration with Lando
Lando's Pantheon recipe includes Redis in its Docker configuration. However, to get Object Cache Pro to work correctly with Lando locally, you'll need to make a few changes to your Object Cache Pro and Lando configuration.
-
First, in your
.lando.ymlfile add the following:- This ensures that the Redis version in your Lando environment matches the 6.x environment on Pantheon. Object Cache Pro will still work with the default version of Redis that is included in the Pantheon Lando recipe, so this step is optional.
-
Next, in your
wp-config.php(orconfig/application.phpfor Bedrock-based WordPress Composer sites), find theWP_REDIS_CONFIGsettings. Lando does not supportigbinaryserialization orzstdcompression, so you will need to modify these settings for Lando locally. The simplest solution is to store the configuration values to a variable and then modify the variable for Lando environments. For example:Information:NoteIf you don't want to bother with changing the configuration for local environments, you can simply disable Object Cache Pro for Lando and leave the existing configuration:
Make sure to commit your code back to your environment when you have made the appropriate changes.
WP_REDIS_CONFIG Constant
Using the terminus install:run <site>.<environment> ocp command to install Object Cache Pro will automatically configure the latest version of the recommended WP_REDIS_CONFIG for Pantheon-hosted sites. This constant is placed in wp-config-ocp.php.
The latest recommended version of the constant is below:
Additional Considerations
-
When moving from Dev to Test, and from Test to live with OCP for the first time, note that you must activate the plugin and then flush the cache via
terminus wp <site>.<env> -- cache flush.- If you already have WP-Redis or other Redis plugins installed, these should be disabled before merging code.
- To summarize, the full order of steps are:
- Disable wp-redis or other redis plugins if present
- Merge code
- Activate OCP
- Flush Redis cache
-
The
object-cache.phpdrop-in file must be created in your development or multidev environment and committed or pushed to live to work. -
When installed as a
mu-pluginon a WordPress Multisite, Object Cache Pro handles each subsite separately. The dashboard widget applies to the current site and none of the other sites on the network.- Flushing the network cache from the network admin will flush all caches across the network.
- Subsites do not get their own configuration or graphs.
- If installed on a WordPress Multisite, the Flush cache button in the subsite dashboard widget flushes the cache of the entire network, not just the subsite cache. The default behavior can be modified by adjusting the
WP_REDIS_CONFIGsettings. Alternatively, you can flush a single site's cache by using the WP-CLI command. - You must manually click the Enable Cache button in the Network Admin Object Cache Pro settings page while in SFTP mode to enable Object Cache Pro. Alternatively, you can use the Terminus commands above and commit the
object-cache.phpdrop-in to your repository.
-
When working locally with Lando, it's possible that Lando's self-signed SSL certificate will cause issues connecting to the Object Cache Pro license API resulting in a license error. To resolve this, add the following code to a mu-plugin:
- You may wish to make this file local-only by adding it to your
.gitignorefile. This error will not cause any issues with the functioning of Object Cache Pro or the behavior of the plugin on Pantheon but it might prevent you from being able to make updates to the plugin locally.
- You may wish to make this file local-only by adding it to your